Supplies:
- Crayola Marker & Watercolour Paper - 22.9 cm x 30.5 cm (9" x 12")
- Crayola Acrylic Paint - 6 Count
- Crayola Watercolour Paints - 8 Count
- Crayola Variety Brush Set - 5 Count
- Crayola Scissors
- Tag Manilla Paper - 22.9 cm x 30.5 cm (9" x 12")
- Crayola Washable Glue Sticks
- Pencils
- Recycled Magazines
- Soft Paint Roller
- Plastic Trays
- Wooden Spoons
- Water Containers
- Paper Towels
- Recycled Newspapers
Steps:
1
- Make 4 thumbnail sketches.
- Choose the one you like the best.
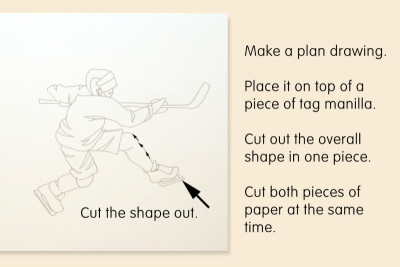
- Make a plan drawing of your design.
- Use the plan drawing as a template.
- Place it on top of a piece of tag manilla.
- Cut out the overall shape of your drawing in one piece.
- Cut both pieces of paper at the same time.
2

- Place the tag manilla cut-out of your main shape on your table.
- Use the plan drawing cut-out as a template.
- Place a section of it on top of a small piece of tag manilla and cut them both out at the same time.
- Glue the small piece to the main shape to create a different level.
- Repeat this process until you are satisfied with the details.
3
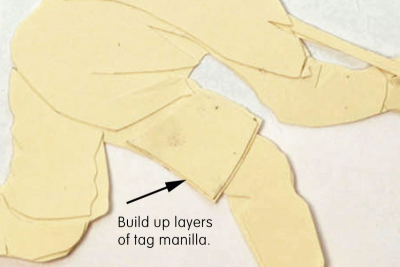
- Build up layers of shapes.
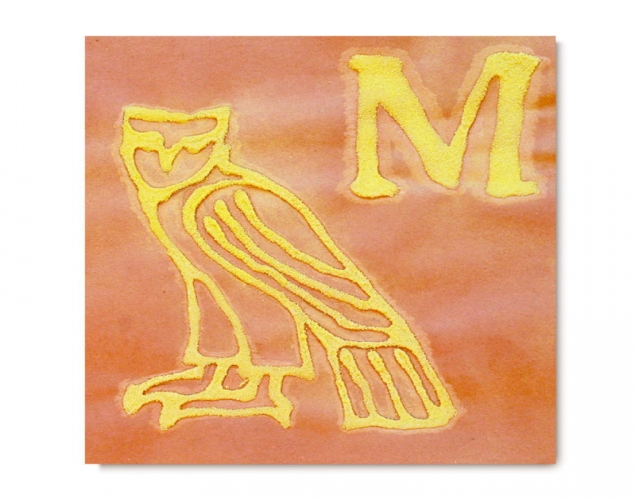
- Spaces between shapes will create lines in your print.
- The finished collagraph is your printing plate.
4
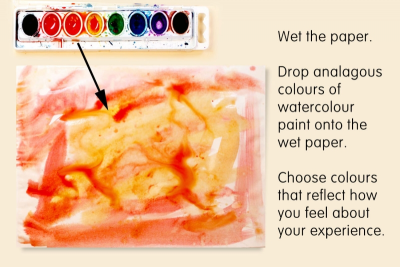
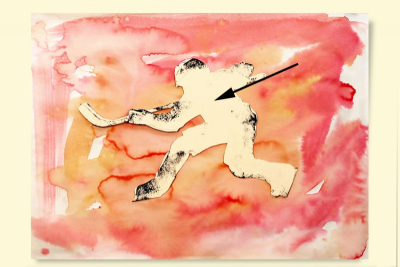
- Prepare a piece of watercolour paper.
- Wet the paper.
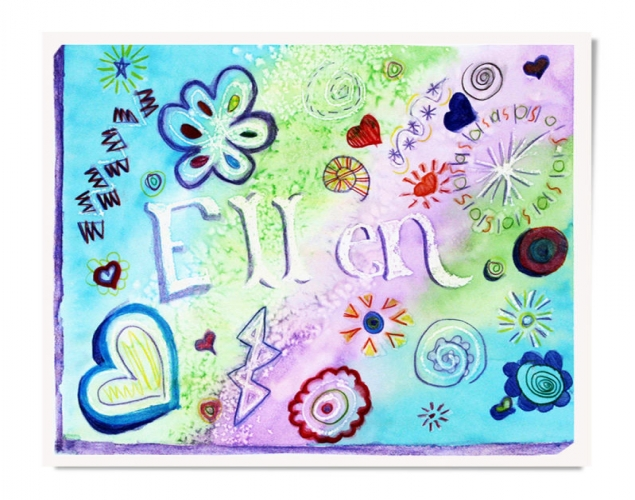
- Drop analogous colours of watercolour paint onto the wet paper.
- Choose colours that reflect how you feel about your experience.
- Set it aside to dry.
- Make several sheets of painted paper to use for your prints.
5
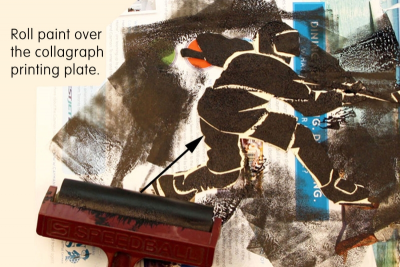
- Place the printing plate on an open magazine page.
- Pour some acrylic paint onto a plastic surface.
- Use a soft paint roller or brayer to roll paint over the collagraph.
- This is called inking the plate.
6
- Gently lift the inked printing plate off the magazine page.
- Place it on top of the painted paper.
- Press it to the paper with the flat of your hand.
7
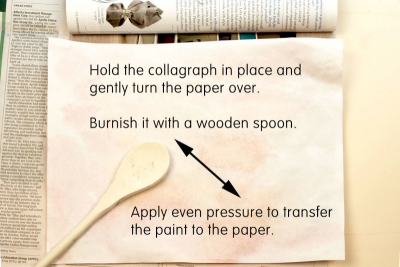
- Hold the printing plate in place and gently turn the paper over.
- Burnish it with a wooden spoon.
- Apply even pressure to transfer the paint to the paper.
8
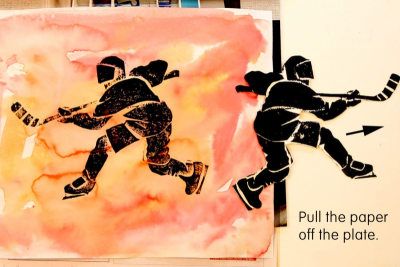
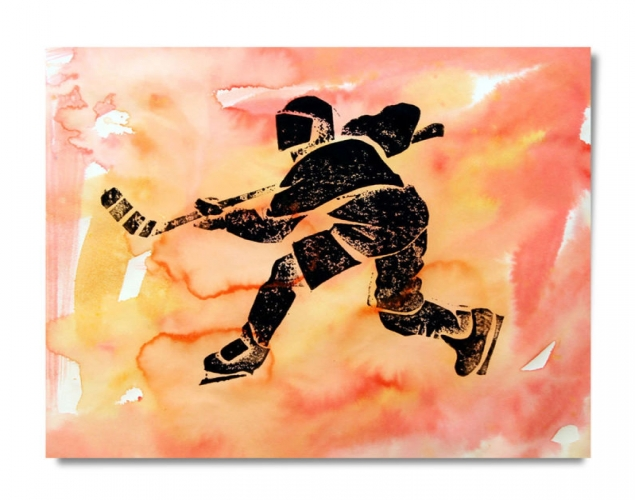
- Carefully pull the paper off the inked plate to see your print.
- Place it aside it to dry.
9
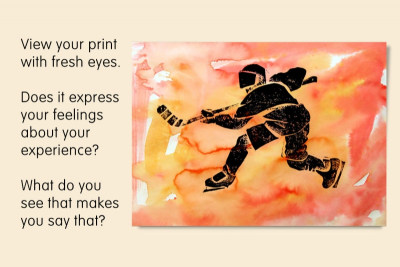
- View your print with fresh eyes.
- Does it express your feelings about your experience?
- What do you see that makes you say that?
- What do you like best about your prints? Why?
Subjects:
Grades:
Grade 6,
Grade 7,
Grade 8,
Grade 9