Supplies:
- Crayola Broad Line Markers - 16 Count
- Crayola Washable Glue Sticks
- Crayola Scissors
- Crayola Doodle Pad
- Crayola Glitter Glue
- Plastic Sheet Protectors - 1 per student
- Cardstock Paper - 13.9 cm x 21.6 cm (5 ½" x 9") - 2 per student
- Cardstock Paper - 21.6 cm x 27.9 cm (8 ½" x 11") - 1 per student
- Rulers
- Pencils
Steps:
1
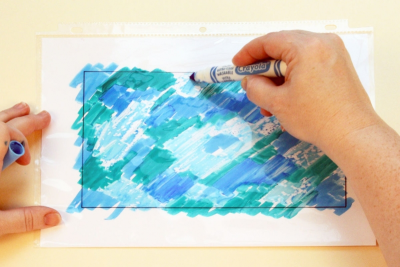
- Draw a rectangle 13.9 cm x 21.6 cm (5.5” x 8.5”) in the centre of a piece of cardstock paper.
- Place the cardstock paper inside a plastic sheet protector. This will be your printing plate.
- Place the printing plate on your desk with the rectangle facing up.
- Use the flat side of the markers to draw a design on the plastic surface.
- Draw the design to fit the rectangle.
- Use lots of colour.
2
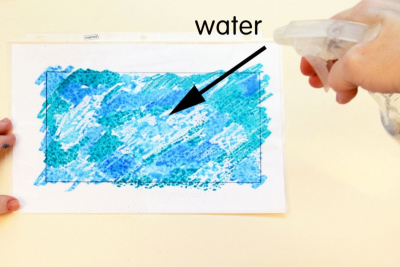
- Make sure the spray bottle is set so it gives a fine mist spray.
- Lightly spray a fine mist of water over the marker design.
- the more water you apply, the more the colours will bleed together
3
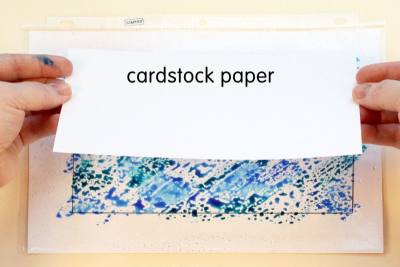
- Place a piece of cardstock paper 13.9 cm x 21.6 cm (5.5” x 8.5”) on top of the wet ink.
- be sure to line the paper up with the marker design
4
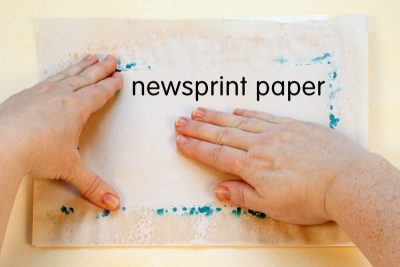
- Place a piece of newsprint paper 22.9 cm x 30.5 cm (9” x 12”) on top of the printing paper.
- Gently rub the entire surface.
5
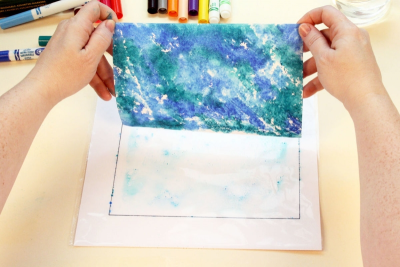
- Remove the paper from the printing plate.
- Allow the paper to dry for about 30 seconds.
6
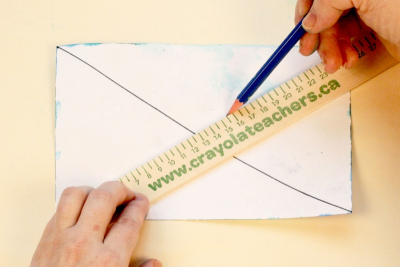
- Draw an X from one corner to the other on the back of the printed paper.
7
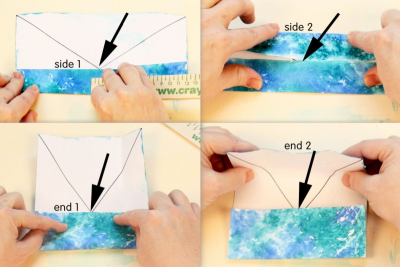
- Fold 1 side of the paper into the centre so that it lines up with the centre of the X.
- Gently run a ruler along the fold to make it firm and crisp.
- Unfold the paper and repeat for the other side and the 2 ends of the paper.
- You should have made 4 folds.
8
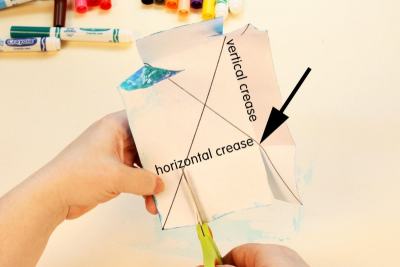
- Hold the paper in the VERTICAL (portrait) position.
- Cut along the vertical crease in an outside corner and stop at the intersection of the horizontal crease.
- Repeat in all 4 corners.
9
- Place the paper on the desk.
- Fold the long sides of the paper up along the creases and at right angles to the desk.
- Fold the ends in and at right angles to the sides.
- Glue them to each other to form the end of the box.
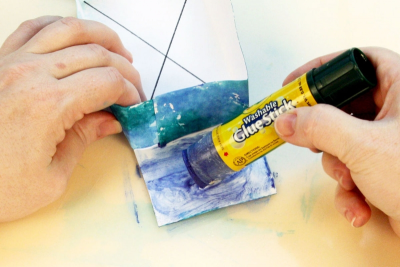
- Apply lots of glue to the middle rectangle at the end of the paper.
10
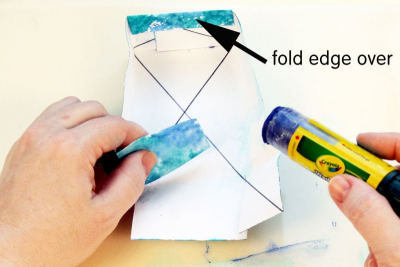
- Fold that rectangle up at a right angle to the desk.
- Fold the top edge down over the end flaps.
- Glue it into place.
- Repeat with the other end of the box.
11
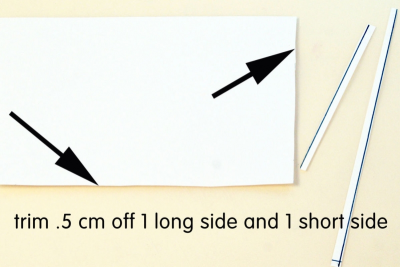
- Trim .5 cm (.25") off one long side and one short side of the cardstock paper.
- Use this paper for the bottom of the box.
- Follow the same steps to make the bottom of the box as you did for the top.
12
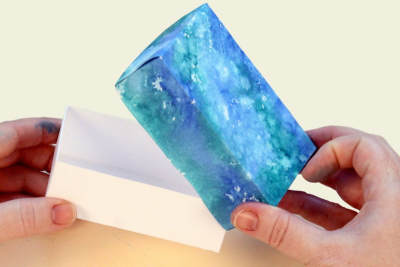
- Place the top on the bottom of the box.
13
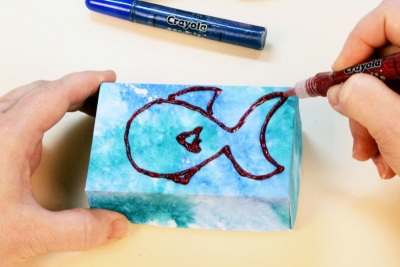
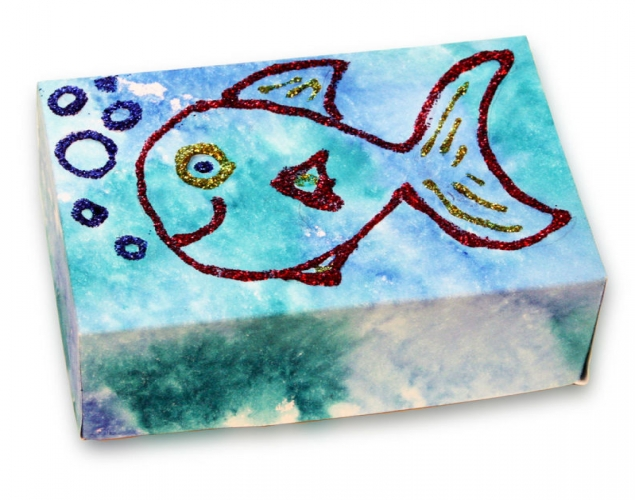
- Use glitter glue to decorate the top of the box.
Subjects:
Language Arts,
Mathematics,
Visual Arts
Grades:
Grade 1,
Grade 2,
Grade 3,
Grade 4,
Grade 5,
Grade 6,
Grade 7,
Grade 8