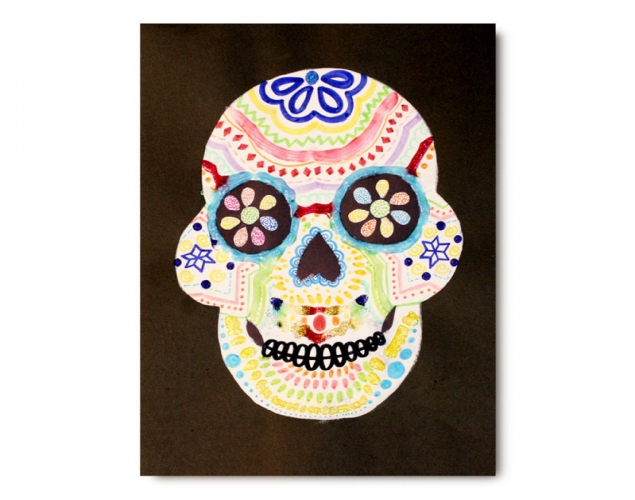
Supplies:
- Crayola Sketchbooks
- Crayola Tempera Paint
- Crayola Scissors
- Clear Tape
- Pencils
- Plastic Container Lids for Palettes
- Small Pieces of Sponge - about 3 cm x 4 cm (1.25" x 1.5")
- Tag Manilla or Cardstock Paper - 10 cm x 11.5 cm (4" x 5")
- Crayola Construction Paper - 22.9 cm x 30.5 cm (9" x 12")
Steps:
1
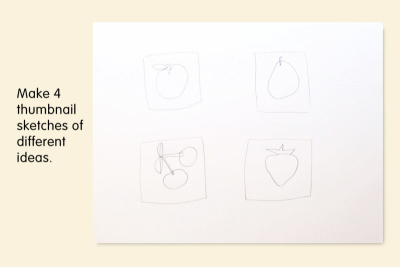
- Make 4 thumbnail sketches of different ideas for your stencil.
2
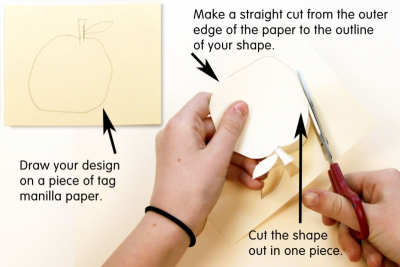
- Choose the design you like best.
- Draw it on the piece of tag manilla.
- Make a straight cut from the outer edge of the tag manilla to the outline of your drawing.
- Cut the shape out in one piece.
- This is the POSITIVE shape.
3
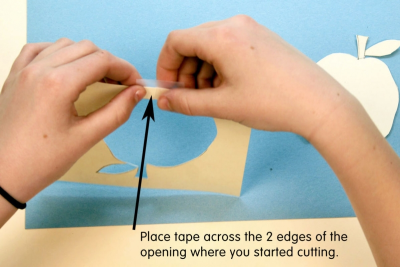
- Place tape across the two edges of the opening where you started cutting to join them back together.
- Make sure the edges are just touching each other where you tape them so the stencil is flat.
- This is the NEGATIVE shape.
4
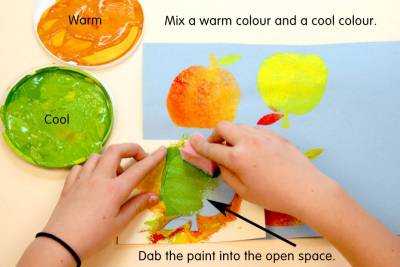
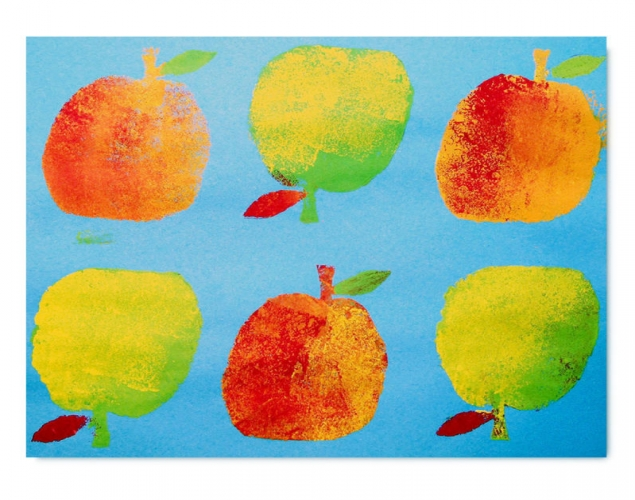
- Use 2 plastic lids for your paint.
- Mix a warm colour of tempera paint on one of the lids, and a cool colour on the other lid.
- Place the stencil on the paper and hold it firmly in place.
- Dab a small sponge into one of the colours of paint.
- Dab the paint into the open space of the stencil.
5
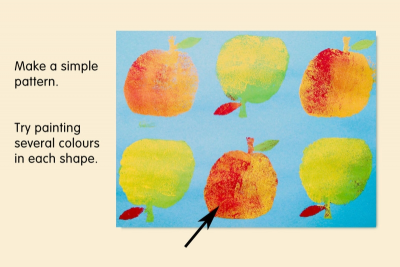
- Make a simple pattern.
- Try painting several colours in each shape.
6
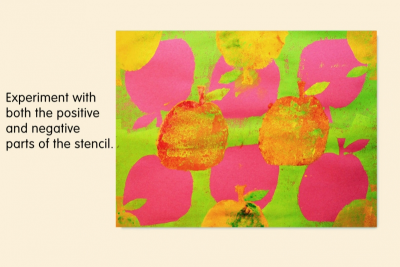
Experiment with both the positive and negative pieces of the stencil.
Subjects:
Grades:
Grade 1,
Grade 2,
Grade 3,
Grade 4

