Supplies:
- Crayola Washable No-Run School Glue
- Crayola Washable Broad Line Markers - 10 Count
- Crayola Crayons - 24 Count
- Crayola Washable Glitter Glue
- Crayola Glitter Crayons - 16 Count
- Crayola Scissors
- Copy Paper - 14 cm x 21.6 cm (5 ½" x 8 ½") - 4 pieces per student
- Coloured Cardstock Paper - 14 cm x 21.6 cm (5 ½" x 8 ½") - 2 pieces per student
- Yarn
- Masking Tape
- Paper Clips
- Hole Punch
- Broken Crayons - Paper Removed
- Embellishments
Steps:
1
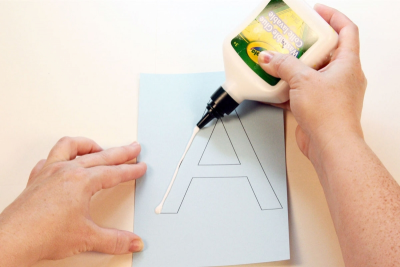
- Draw around the outline of the letter with washable glue.
- Allow the glue to dry overnight.
2
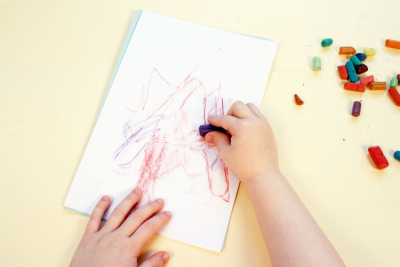
- Place a piece of the book paper on top of the glued letter.
- Use a piece of broken crayon to rub over the surface of the paper.
- Feel where the glue lines are with your fingers.
- Rub over the glue lines with the crayon.
3
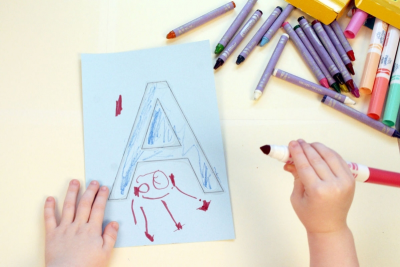
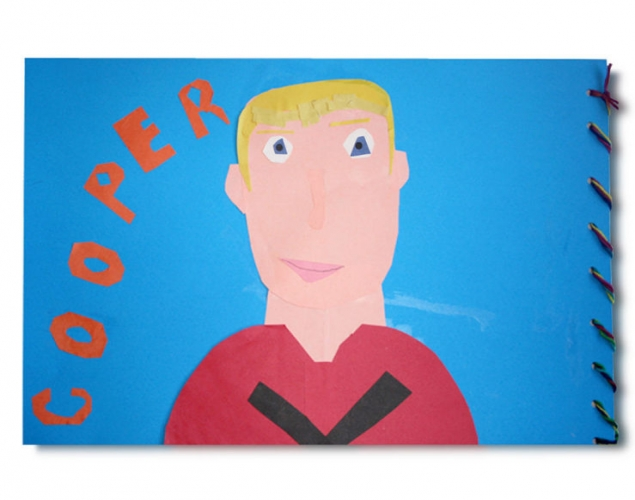
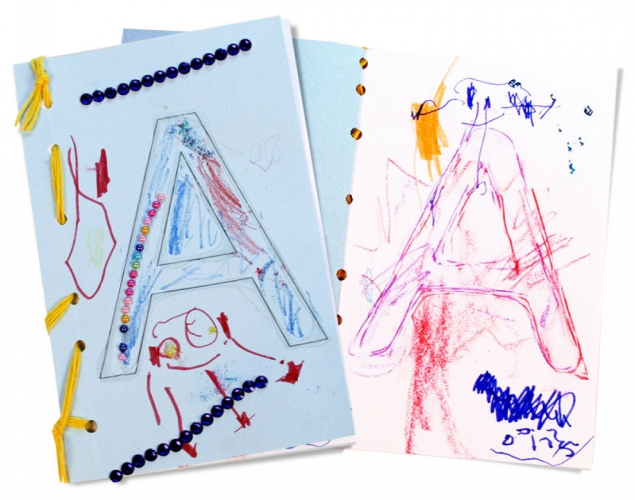
- Decorate the cover of your book.
- Colour in and around your letter.
- Draw something about you.
- Make it colourful.
4
- Stack all the papers together.
- Place the decorated cover on top.
- Place the white papers in the middle.
- Place a coloured paper on the bottom.
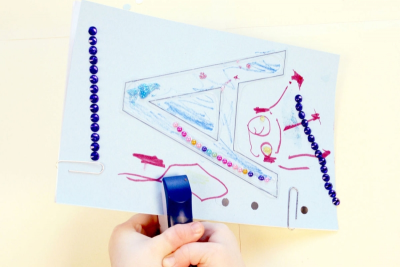
- Paper clip all the papers together.
- Use a hole punch to make holes along one edge of the papers.
5
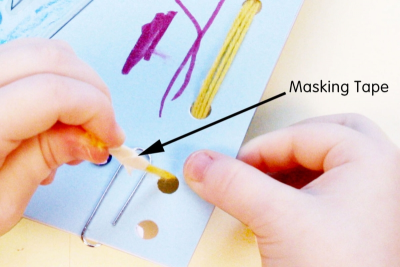
- Wrap a small piece of masking tape around the end of a piece of yarn to make a lace.
- Thread the yarn through the holes going in one side and out the other.
- Tie the yarn at each end.
6
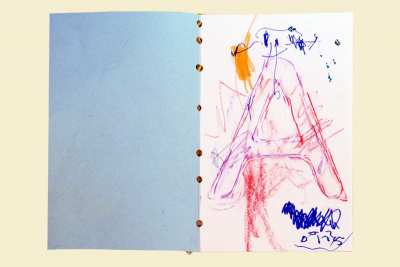
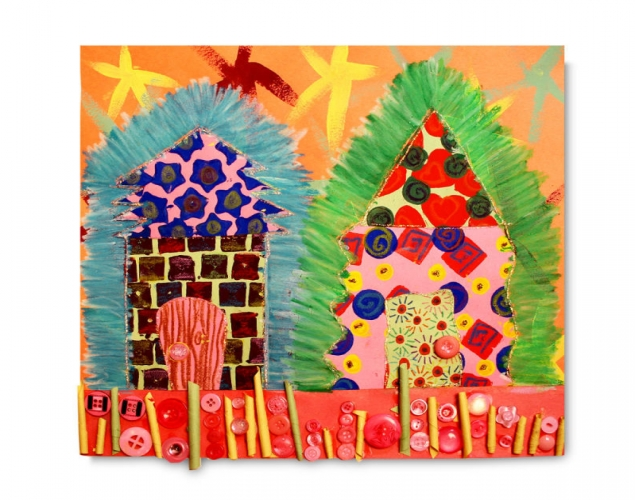
- Write and draw on the pages in the book.
Subjects:
Language Arts,
Visual Arts
Grades:
Pre-Kindergarten,
Kindergarten,
Grade 1