SELF-PORTRAIT COLLAGE – Portfolio, Shape, DetailStudents use construction paper to create a self-portrait collage on a folded piece of Bristol board to be used as a personal portfolio.
Students use construction paper to create a self-portrait collage on a folded piece of Bristol board to be used as a personal portfolio.
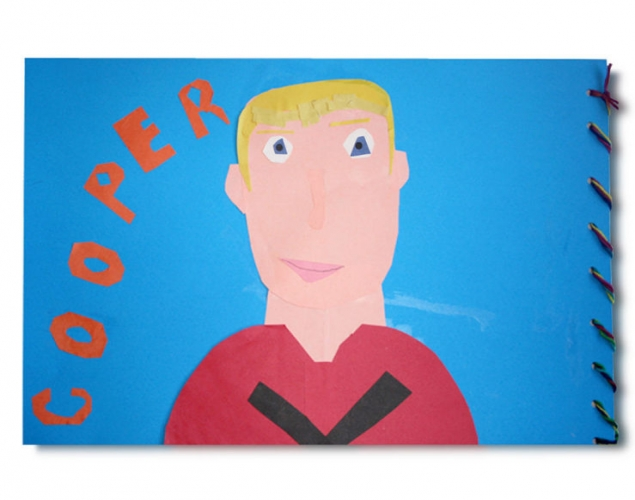
Supplies:
- Crayola Construction Paper
- Crayola Scissors
- Crayola Glue Sticks
- Bristol Board - Assorted Colours
- Hole Punches
- Yarn
- Small Mirrors - 1 per student
Steps:
1
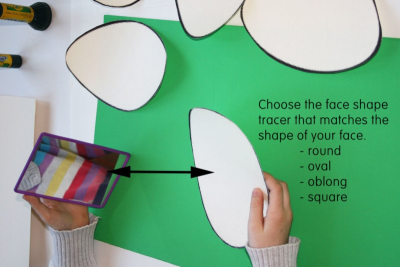
- Check in a mirror to view the shape and details of your face.
- For this activity, students will create a self-portrait using a simple tracer to form the face shape. They can use easily available classroom or household items such as a plant pot, a marker tin, or any round or oval object to trace the outline of the head.
- Use the tracer to draw the shape on a piece of coloured construction paper.
2
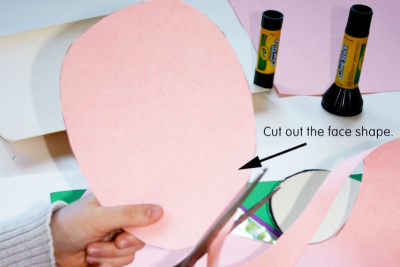
- Cut out the face shape.
3
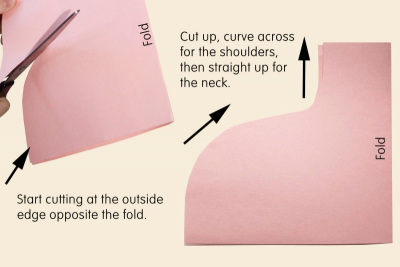
- To make the shoulders and neck fold a piece of coloured paper in half short end to short end.
- Start cutting at the outside edge opposite the fold.
- Cut up, curve across for the shoulders and then go straight up for the neck.
4
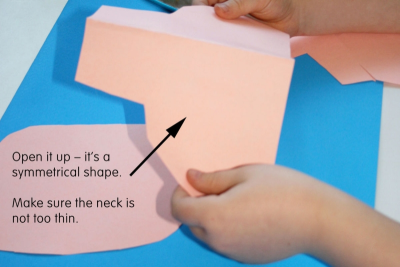
- Open it up to see what you have.
- It’s a symmetrical shape.
- Make sure the neck is not too thin.
5
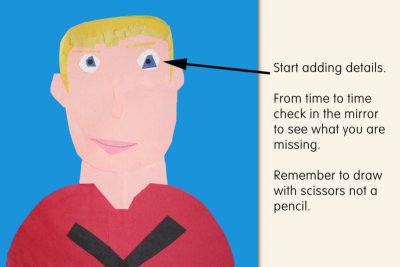
- Start adding details to complete the portrait.
- Remember to draw with scissors not a pencil.
6
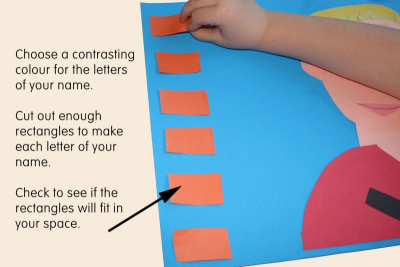
- Choose a contrasting colour for the letters of your name.
- Cut out enough rectangles to make each letter of your name.
- Check to see if the rectangles will fit in your space.
- Cut out the letters with the least number of cuts possible.
- Try to visualize the shape of the letter and imagine how you could fold the paper before cutting.
- You’ll be cutting away the negative shapes.
7
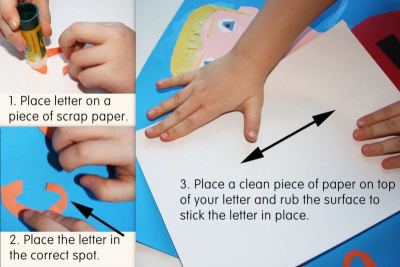
- Place your letter on a piece of scrap paper before applying the glue.
- Place the letter in the correct spot.
- Place a clean scrap paper on top of your letter and rub the surface of the paper to stick the letter in place.
- Continue until all letters have been glued in place.
8
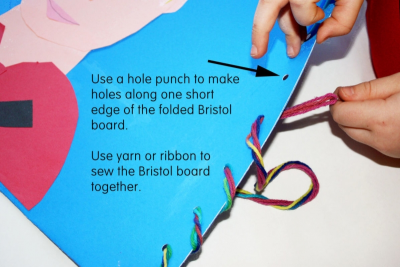
- Use a hole punch to make holes along one short end of the folded Bristol board.
- Use yarn or ribbon to sew the Bristol board together.
9
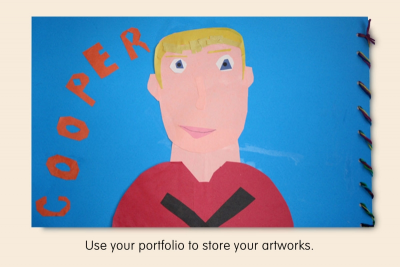
- Use the portfolio to store your works in progress and finished artworks.
Subjects:
Language Arts,
Mathematics,
Visual Arts
Grades:
Grade 1,
Grade 2,
Grade 3,
Grade 4,
Grade 5,
Grade 6,
Grade 7,
Grade 8

