Supplies:
- Crayola Broad Tip Markers
- Crayola Marker & Watercolour Paper - 22.9 cm x 30.5 cm (9" x 12") - 4 pieces per student
- Crayola Scissors
- Crayola Washable No-Run School Glue
- Craft Foam - 15.2 cm x 22.9 cm (6" x 9") - 1 per student
- Foam Core Board - 15.2 cm x 22.9 cm (6" x 9") - 1 per student
- Ball Point Pens
- Small Pieces of Sponge
- Water Containers
- Paper Towels
Steps:
1
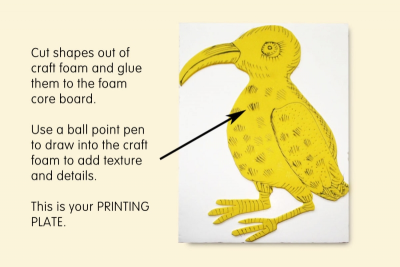
Printing Plate
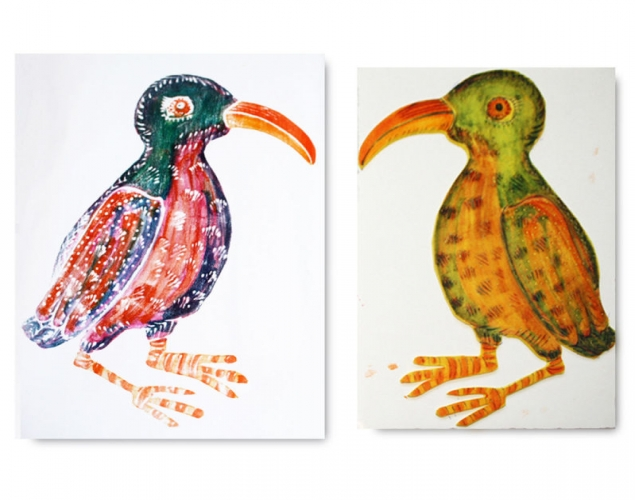
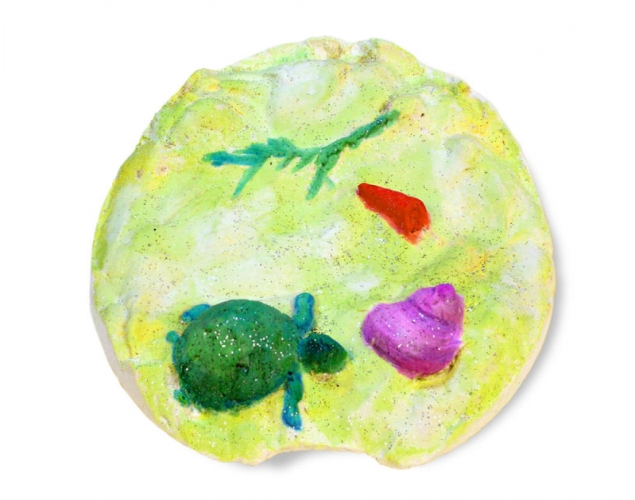
- Cut shapes out of the craft foam and glue them to the foam core board.
- Use a ball point pen to draw into the craft foam to add texture and details.
- This is your printing plate.
- Allow the craft foam to dry before beginning to print.
2
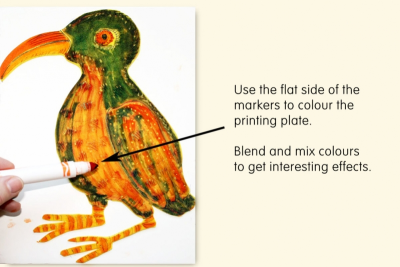
- Use the flat side of the markers to colour the printing plate.
- Blend and mix colours to get interesting effects.
- Apply lots of ink.
3
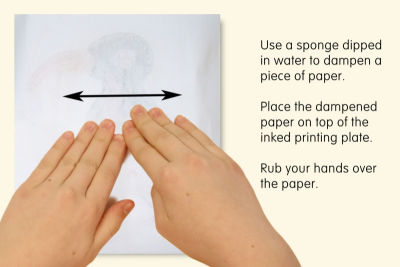
- Use a sponge dipped in water to dampen a piece of printing paper.
- Place the dampened paper on top of the inked printing plate.
- Rub your hands back and forth over the paper.
- Apply a firm, even pressure to transfer the ink to the paper.
4
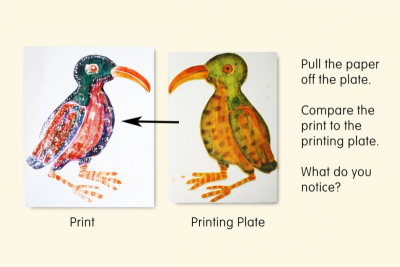
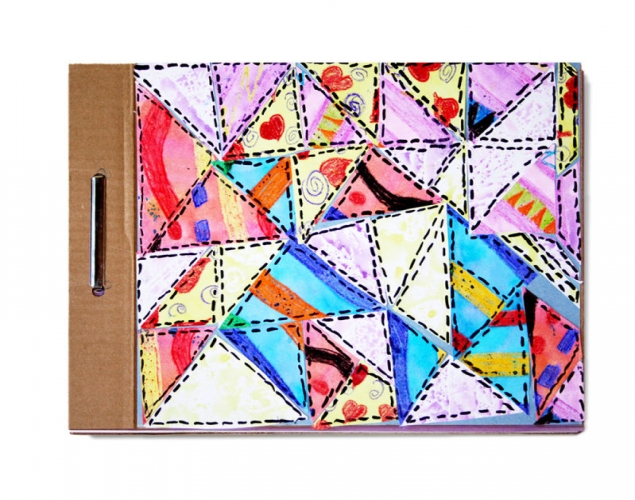
- Pull the paper off the plate.
- Compare the print with the printing plate.
- What do you notice?
- Is there still ink on the plate and not enough ink on the print?
- Do the lines and details show up?
- Are the colours bright and interesting?
- Are there any changes you want to make before you make another print? - Clean the printing plate with water and some paper towel.
- Now you’re ready to start again.
- Make 4 prints.
- Place your damp prints under some heavy books until they are dry to keep the paper nice and flat.
Subjects:
Grades:
Grade 1,
Grade 2,
Grade 3,
Grade 4,
Grade 5,
Grade 6,
Grade 7,
Grade 8,
Grade 9

