Supplies:
- Crayola Model Magic Classpack - Assorted Colours
- Crayola Scissors
- Crayola Washable No-Run School Glue
- Crayola Sketchbooks - 22 cm x 22 cm (9" x 9")
- Bristol Board
- Duct Tape
- Pencils
- Rulers
Steps:
1
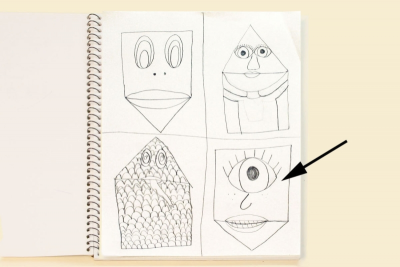
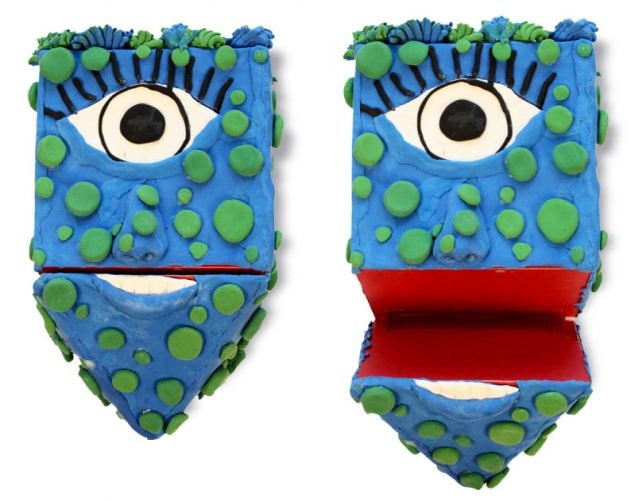
- Make 4 thumbnail sketches of different designs for your puppet.
- Make sure your design uses at least 2 geometric solids.
- Choose the design you like best or combine ideas to make a new one.
2
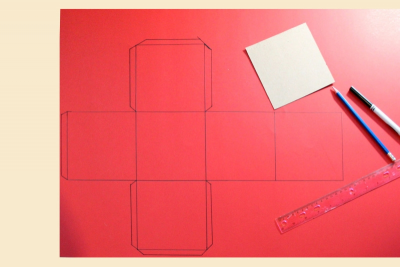
- Make at least 2 nets to use for the puppet head.
- Plan how to combine them so the mouth will open and close.
3
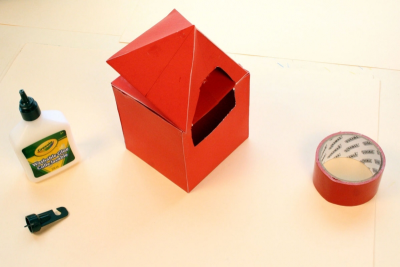
- Cut out your nets and glue them together.
- Join the two nets using strong tape such as duct tape.
- Make sure the mouth will open and close.
4
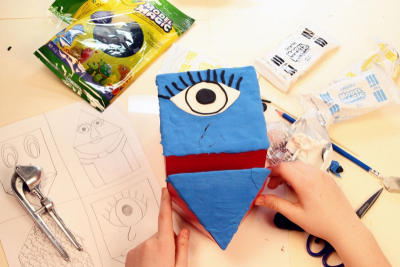
- Use glue to attach a thin layer of Model Magic to the surface of the net.
- Allow it to dry for at least a day.
5
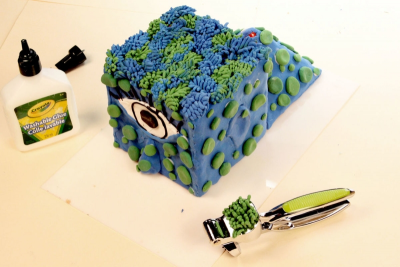
- Although Model Magic sticks to itself it is a good idea to use glue to attach the new pieces of Model Magic for this project.
- As you add more Model Magic to the puppet head think about colour and texture.
- Mix primary colours to get new colours.
- Use a garlic press and other tools to create texture.
6
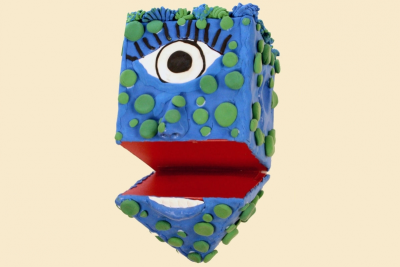
- Allow the puppet head to dry for 3 days.
- Once it is dry, you may want to give it a coat of acrylic varnish to make it stronger and give it a shiny finish.
Subjects:
Language Arts,
Mathematics,
Visual Arts
Grades:
Grade 4,
Grade 5,
Grade 6,
Grade 7,
Grade 8

