Supplies:
- Crayola Modeling Clay
- Crayola Acrylic Paint - 6 Count
- Crayola Paintbrushes - 5 Count
- Crayola Washable No-Run School Glue
- Crayola Marker & Watercolour Paper - 22.9 cm x 30.5 cm (9" x 12") or Sketchbooks
- Crayola Erasable Coloured Pencils - 12 Count
- Crayola Glitter Glue
- Crayola Doodle Pad Newsprint - 22.9 cm x 30.5 cm (9" x 12")
- Recycled Newspapers
- Petroleum Jelly
- Water Containers
- Embellishments
- Cardboard - 22.9 cm x 30.5 cm (9" x 12") - 1 per student
Steps:
1

- Use Crayola Modeling Clay to build up the mask form. This will be your mold.
- View the mold from the side to be sure you have built up the features to make them really stick out.
2
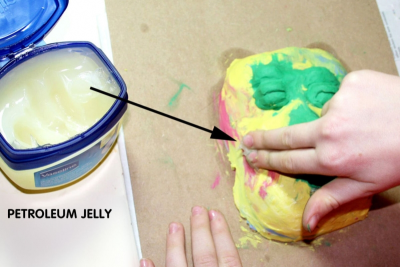
- Coat the mold with petroleum jelly
- This will make it easier to remove the mold when the mask is finished.
3
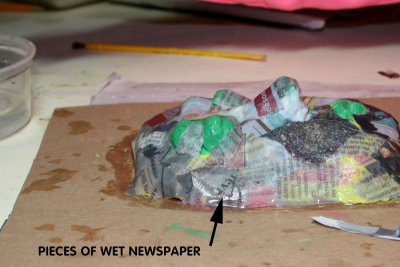
- Cover the mold with small pieces of torn newspaper dipped in water.
4
- Tear small pieces of white newsprint into a small pile.
- Tear small pieces of recycled newspaper into another small pile.
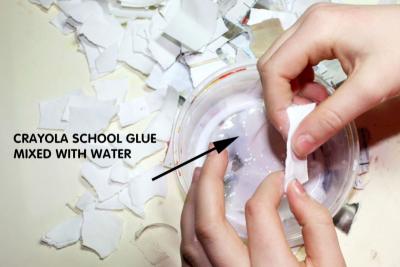
- Pour Crayola School Glue into a container.
- Add a small amount of water to the glue to thin it slightly.
5
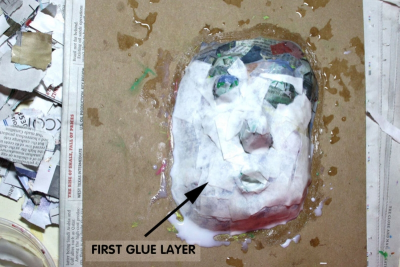
- Dip a piece of the white newsprint into the glue mixture then place it on the mold.
- Cover the entire mold with a layer of white newsprint.
- Repeat this process making the next layer newspaper.
- This way you can easily tell where you have added a new layer of paper.
6
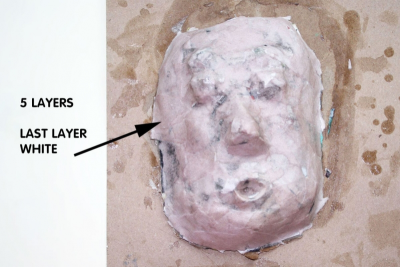
- Add 5 layers of paper alternating between newspaper and white newsprint.
- Be sure to use the white newsprint for the last layer.
- Allow your mask to dry for about 3 days.
7
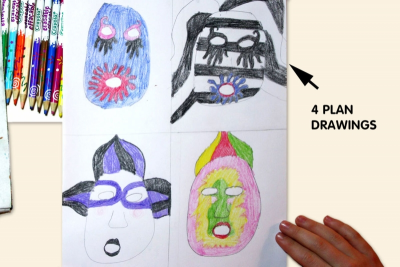
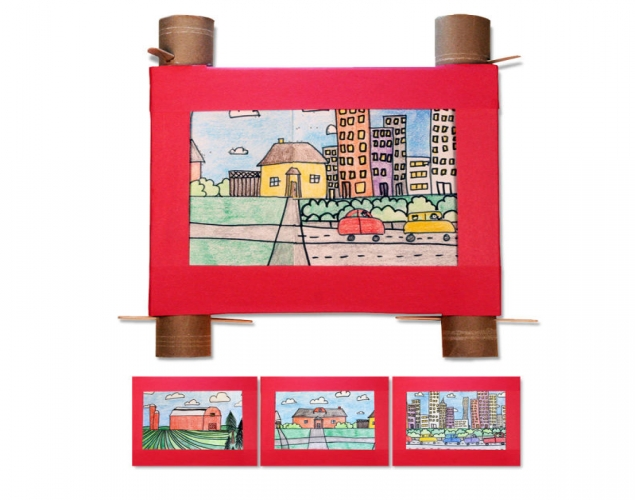
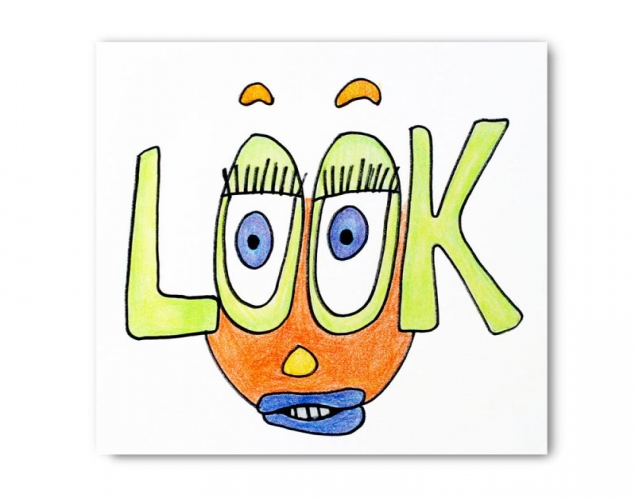
- While it is drying use erasable coloured pencils to make 4 plan drawings for painting your mask.
- Choose the design you like the best.
8
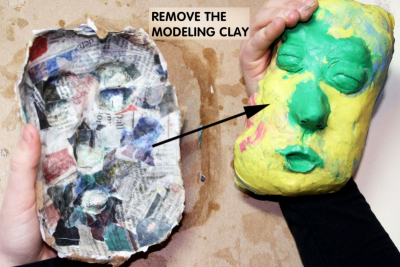
- When your mask is completely dry squeeze your fingers in between the paper and the modeling clay and gently remove the modelling clay.
- Trim the edges with scissors.
- Glue small pieces of paper over the edges of the mask to give a smooth finish.
- This layer should dry in a day.
9
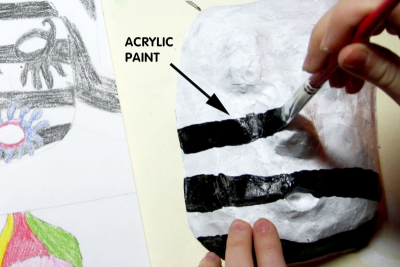
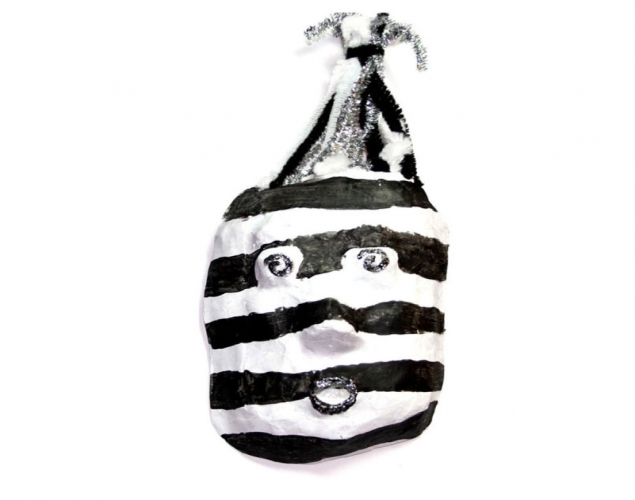
- Use acrylic paint to finish the mask.
- Depending on your design, you may want to start by applying a base coat of white.
- Add details and embellishments.
10
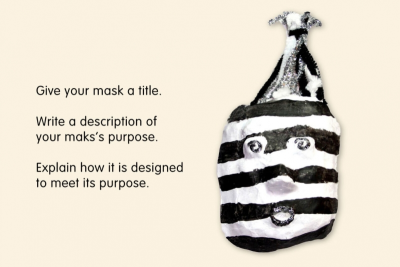
- View your mask with fresh eyes.
- Give it a title.
- Write a description of your mask's purpose.
- Explain how it is designed to meet its purpose.
Subjects:
Language Arts,
Social Studies,
Visual Arts
Grades:
Grade 4,
Grade 5,
Grade 6,
Grade 7,
Grade 8,
Grade 9,
Grade 10