Supplies:
- Crayola Model Magic - Assorted Colours
- Crayola Sketchbook or Marker & Watercolour Paper
- Crayola Crayons or Coloured Pencils
- Pencils
- Googly Eyes and Other Embellishments
- 18 or 20 Gauge Wire - about 90 cm (36") per student
Steps:
1

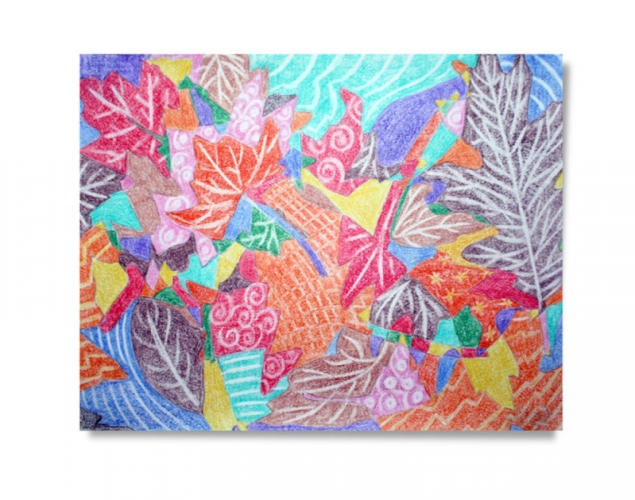
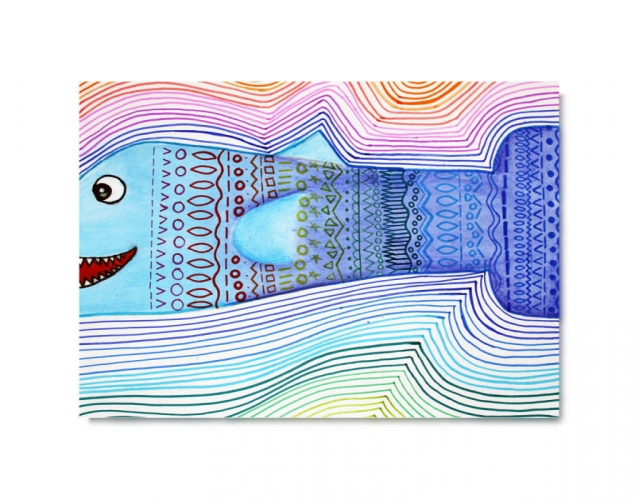
- Choose an animal, or animals that you think reflect some of your characteristics.
- Make a plan drawing of the animal with your human head.
- You may want to download some source pictures of the animal from the Internet.
- Brainstorm words that represent the qualities of the animal and of you.
- Write the words around the drawing.
- Write notes about the design of your sculpture.
2
Make the Armature
- Imagine what the finished animal will look like.
- The armature is a like the skeleton of your hybrid creature.
- You will build the creature over the skeleton using Model Magic.
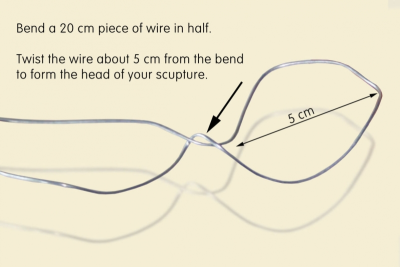
- To form the main part of the body bend a 20 cm piece of wire in half.
- Twist the wire about 5 cm from the bend to form the head of your sculpture.
3
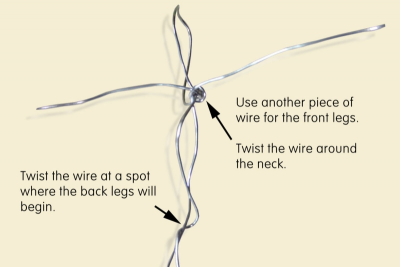
- Twist the wire at a spot where the back legs will begin.
- Take another piece of wire for the front legs.
- Twist the wire around the neck.
4
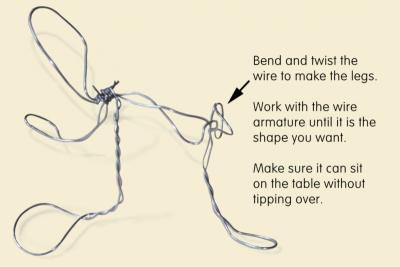
- Bend and twist the wires to make legs.
- Work with the wire armature until it is the shape you want.
- Make sure it can sit on the table without tipping over.
5
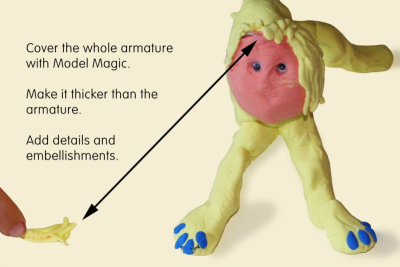
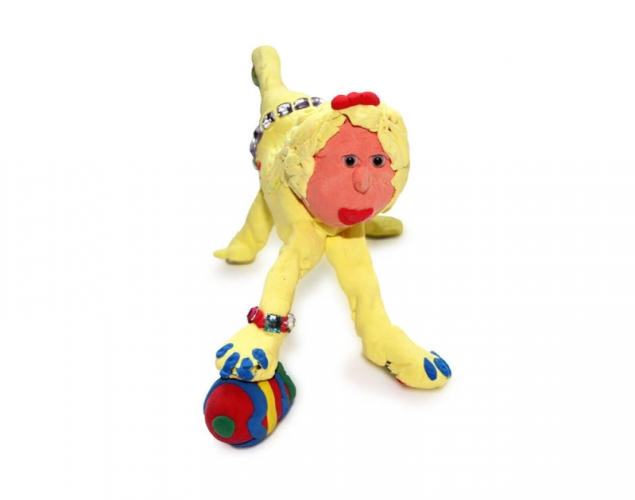
- Cover the armature with Model Magic.
- Make it thicker than the armature
- Add details and embellishments.
- The armature will make the sculpture stronger and support the Model Magic until it dries.
6
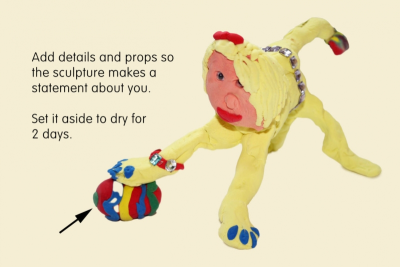
- Add details and props so the sculpture makes a statement about you.
- Set it aside to dry for 2 days.
Subjects:
Language Arts,
Social Studies,
Visual Arts
Grades:
Grade 4,
Grade 5,
Grade 6,
Grade 7,
Grade 8