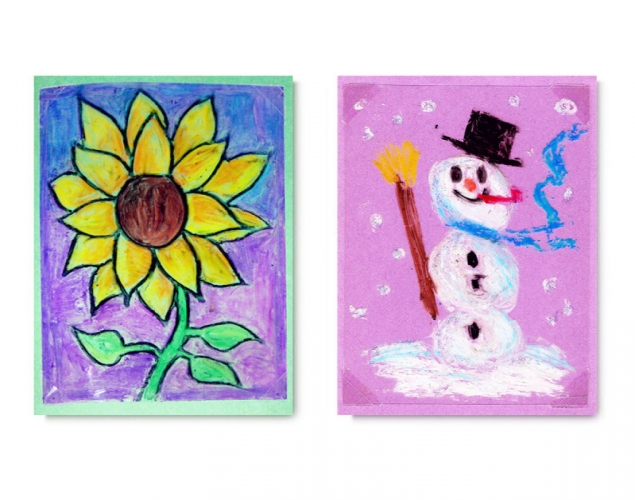
Supplies:
- Crayola Broad Line Markers
- Crayola Marker & Watercolour Paper - 22.9 cm x 30.5 cm (9" x 12") - 1 piece per student
- Crayola Washable Glue Sticks
- Crayola Paint Brushes - 1 per student
- Water Containers
- Water
- Green Masking Tape
- Plastic Placemats - 1 per student
- Paper Towels
Steps:
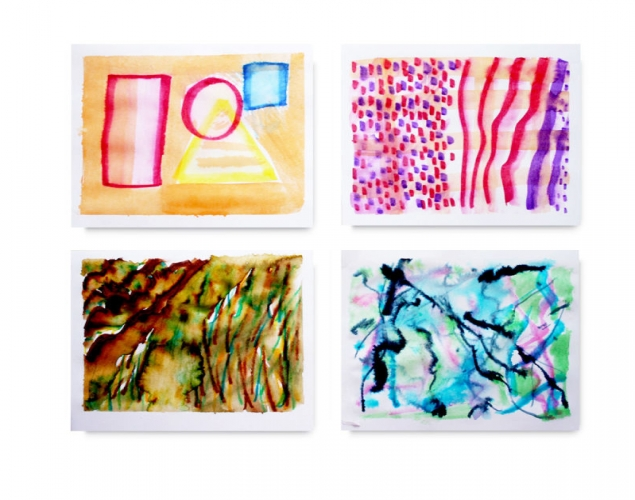
1
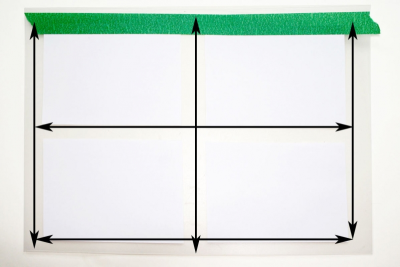
- Tape 4 pieces of paper (11.4 cm x 15.3 cm) to a plastic placemat.
- Make sure you put tape on all 4 sides of each piece of paper.
2
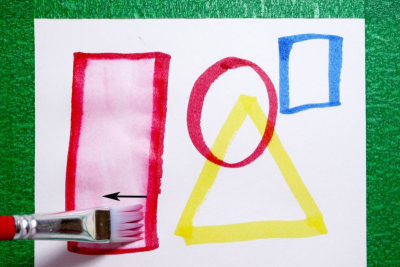
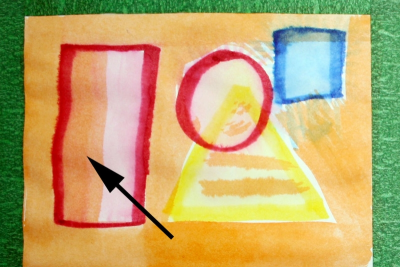
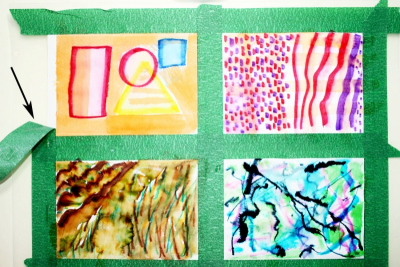
- Draw some geometric shapes on one piece of paper.
- Use the broad side of the marker tip.
- Paint water into the marker line.
- Pull the colour into the shape.
- Repeat with each shape.
3
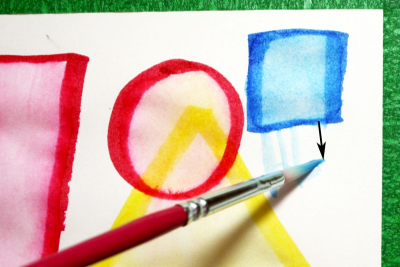
- Notice what happens if you place a wet brush into the marker and pull a thin line of colour away from the edge of the shape.
4
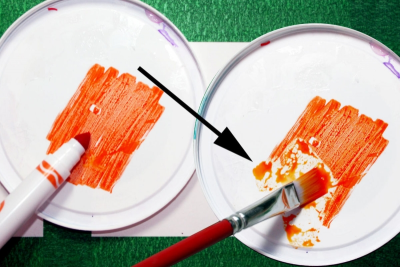
- Colour some marker ink onto a plastic lid.
- Use the flat side of the marker.
- Paint a small amount of water into the marker ink.
5
- Use the ink to paint flat colour into the background spaces.
- Notice what happens if you paint this colour over the dry shapes.
6
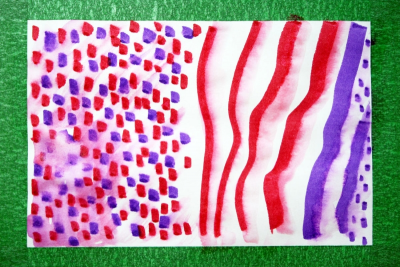
- Try something new in the next box.
- Dots and lines are interesting.
- Paint a small amount of water into the marks.
- Experiment with how you apply the water.
7
- Try something new in the next box.
- Vary the thickness, colour and length of your marks.
- See what happens when you put lots of water on the marks.
8
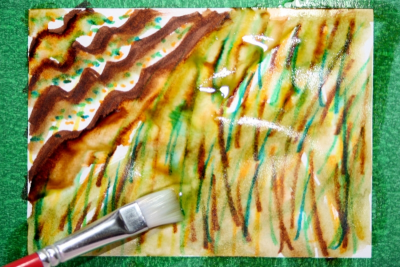
- Try wetting the paper before you make any marks.
9
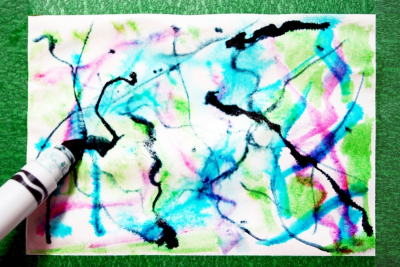
- Draw directly onto the wet paper.
- Vary the thickness and direction of your marks.
10
- Gently remove the tape from the papers.
- Notice how the tape created a border for your experiments.
11
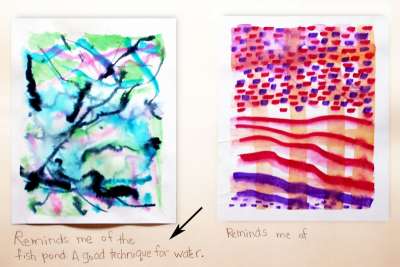
- Glue your experiments into your sketchbook (or onto a piece of paper).
- For each one, answer these questions:
- What does it remind you of?
- What would this technique be good for if you were making a picture?
Subjects:
Grades:
Grade 1,
Grade 2,
Grade 3,
Grade 4,
Grade 5,
Grade 6,
Grade 7,
Grade 8