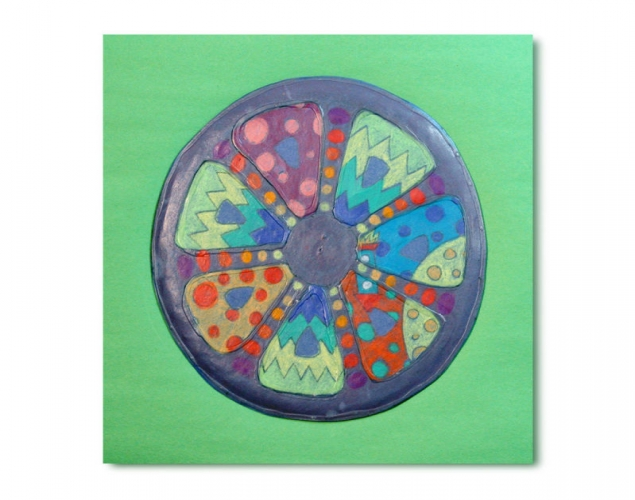
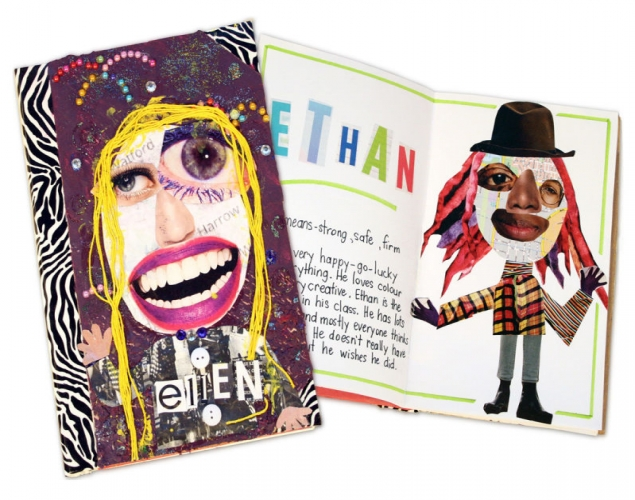
INSPIRED BY GEOFFREY FARMER – Self-Portrait, CharacterStudents create an expressive self-portrait collage for the cover of a hardcover book (made in a previous class). Then they create three characters using collage techniques and describe them in written profiles. Finally, they write a story featuring themselves and the three characters.
Students create an expressive self-portrait collage for the cover of a hardcover book (made in a previous class). Then they create three characters using collage techniques and describe them in written profiles. Finally, they write a story featuring themselves and the three characters.
Supplies:
- Crayola Washable Glue
- Crayola Acrylic Paint
- Crayola Paint Brushes
- Crayola Glitter Glue
- Crayola Scissors
- Crayola Glue Sticks
- Crayola Markers
- Masking Tape
- Magazines
- Embellishments
- Water Containers
- Paper Towels
Steps:
1
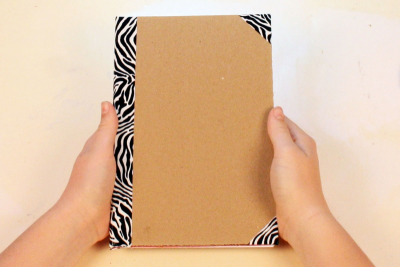
- Use the hardcover book you created earlier.
- Visualize your self-portrait on the cover.
- imagine textures and colours
- imagine how you will fill the space
- imagine the energy and attitude you want your self-portrait to convey
2

- Flip through magazines to find eyes, noses and mouths you might want to use in your self-portrait.
- Think of what paper you could use for your face that has significance for you, for example,
- a map of a special place
- a flag or crest
- an environmental image
3
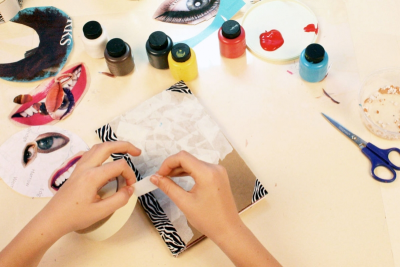
- Prepare the surface of the cover for painting. You may want to add textures, for example,
- masking tape
- egg shells
- bits of netting
- bits of fabric - Paint the cover with acrylic paint.
- Set the book aside to dry.
4
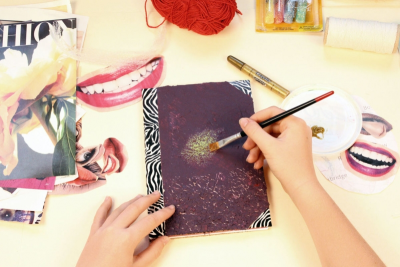
- Add glitter glue and other paint to the cover before working on the self-portrait.
5
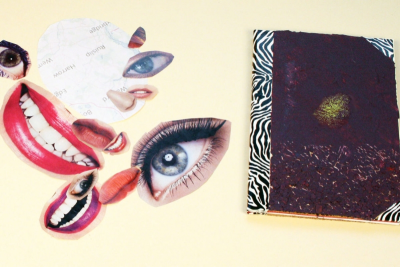
- Gather the images and start playing with different combinations and arrangements.
6
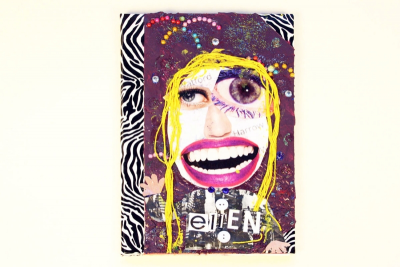
- Use washable glue to fasten everything to the cover.
- Place a piece of wax paper over the surface and press the shapes firmly in place.
- Add a body, other details and embellishments to express the attitude, feeling or spirit you want to convey about yourself.
- Use cut out letters to add your name, or nickname.
7
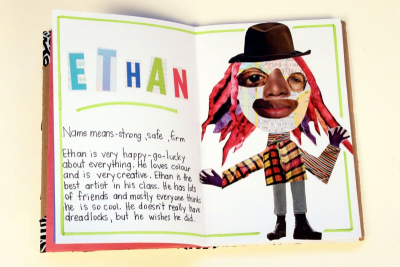
- Over the next few weeks create 3 different characters using collage techniques.
- Use cut out letters for their names.
- Start with the first character and let your imagination flow.
- Once the image is complete use the Character InterviewForm to interview the character. Let the following information guide your thinking:
- NAME: Choose a name that is respectful of the energy and personality of your character. Think about the meaning of the name you choose. Does it fit? Does the character have a nickname?
- AGE: What are the characteristics of a person of this age?
- APPEARANCE: Does the character care about looks? Does he/she have a favourite outfit? Is he/she usually neat or sloppy?
- RELATIONSHIPS: What is the character's family like? Are there any problems? Do they have special customs? Does the character have a best friend? What do they like to do together?
- PERSONALITY: What are the character's strengths, weaknesses, fears? Does he/she have special talents and hobbies? Does she/he use a unique expression when he/she is excited or upset? - When you have finished creating your characters, use them in a story. Include yourself in the story too.
- List at least 5 details about where the story takes place.
- Describe the colours, shapes and spaces that are important to your story.
- What is the problem in this story?
- What are some possible solutions to this problem?
- What facts or evidence can you provide to back up what you say in the story?
- Think about how you want the story to end. Make it a satisfying ending. - Write a first draft of your story and share it with a peer.
- Use the feedback you get to edit and refine your story.
- Write the final version in your hardcover book and share it with others.
Subjects:
Grades:
Grade 4,
Grade 5,
Grade 6,
Grade 7,
Grade 8

