Supplies:
- Crayola Washable No-Run School Glue
- Crayola Fine Line Markers - 12 Count
- Crayola Scissors
- Crayola Tempera Paint - 6 Count
- Crayola Paint Brush Set - 5 Count
- Crayola Glitter Glue - 5 Count
- Cardstock Paper - 22 cm x 28 cm (8 ½" x 11") - 1 piece per student
- Foam Core Board - 8 cm x 12 cm (3" x 4 ½") - 1 piece per student
- Self-Adhesive Craft Foam - 8 cm x 12 cm (3" x 4 ½") - 1 piece per student
- Googly Eyes (optional)
Steps:
1
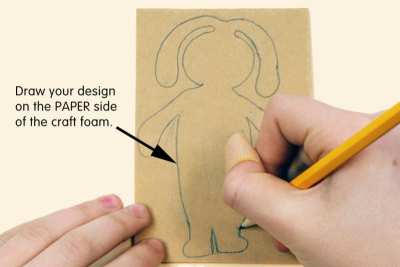
- Draw your design on the paper side of the craft foam.
- Make sure it fills the whole space.
2
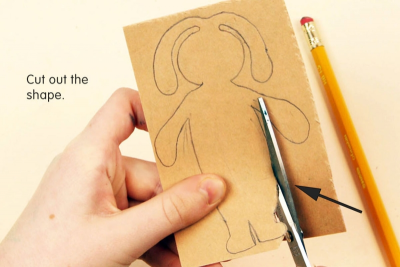
- Cut out the shape.
3
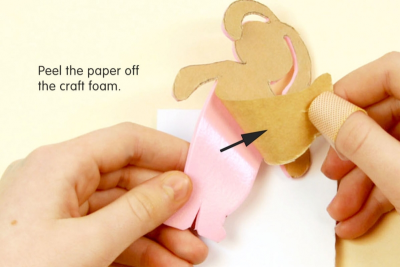
- Peel the paper off the craft foam.
4
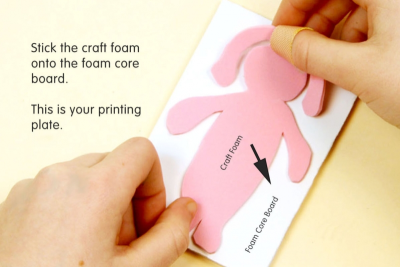
- Stick the craft foam shape onto the foam core board.
- This is your printing plate.
5
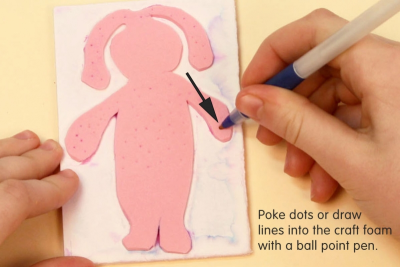
- Poke dots or draw lines into the craft foam with a ball point pen.
- Press hard with the pen to leave an indent in the craft foam.
6
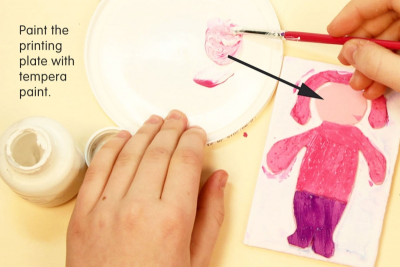
- You will be making a total of 3 prints on your card.
- Think about how you want to use colour for your prints.
- Paint the printing plate with Crayola tempera paint.
- Mix colours and/or use them straight from the container.
7
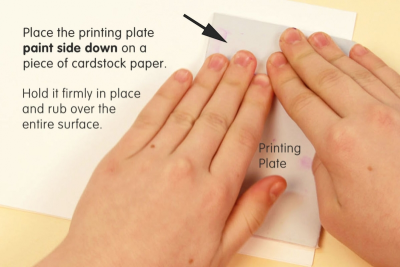
- Fold a piece of cardstock paper in half short end to short end to make a card.
- Place the printing plate, paint side down, on the front of the cardstock paper card.
- Be careful to leave enough room for the other 2 prints.
- Hold the printing plate firmly in place and rub over the entire surface.
- Press hard to transfer the paint from the printing plate to the paper.
8
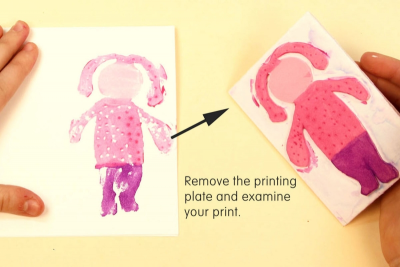
- Remove the printing plate and examine your print.
- Notice where the paint did not transfer.
- Did you need to apply more paint or more pressure in those areas?
9
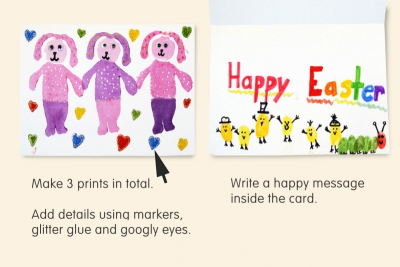
- Make 3 prints in total.
- Finish the card by adding details using markers, glitter glue and googly eyes.
- Write a happy message inside the card.
- You might want to add fingerprints and turn them into happy creatures.
- Just draw washable marker on the tip of a finger and press your finger onto the paper.
- Use the tip of the marker to draw details.
Subjects:
Language Arts,
Mathematics,
Social Studies,
Visual Arts
Grades:
Grade 1,
Grade 2,
Grade 3,
Grade 4,
Grade 5,
Grade 6