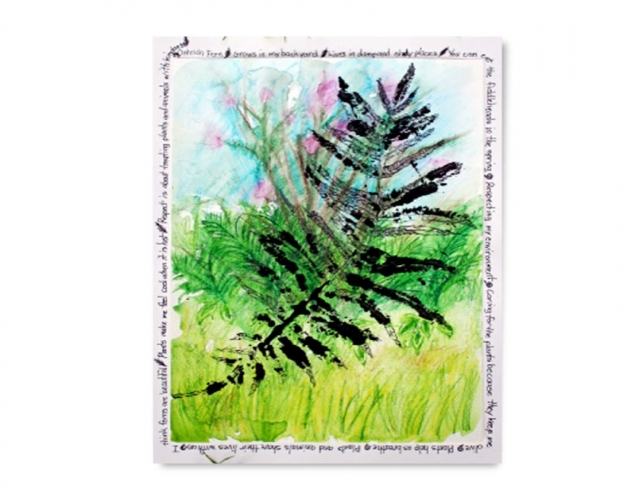
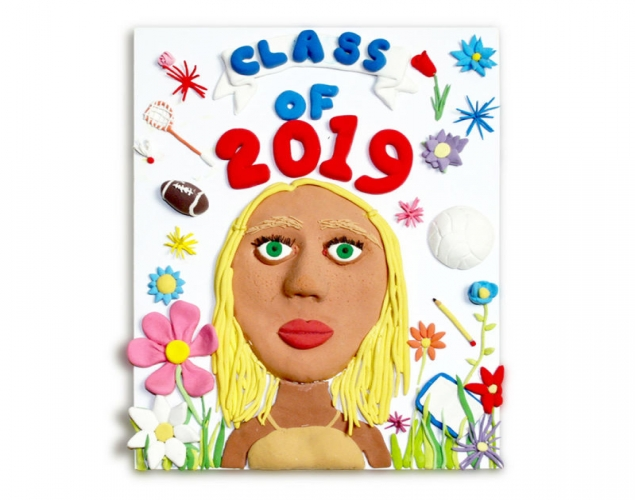
GRAD PICTURES - MODEL MAGIC – Colour Mixing, Form, BalanceStudents use Model Magic to create a self-portrait that communicates something about them and how they feel about graduating from grade 8. (Crayola Model Magic is a lightweight, spongy modeling material that sticks to itself and air dries in 24 hours.)
Students use Model Magic to create a self-portrait that communicates something about them and how they feel about graduating from grade 8. (Crayola Model Magic is a lightweight, spongy modeling material that sticks to itself and air dries in 24 hours.)
Supplies:
- Crayola Model Magic 2 lb Bucket - Naturals
- Crayola Model Magic Classpack - Assorted Colours
- Crayola Washable No-Run School Glue - 1 per 6 students
- Crayola Sketchbooks - 1 per student
- White Foam Core Board - 20 cm x 25.5 cm - 1 per student
- Crayola Scissors
- Toothpicks
Steps:
1
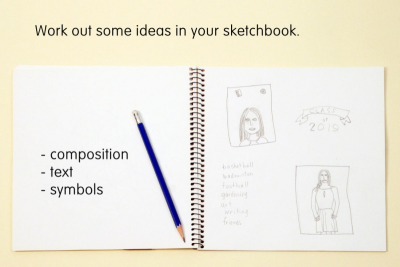
- Use your sketchbook to brainstorm ideas.
- Think about the composition and what you want to include.
- text
- symbols
- profile, front view, face and shoulders, whole body
2
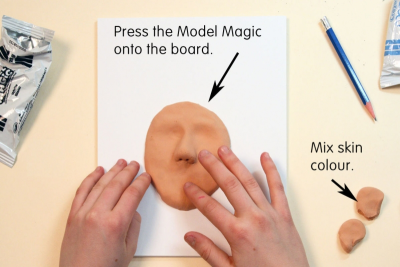
- Mix brown and white together to make a skin colour that you like.
- red + blue + yellow make brown
- the kind of brown you get will depend on how much of each primary colour you use
- for a light skin tone mix a large piece of white with a small piece of brown
- it only takes a very small amount of colour added to white to change the hue - Make sure you mix enough for your whole face, neck and ears.
- It is very important to make sure that any 2 pieces of Model Magic are blended together when you add the neck and various details or they may separate or crack as the Model Magic dries.
- Press the Model Magic onto the foam core board and make sure it is sticking to the surface.
3
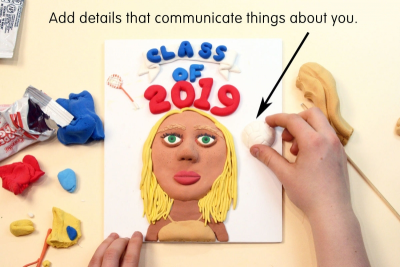
- Add details that communicate your ideas.
- Make sure the Model Magic is sticking to the foam core board, or itself as you work through the design.
- Leave some of the foam core board blank to provide white space around the key elements of your design.
- For very small pieces add a small amount of white glue to be extra sure the pieces stick.
4
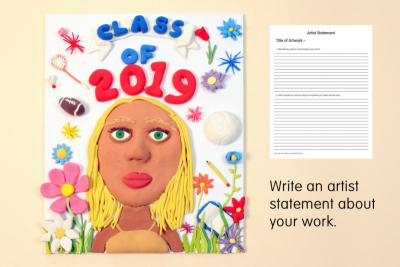
- Once you are satisfied with your grad picture look at it with fresh eyes.
- Use the worksheet to write an artist statement about your work. (Downloads - WriteArtistStatement.pdf)
Subjects:
Language Arts,
Social Studies,
Visual Arts
Grades:
Grade 8

