Supplies:
- Crayola Air-Dry Clay - White
- Crayola Acrylic Paint - 6 Count
- Crayola Paintbrushes - 5 Count
- Crayola Washable No-Run School Glue
- Masking Tape
- Tissue Paper
- Water Containers
- Paper Towels
- Plastic Container Lids for Palettes
- Crayola Sketchbooks
- Wire - 16 Gauge
- Recycled Light Bulb - 1 per student
Steps:
1
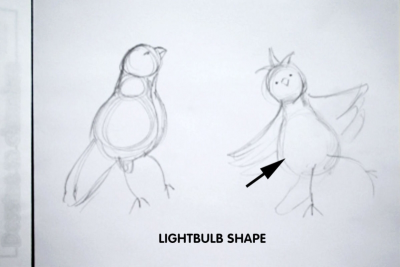
- Create several sketches appropriate for the lightbulbshape.
- Choose the design you like the best.
2
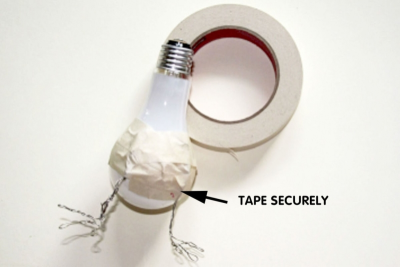
- Use wire to create parts of the animal such as legs and wings.
- Twist the wire into shape and tape it to the light bulb with masking tape.
- Make sure it is good and secure.
3
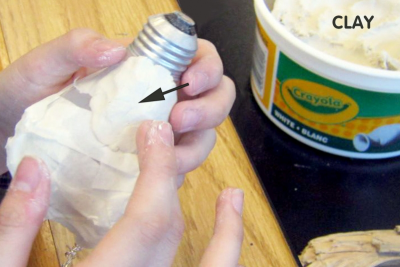
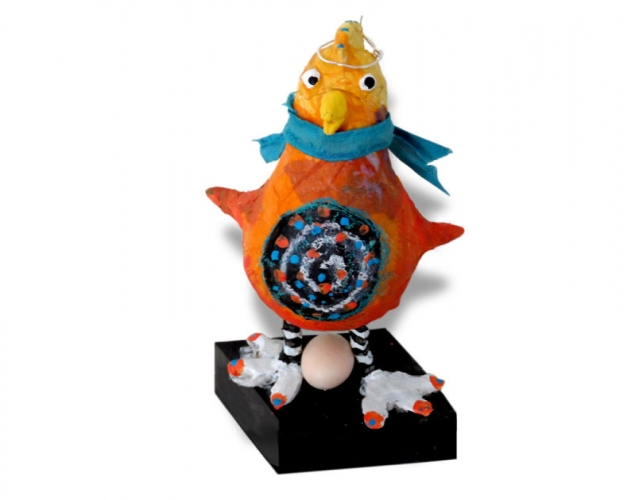
- Gently press the clay onto the lightbulb.
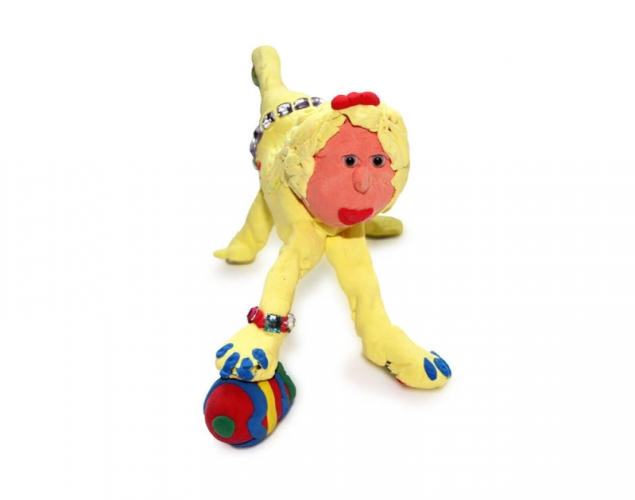
- Use clay to add other details.
- Smooth out the clay on the lightbulb armature as you go along.
4
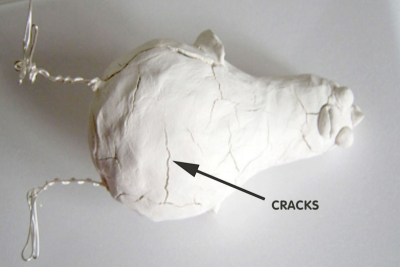
- Allow the sculpture to dry overnight
- Some cracking may occur (the tissue paper will cover any cracks).
5
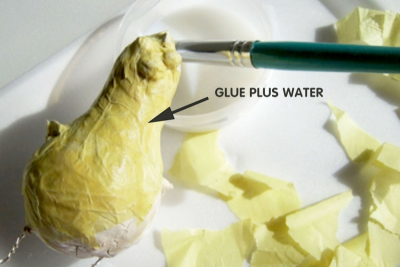
- When the clay is dry, cover the clay and wire with tissue paper.
- Mix a small amount of water with Crayola No-Run Glue.
- Make sure you apply the glue mixture to the clay first and then on top of the tissue paper.
- Be sure to cover all the clay with glue and tissue paper.
6
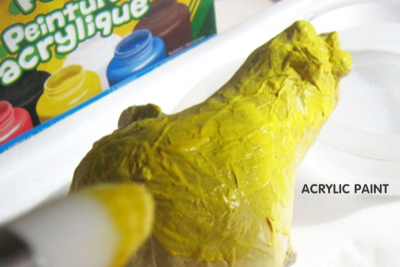
- Allow the sculpture to dry overnight.
- Paint the surface with acrylic paint.
7
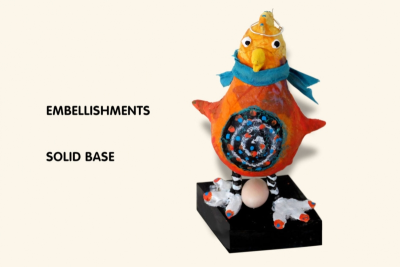
- Add embellishments to give your animal a distinctive personality.
- Mount the sculpture on a solid base such as a piece of wood or large rock.
Subjects:
Language Arts,
Science,
Visual Arts
Grades:
Grade 7,
Grade 8,
Grade 9,
Grade 10

