Supplies:
- Crayola Watercolour Pencils, 12 Count
- Crayola Watercolour & Marker Paper
- Crayola Paint Brushes
- Water Containers
- Paper Towels
- Plastic Placemats - 1 per student
- Masking Tape
Steps:
1
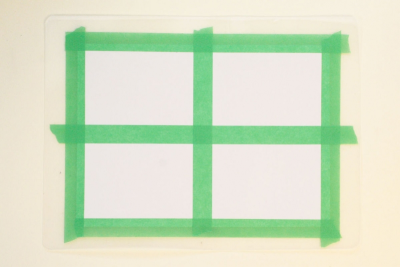
PREPARING THE PAPER
- Tape a single piece of watercolour paper to a plastic placemat or piece of stiff cardboard.
- Use masking tape to divide the paper into 4 sections.
- When the tape is removed it will leave a white border around the paintings.
- Be sure to use one long strip of tape for each side unless you want a broken border.
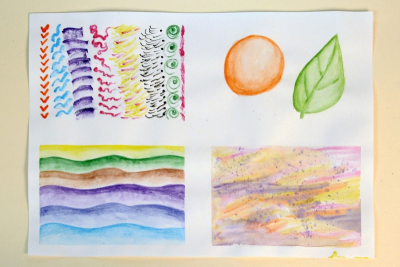
2
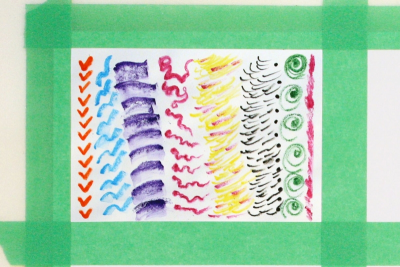
WET PENCIL
- Do not wet the paper before starting.
- Dip a pencil into water and then draw on the paper.
- Use:
- the pencil tip
- the side of the pencil tip
- more of the side
- different pressure - Repeat the lines to create interesting patterns.
- Imagine how you might use these lines, and or patterns in a picture.
3
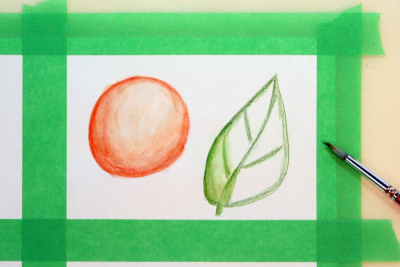
3-D SHAPES
- Draw some geometric and organic shapes with a pencil.
- Colour around the inside edges of the shape with a dry pencil.
- Use a wet paintbrush to wet the colour and spread it out into the shape so it goes from dark to light
- Experiment with how much colour and water you use to get a 3-dimensional effect.
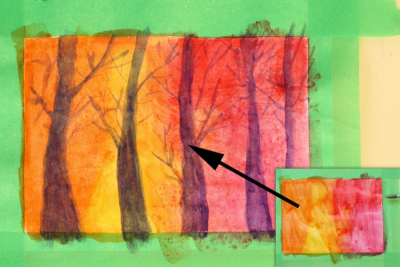
4
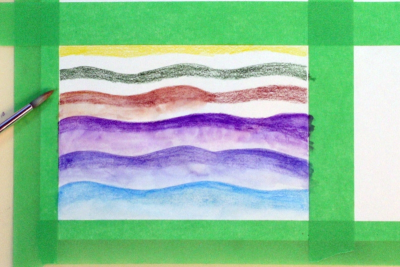
3-D LINES
- Draw some wavy, horizontal lines across the paper.
- Colour along the edges of the lines with a dry pencil.
- Use a wet paintbrush to wet the colour and spread it out to the next line so it goes from dark to light.
- Experiment with how much colour and water you use to get a 3-dimensional effect.
5
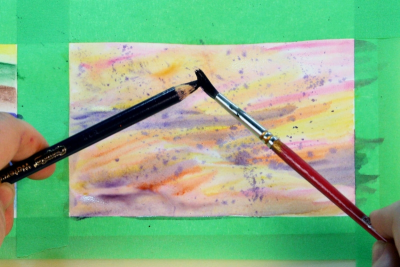
WET PAPER
- Wet the entire paper with clear water.
- Wet a paintbrush and paint it across the tip of a pencil to pick up colour.
- Paint into the wet paper.
- Repeat this process until the paper is filled with colour.
- Push the wet paintbrush against the tip of the pencil to create splatters.
6

DRY PAPER
- Wet a paintbrush and paint it across the tip of a pencil to pick up colour.
- Paint on the dry paper until it is filled with colour.
- Compare this painting with the wet paper painting.
- Imagine how you might use these techniques in a picture.
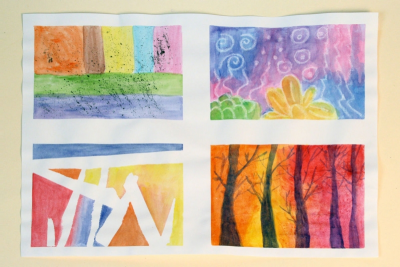
7
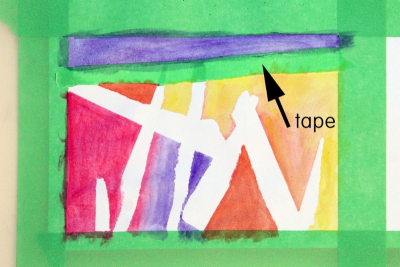
RESIST
- Stick small pieces of tape to the paper before painting.
- Wet a paintbrush and paint it across the tip of a pencil to pick up colour.
- Paint on the paper until it is filled with colour.
- Go right over the tape.
- Allow the paint to dry and then gently remove the tape.
- Imagine what the white shapes might be.
- Add details or leave the shapes as they are.
8
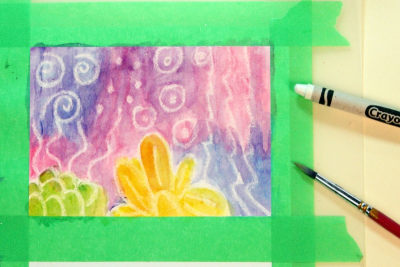
CRAYON RESIST
- Use crayons to draw a design on the paper. Press hard while colouring.
- Leave lots of the paper uncoloured.
- Wet a paintbrush and paint it across the tip of a pencil to pick up colour.
- Paint over the crayon drawing letting different colours blend together.
9
WET OVER DRY
- Colour a variety of colours (or just one) directly on the paper with a dry pencil.
- Paint over the colour with a wet paintbrush. (Don’t get it too wet.)
- Wet a paintbrush and paint it across the tip of a pencil to pick up colour.
- Paint over the first layer of colour until the paper is filled with strong colour.
- Allow the paint to dry.
- Paint over the dry paint with contrasting colours.
10
- Gently remove the tape.
- Examine your experiments.
- Imagine how you might use these techniques in a picture.
11
- Choose 3 of the 8 techniques to discuss with a partner.
- Why did you choose these techniques?
- How would you use these techniques in a picture?
- What did you like best about using watercolour pencils?
Subjects:
Grades:
Grade 1,
Grade 2,
Grade 3,
Grade 4,
Grade 5,
Grade 6,
Grade 7,
Grade 8,
Grade 9