EXPLORING COLOURED PENCILS – Simple TechniquesStudents use coloured pencils to explore a variety of ways to shade and blend colours and then use the techniques to create a 'cool creature'.
Students use coloured pencils to explore a variety of ways to shade and blend colours and then use the techniques to create a 'cool creature'.
Supplies:
- Crayola Coloured Pencils - 24 Count
- Crayola Marker & Watercolour Paper - 22.9 cm x 30.5 cm (9" x 12")
- Small Pencil Sharpeners
- Rulers
- Pencils
Steps:
1
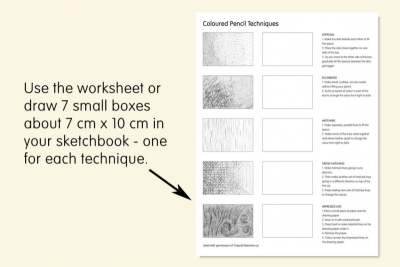
- Use the Coloured Pencil Techniques worksheet, (Downloads - ColouredPencilWorksheet.pdf)
- or draw 7 small boxes about 7 cm x 10 cm in your sketchbook, one for each technique.
2
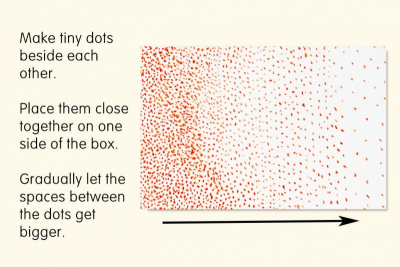
STIPPLING
- Make tiny dots beside each other to fill the space.
- Place the dots close together on one side of the box.
- As you move to the other side of the box gradually let the spaces between the dots get bigger.
3
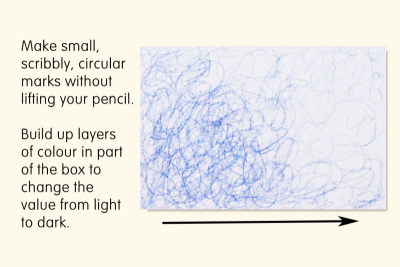
SCUMBLING
- Make small, scribbly, circular marks without lifting your pencil.
- Build up layers of colour in part of the box to change the value from light to dark.
4
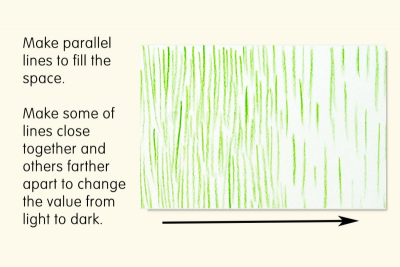
HATCHING
- Make parallel lines to fill the space.
- Make some of the lines close together and others farther apart to change the value from light to dark.
5
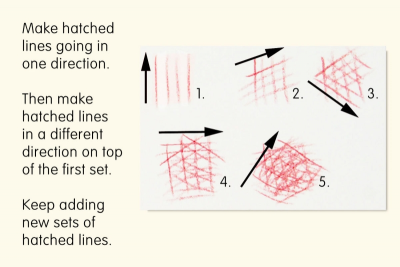
CROSS-HATCHING
- Make hatched lines going in one direction.
- Then make another set of hatched lines going in a different direction on top of the first set.
- Keep adding new sets of hatched lines to change the values.
6
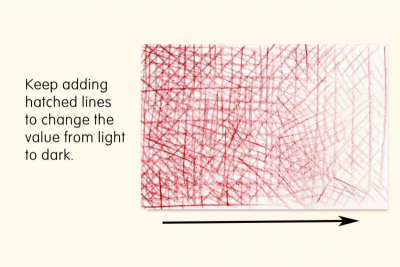
- Keep adding new sets of hatched lines to change the values.
7
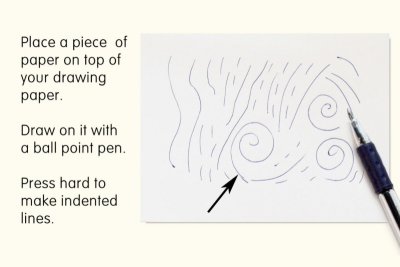
IMPRESSED LINE
- Place a piece of paper over the drawing paper.
- Draw on it with a ball point pen.
- Press hard to make indented lines on the drawing paper under it.
8
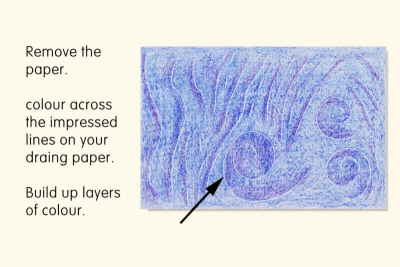
- Remove the paper.
- Colour across the impressed lines on the drawing paper.
- Build up colour.
- Add a 2nd colour to emphasize the lines.
- The lines will show through the colour.
9
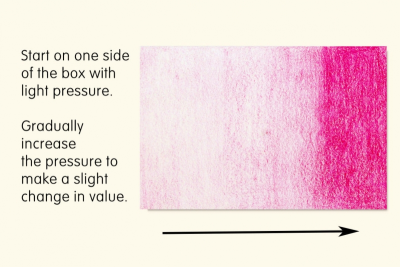
VARY PRESSURE
- Change your drawing pressure to lighten or darken the colour.
- Start on one side of the box with light pressure.
- Gradually increase the pressure to make a slight change in value.
- Use back and forth strokes to apply smooth, even layers of colour.
10
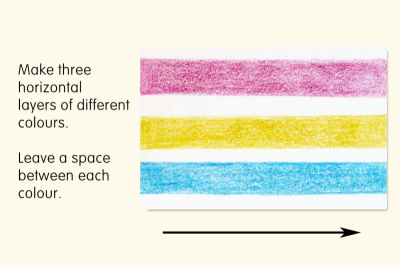
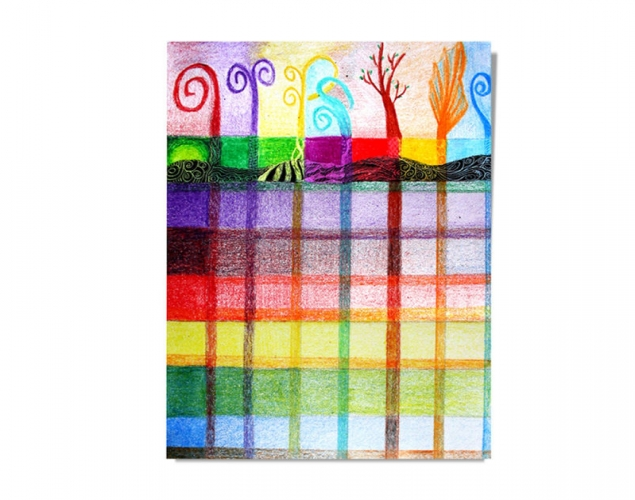
LAYERING
- Make 3 horizontal layers of 3 different colours.
- Leave a space between each colour.
- Use back and forth strokes to apply smooth, even layers of colour.
11
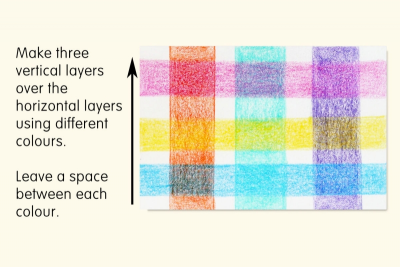
- Make 3 vertical layers over the horizontal layers using different colours.
- Leave a space between each colour.
- Use back and forth strokes to apply smooth, even layers of colour.
12
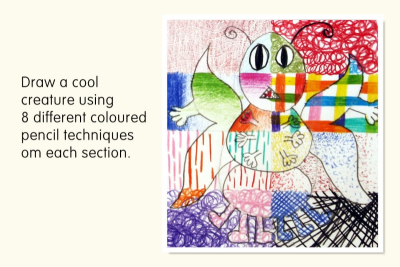
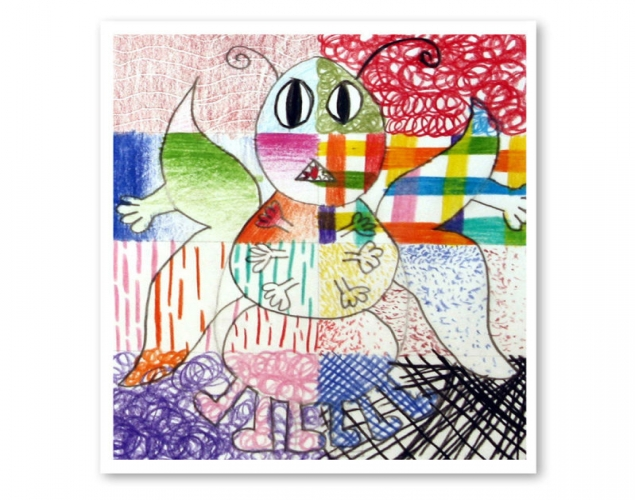
DRAW A COOL CREATURE
- Divide the paper into 8 rectangles.
- Draw a big, imaginary insect on the paper. Make sure it has:
- 3 distinct body parts
- 6 legs
- big eyes
- antennae
- wings - Use a different coloured pencil technique in each rectangle to colour your bug.
Subjects:
Grades:
Grade 3,
Grade 4,
Grade 5,
Grade 6,
Grade 7,
Grade 8