
Supplies:
- Crayola Air-Dry Clay - ½ kg (1 lb) per student
- Crayola Acrylic Paint - 6 Count
- Crayola Paint Brushes - 5 Count
- Crayola Scissors
- Pencils
- Rulers
- Graph Paper (optional)
- Water Containers
- Plastic Bags - 1 per student
- Plastic Placemats - 1 per student
- Battery Operated Tea Lights - 1 per student
Steps:
1
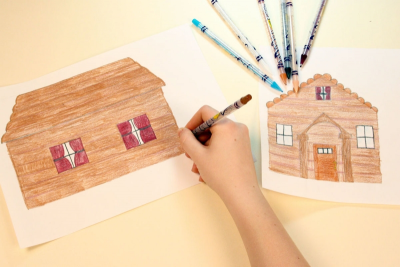
- Design your house.
2
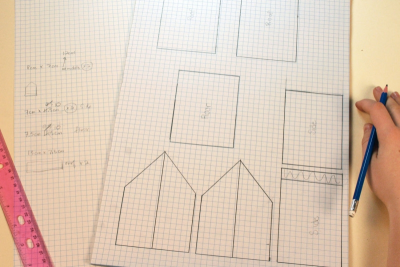
- Draw a house plan to scale.
- Include each part of the house.
- Cut out each piece.
- This will be your pattern when you start building the house with clay slabs.
3
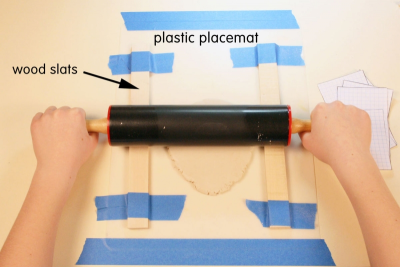
ROLL A SLAB OF CLAY
- Tape 2 parallel slats of wood about .6 cm (.25") thick on either side of a plastic placemat so they are the distance of a rolling pin apart.
- Place a piece of wax paper on the placemat, between the wood slats.
- Place a small, flattened piece of clay on the wax paper.
- Place the rolling pin on top of the wood slats and roll out the clay.
4
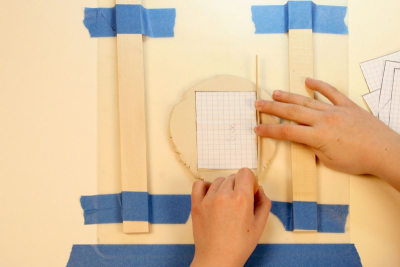
- Place one of the house pattern pieces on top of the clay slab.
- Use a plastic knife or wooden stir stick to cut it out.
5
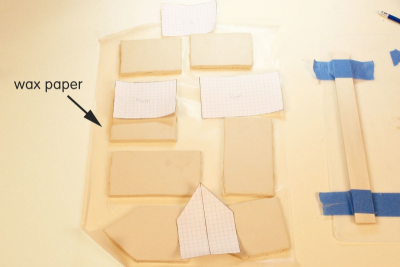
- Cut out all the pieces.
- Place them on a piece of wax paper.
- Allow them to dry slightly so the become 'leather hard'.
6
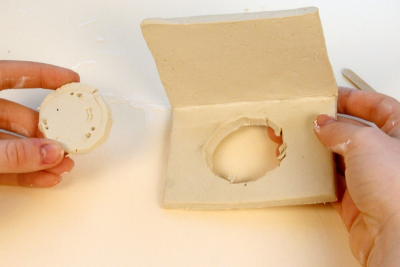
- Trace the outline of a tea light on the floor of the house.
- Make it slightly larger than the circumference of the tea light.
- Cut out the circle before adding any walls.
- Use the score and slip technique to join the parts of the house to each other.
See the techniques lesson available on this website. Score and Slip Technique
7
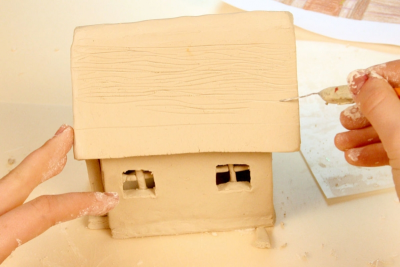
- Scratch texture lines into the clay and add details.
8
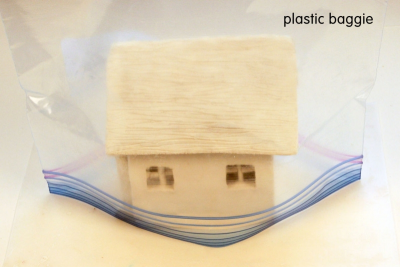
- Allow the house to dry for about 1 week.
- Place a plastic baggie loosely over the house to slow the drying down for the first 2 days.
This will help prevent the thinner pieces of clay from drying too quickly and breaking away from the rest of the house.
9
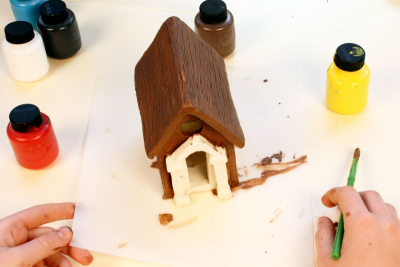
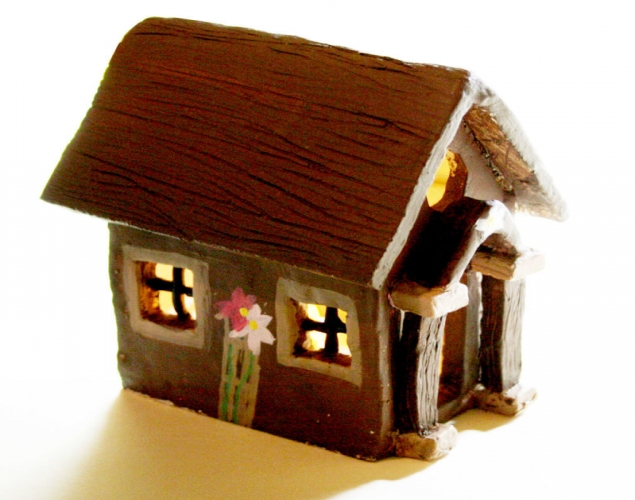
- Once the house is completely dry, paint it with acrylic paint.
10
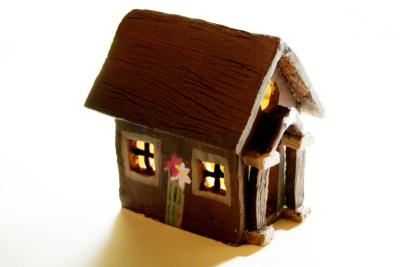
- Place a battery operated tea light inside the house.
Subjects:
Language Arts,
Mathematics,
Social Studies,
Visual Arts
Grades:
Grade 4,
Grade 5,
Grade 6,
Grade 7,
Grade 8,
Grade 9