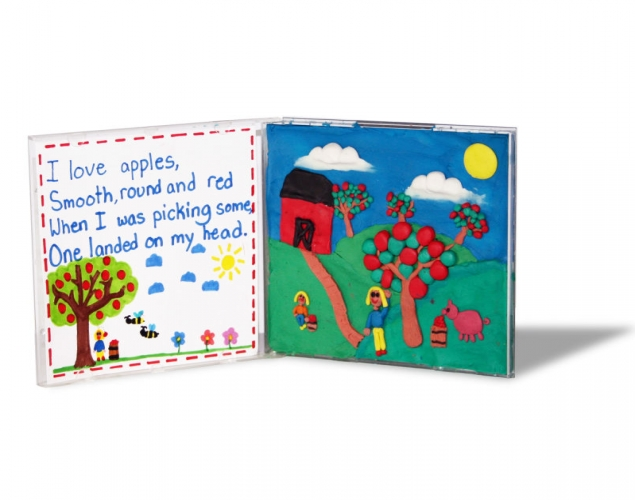
APPLE PICKING – Modeling Clay SceneStudents use Crayola Modeling Clay to create a scene about a unit they are studying, for example, Plants. They create their scene in the right hand side of an empty CD case, and write a short poem on a paper that is inserted into the left hand side of the CD case.
Students use Crayola Modeling Clay to create a scene about a unit they are studying, for example, Plants. They create their scene in the right hand side of an empty CD case, and write a short poem on a paper that is inserted into the left hand side of the CD case.
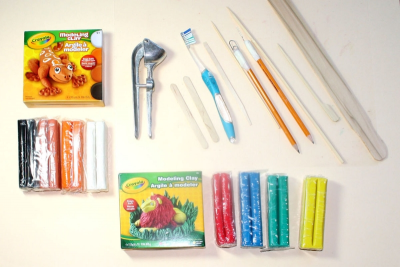
Supplies:
- Crayola Modeling Clay - Classic Colours
- Crayola Fine Line Markers
- Crayola Marker & Watercolour Paper - 22.9 cm x 30.5 cm (9" x 12")
- Empty CD Case - 1 - per student
- Variety of Texture Making Tools
Steps:
1
- Create a gouging tool by taping a paper clip to the end of a pencil.
- Create a pin tool by taping an open paper clip to the end of a pencil.
- Gather some other texture making tools such as a garlic press, skewers, and combs.
2
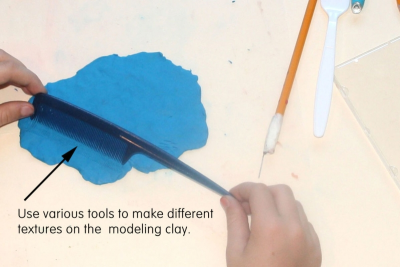
- Begin by flattening a small piece of modeling clay on a plastic placemat.
- Use the various tools to make different textures on this piece of modeling clay.
- When you have filled the clay think about how you might use these textures in your scene.
- Roll the modeling clay into a ball so you can use it again.
3
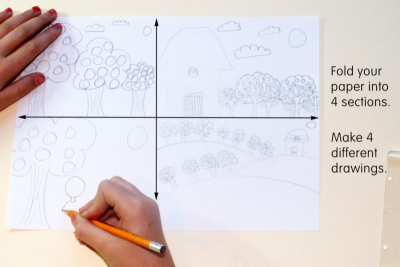
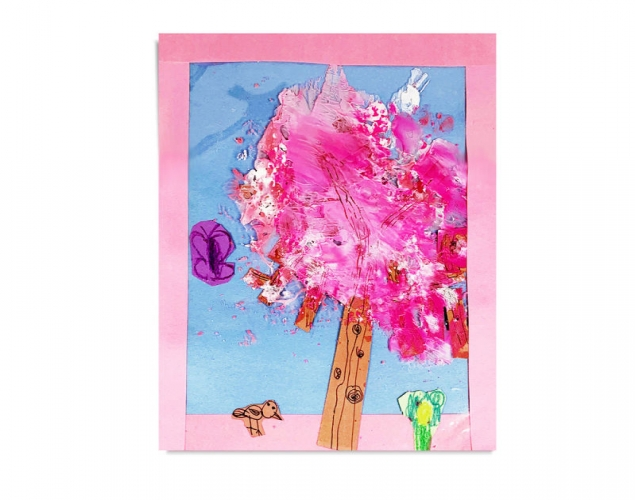
- Divide a piece of paper into 4 sections.
- Think about how you want to compose your scene.
- Make 4 different drawings.
- Explore different ways of composing your picture.
4
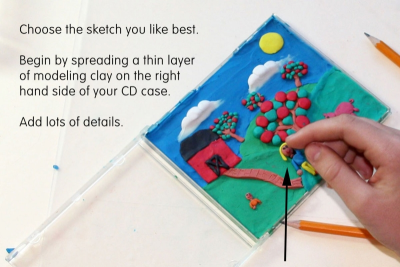
- Choose the sketch you like the best.
- Refer to it as you work with the modeling clay.
- You might decide to add some details from several sketches in your final scene.
- Begin by spreading a thin layer of modeling clay in the right hand side of the empty CD case for the background.
- Try mixing different colours to show depth.
- Add lots of details and textures to add interest to your scene.
5
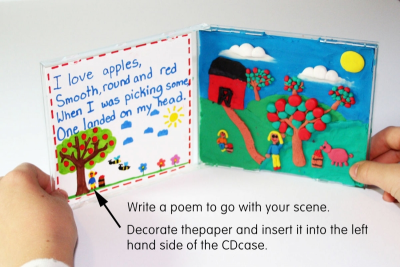
- Write a poem to go with your scene.
- Decorate the paper and insert it into the left hand side of the CD case.
- View your completed work to see if you need to add any other details.
Subjects:
Language Arts,
Science,
Social Studies,
Visual Arts
Grades:
Grade 1,
Grade 2,
Grade 3,
Grade 4,
Grade 5,
Grade 6,
Grade 7,
Grade 8