Supplies:
- Crayola Air Dry Clay
- Crayola Scissors
- Crayola Acrylic Paint
- Water
- Disposable Plate
- Pencil
- Disposable Cup
- String
CIY Staff Tips:
- To create details and cut clay, try using our Model Magic Shape ‘n Cut Tools.
- Air Dry Clay pieces that haven’t dried will easily adhere to one another. For added strength, or to attach dried pieces of Air Dry Clay, use our Washable School Glue.
Steps:
1
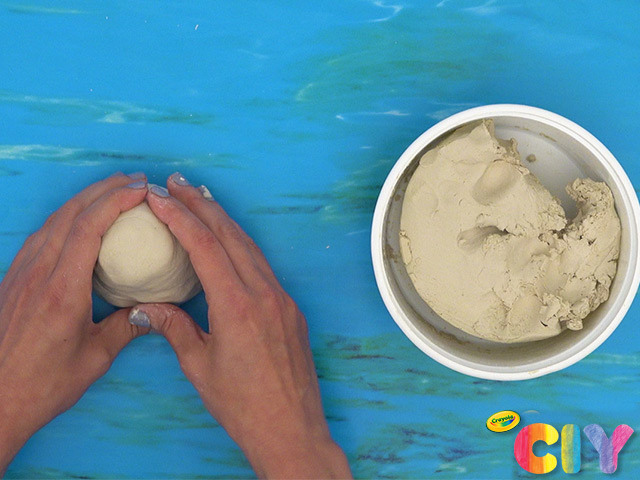
Form a large piece of clay into rounded cone. Use hard surface to flatten bottom.
2
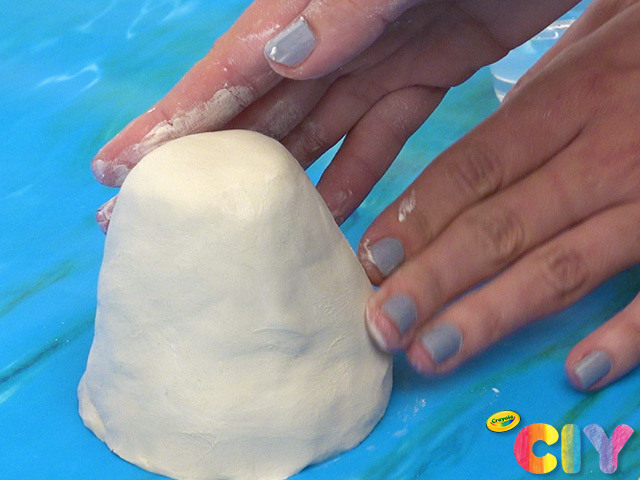
Use water to smooth rough edges or imperfections in clay.
3
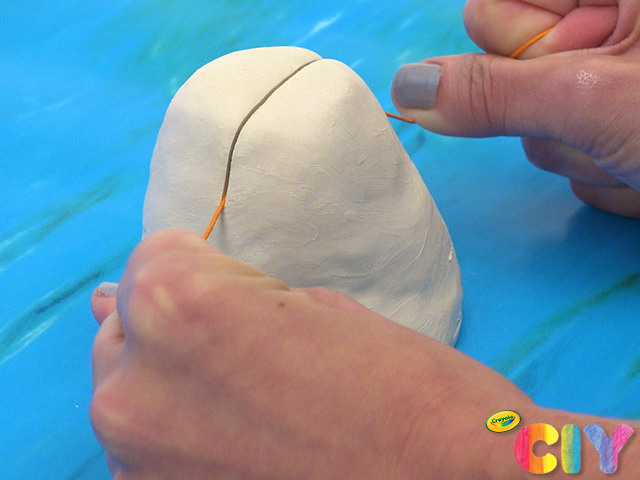
Use string to slice through clay, stopping approximately 2.54cm (1”) from flattened bottom.
4
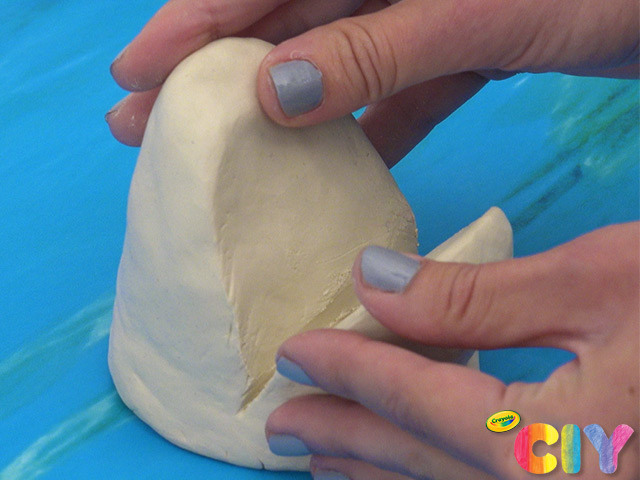
Gently separate slice to form shark’s mouth.
5
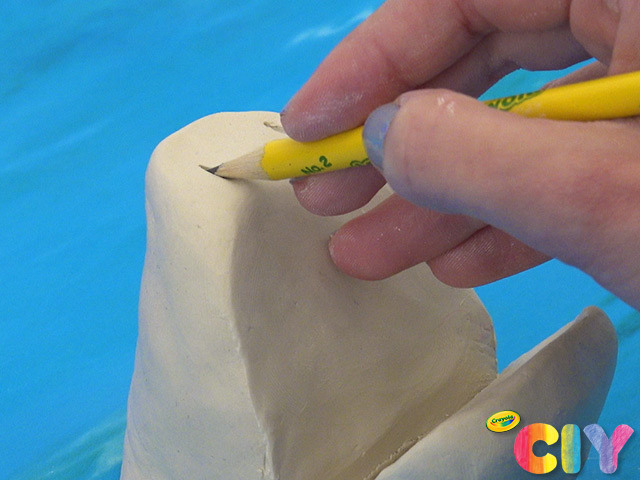
Use pencil to make shallow indents for nostrils and eyes.
6
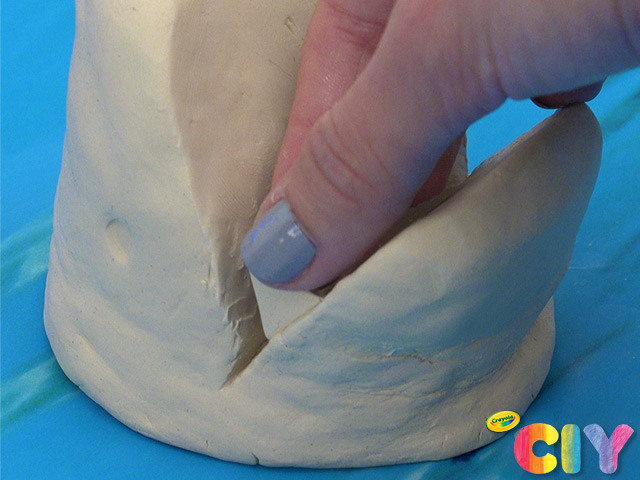
Cut small piece of clay into triangle shape. Press down to attach inside shark’s mouth.
7
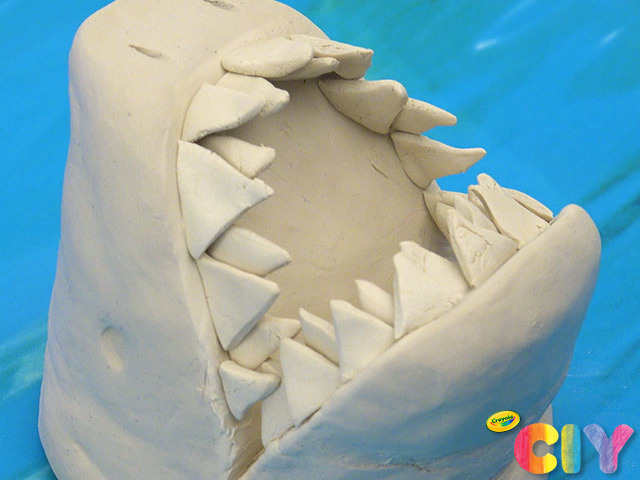
Repeat step 6 until shark has full set of teeth. Let all clay steps dry overnight.
8
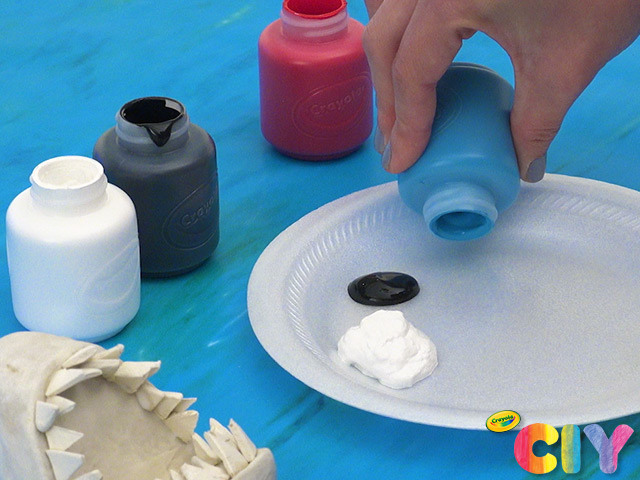
Pour paint colours onto disposable plate.
9
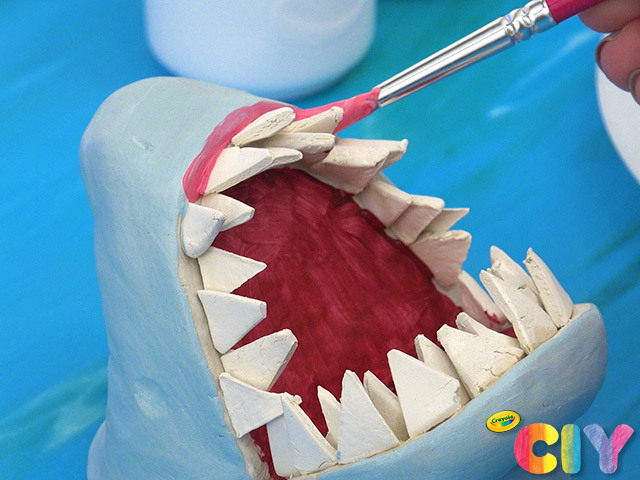
Mix paints together to create desired shades, and paint shark body and mouth. Dry 1–2 hours.
10
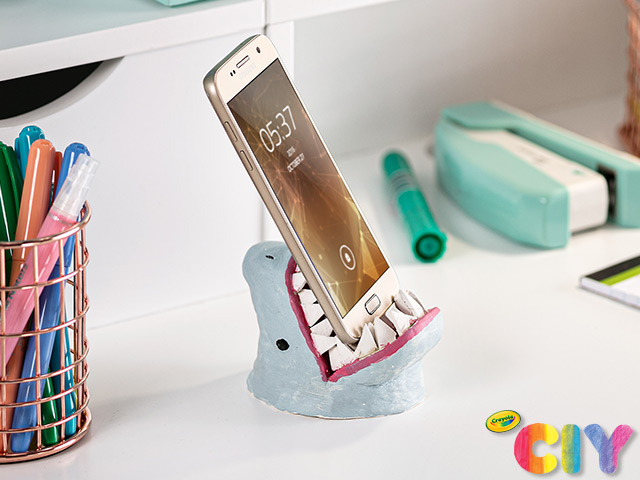
Place your phone in the stand in between chats with your chums!
Occasion:
Oceans,
Rainy Day Crafts
Age:
6+,
8+,
Tween+,
Adult

