Supplies:
- Crayola Construction Paper
- Crayola No. 2 Pencil
- Crayola Scissors
- Crayola Glue Stick
- Crayola Bright Pop Cardstock
- Crayola Take Note Permanent Markers
- Ruler
- Cardstock
- Picture Frame
CIY Staff Tips:
Steps:
1
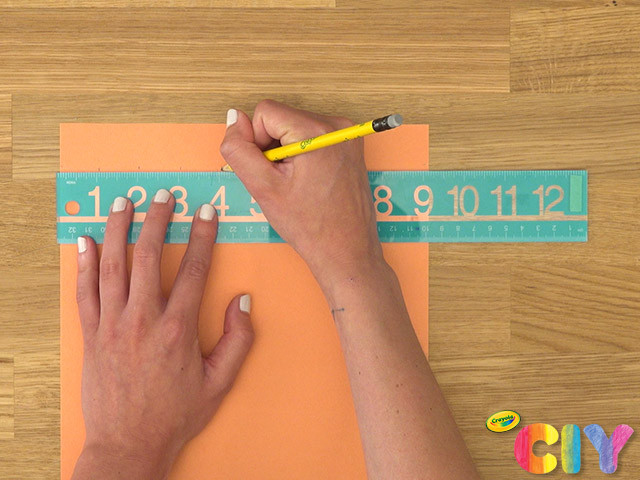
Measure 4 (1” x 1”) construction paper squares. Cut out.
2
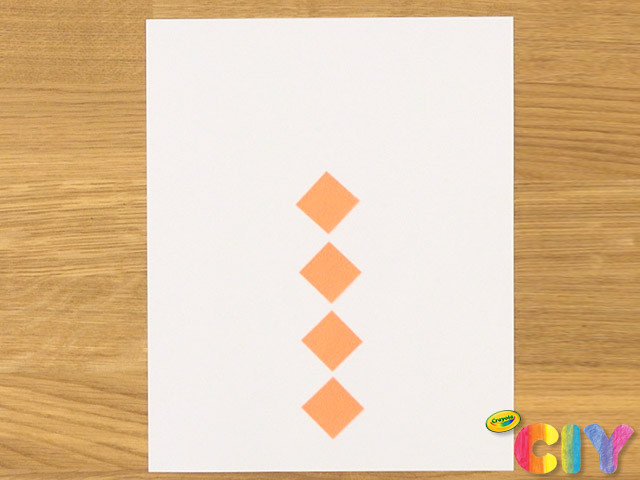
Orient squares as diamonds. Glue and stack vertically on plain cardstock.
3
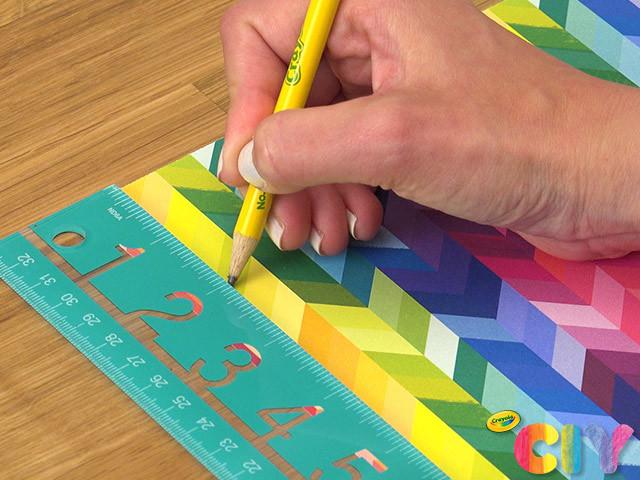
Measure 4 (1/2" x 1/2”) Bright Pop cardstock squares. Cut out.
4
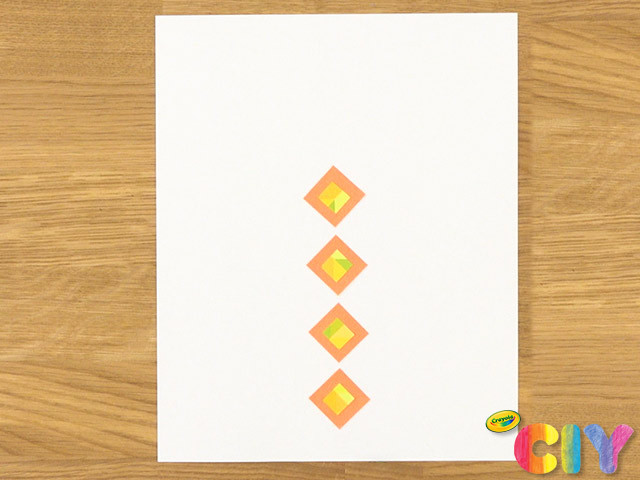
Glue Bright Pop cardstock squares to middle of construction paper squares.
5
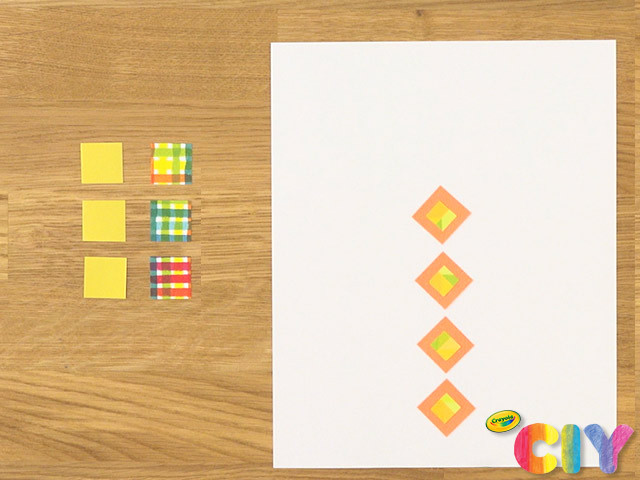
Measure 3 (1” x 1”) construction paper squares and 3 (1” x 1”) Bright Pop cardstock squares. Cut out.
6
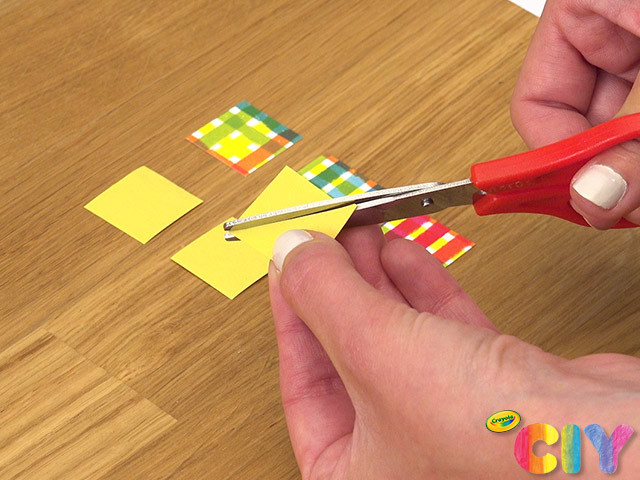
Cut all squares diagonally, creating triangles.
7
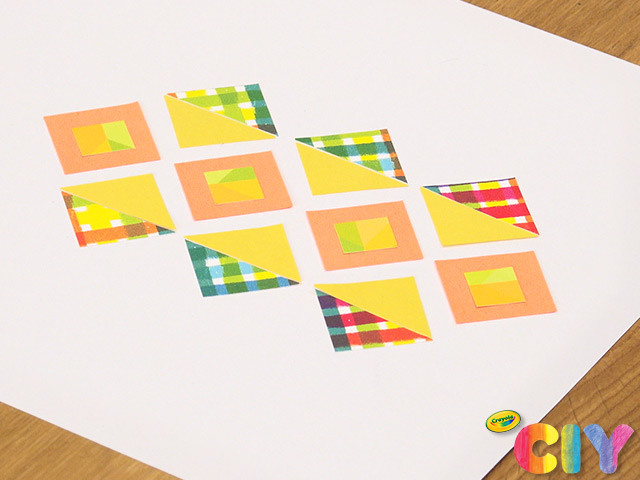
On left and right of middle squares, glue construction paper and Bright Pop cardstock triangles side by side to create diamond shapes.
8
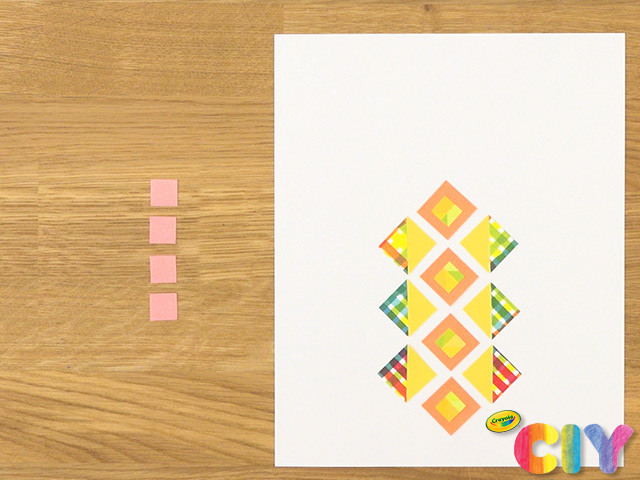
Measure 4 (1/2” x 1/2") construction paper squares. Cut out.
9
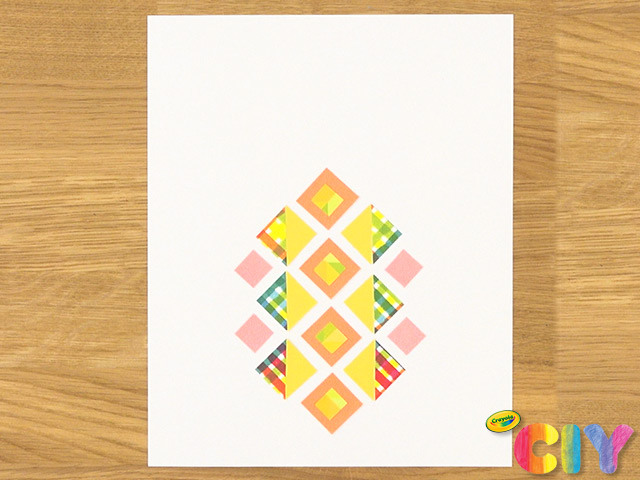
Glue 2 squares on left and 2 squares on right to complete pineapple fruit.
10
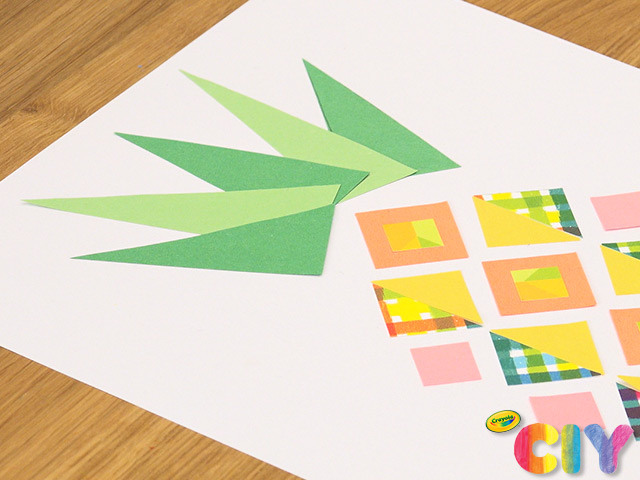
Sketch and cut out construction paper leaves. Glue above pineapple fruit.
11
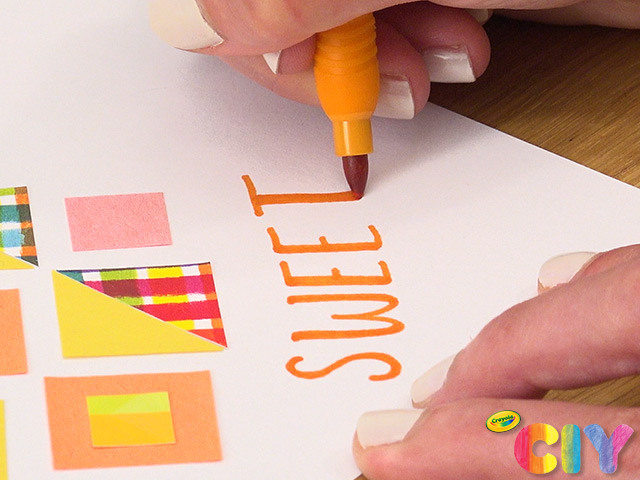
Write festive message with markers.
12
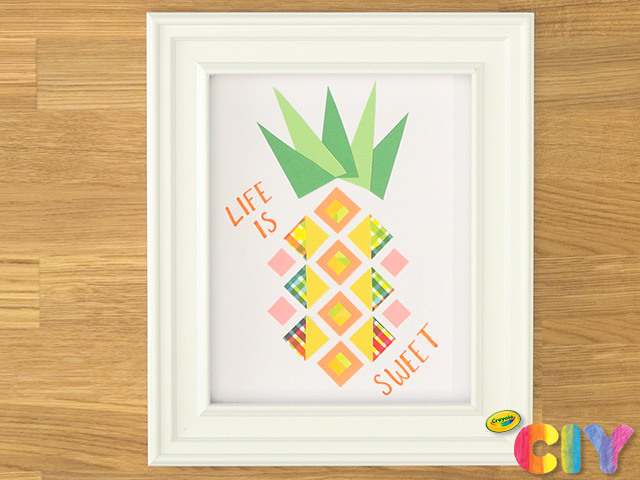
Place in a picture frame and display!
Occasion:
Summer,
Décor & Accessories
Age:
6+,
8+,
Tween+,
Adult