Supplies:
- Crayola Bright Pop! Cardstock
- Crayola Scissors
- Crayola Washable Stamper Markers
- Hole Punch
- Paper Straw
- Ruler
- Brass Fasteners
CIY Staff Tips:
- Keep brass fastener slightly loose to help pinwheel spin faster.
Steps:
1
Pick your favourite pattern of cardstock.
2
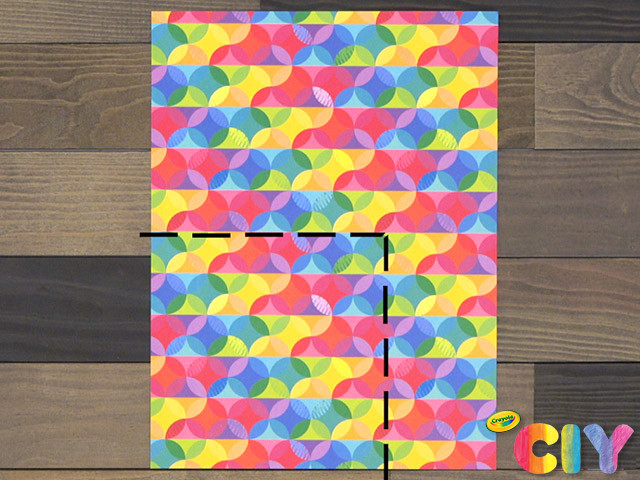
Cut out a 6” x 6” section of cardstock.
3

On the non-patterned side, create designs with stampers.
4
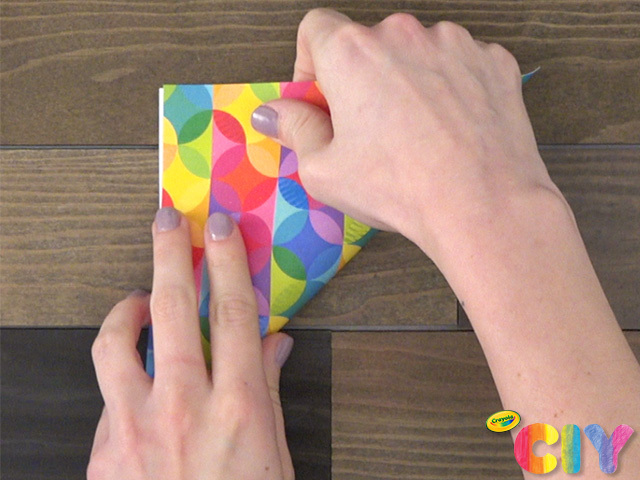
With the stamped side facing up, fold the bottom right corner to the top left corner, creating a triangle. Unfold.
5
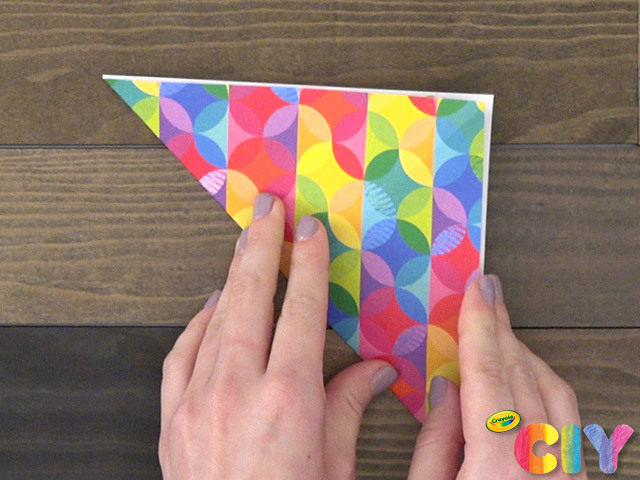
Fold the bottom left corner to the top right corner, creating a triangle. Unfold.
6
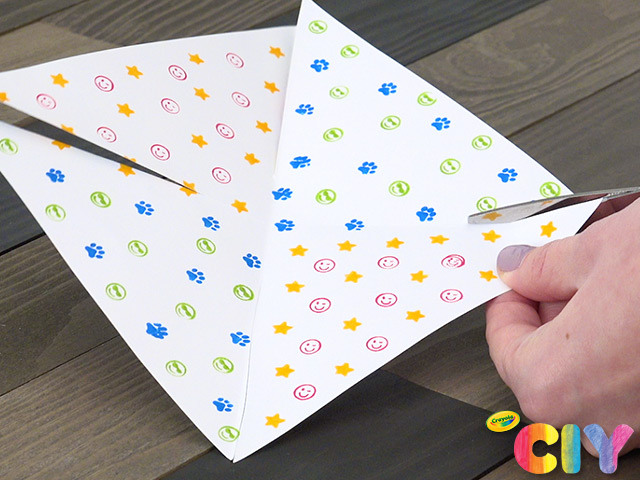
Cut a 3” slit from each corner toward the centre.
7
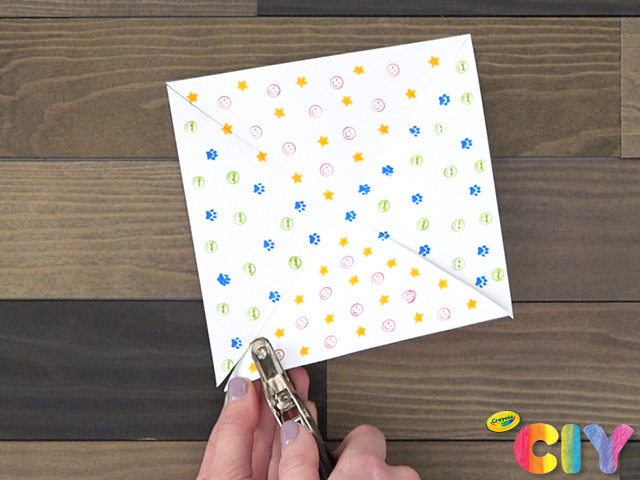
Punch a hole in the corner to the right of the first slit.
8
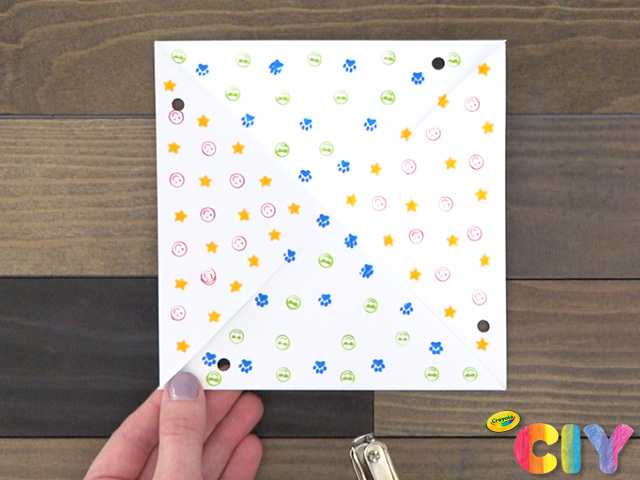
Rotate counterclockwise and repeat until each side has a hole punch.
9
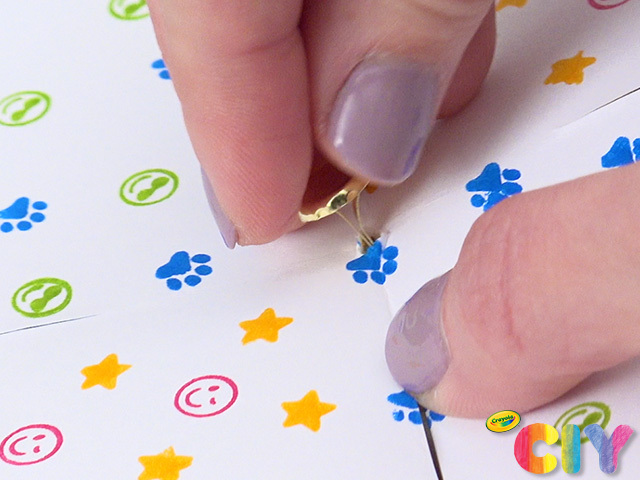
Use brass fastener to create a small slit in centre of cardstock.
10
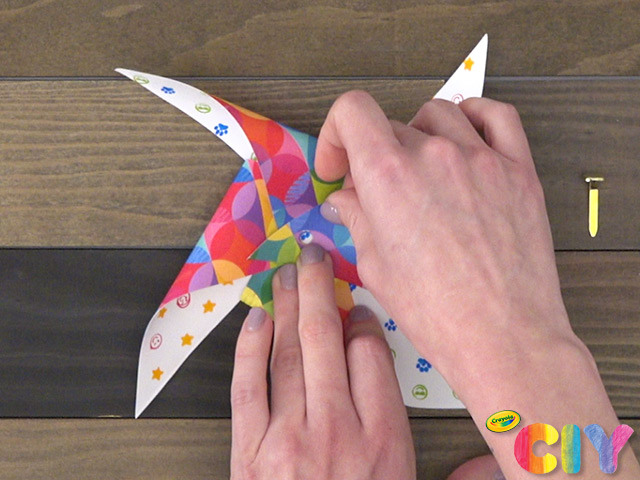
Fold punched corners to the centre so holes overlap.
11
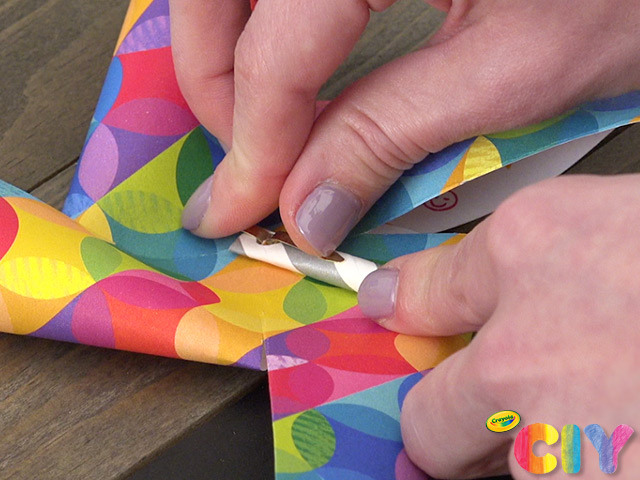
Hold in place and insert brass fastener, flattening legs to hold pinwheel in place.
12
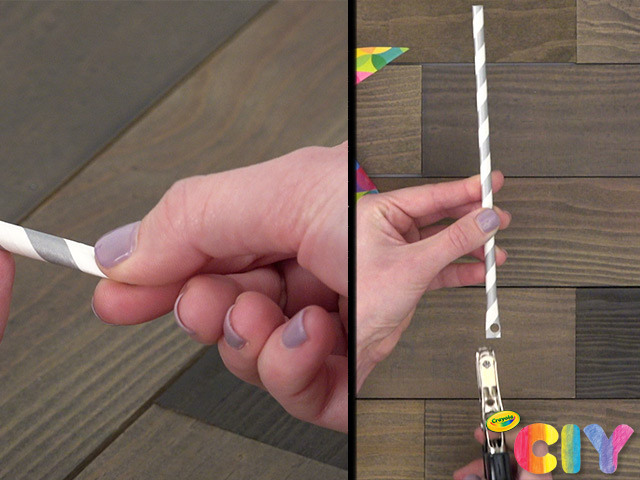
Flatten the end of straw and punch hole 1/2” from the end.
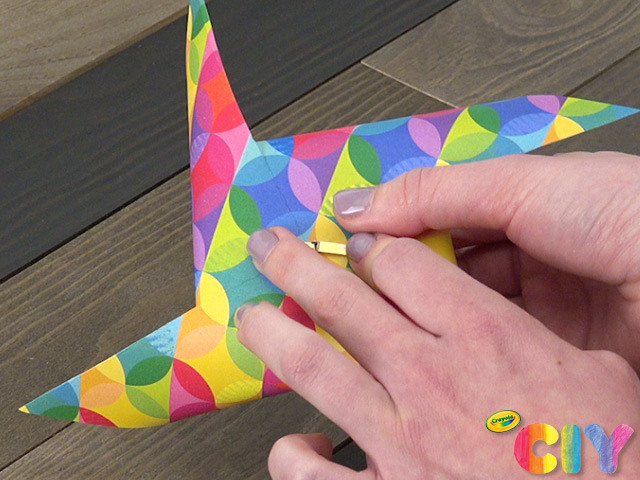
13
Place fastener through the hole in the straw and flatten legs to hold in place.
14
Blow pinwheel & watch it spin!
Occasion:
Summer,
Birthday,
Rainy Day Crafts
Age:
6+,
8+