Supplies:
- Crayola Construction Paper
- Crayola No-Run School Glue
- Crayola Markers
- Crayola Scissors
- Cardstock
- Pencil
CIY Staff Tips:
Steps:
1
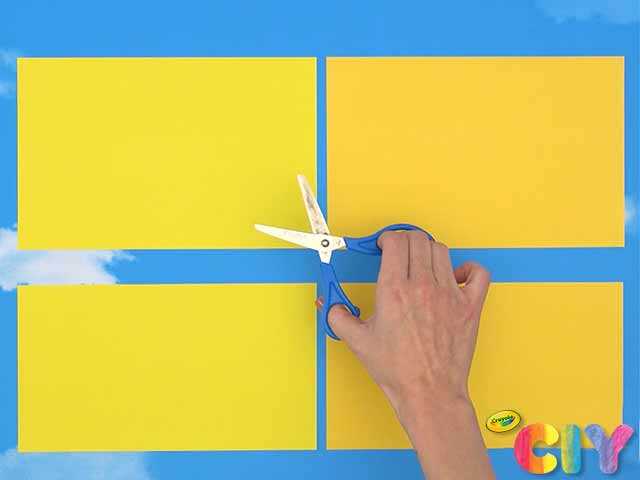
Cut a yellow shade of cardstock into 2 pieces measuring approximately 7”H x 9”W and 5”H x 9”W. Repeat with second sheet of cardstock.
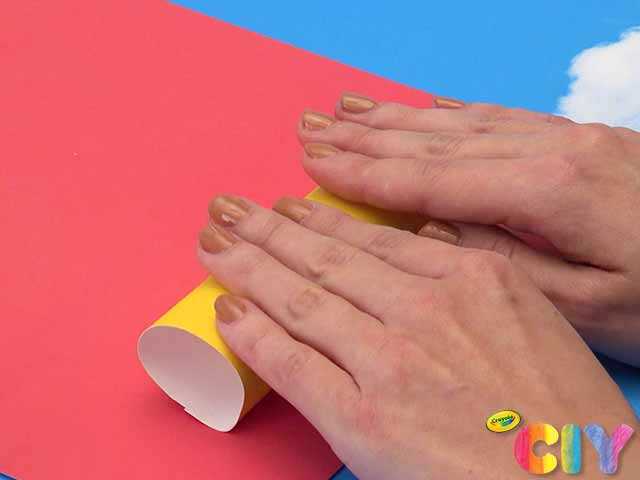
2
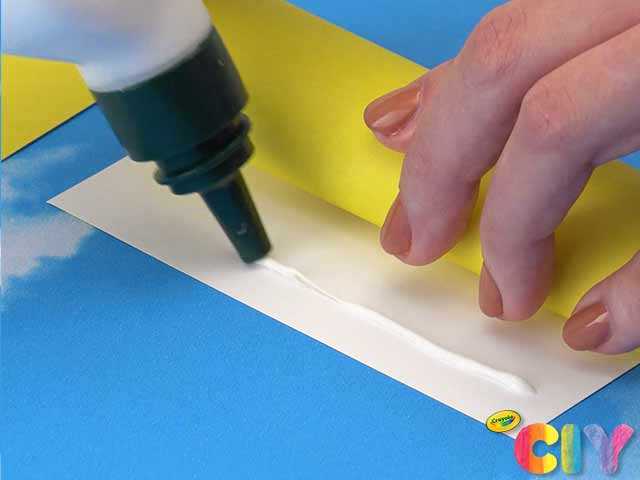
Flip cardstock over and begin to roll. Add glue to edge of paper and finish rolling to secure. Repeat with all cardstock pieces.
3
Position full sheet of cardstock vertically and cardstock tubes horizontally. To create beehive, glue tubes next to each other on sheet; place longer tubes in middle and shorter tubes on top and bottom.
4
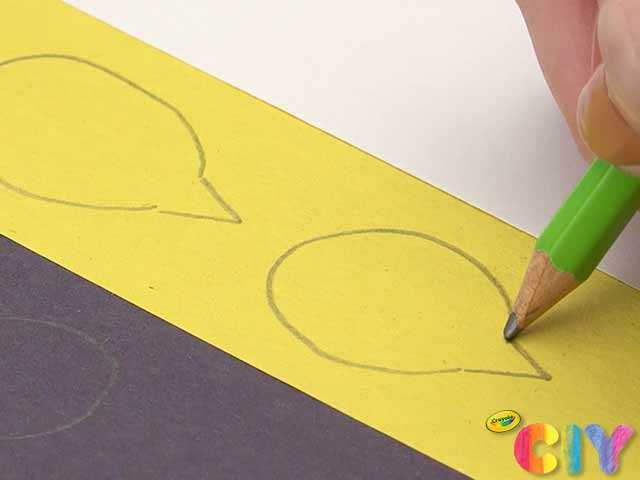
Sketch and cut out construction paper leaves, beehive entrance, and bees.
5
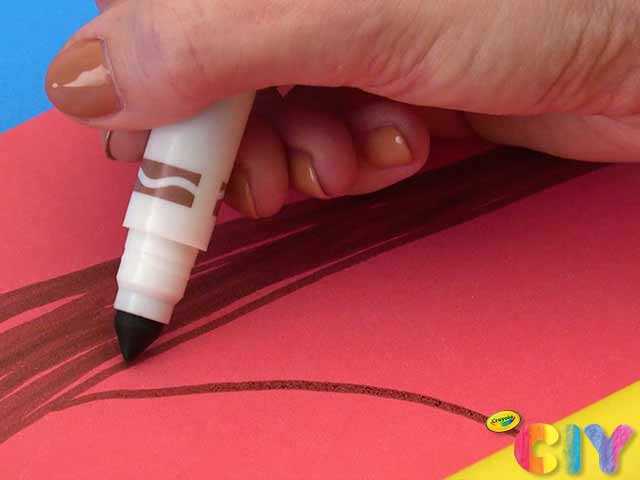
Draw beehive branch on cardstock with markers.
6
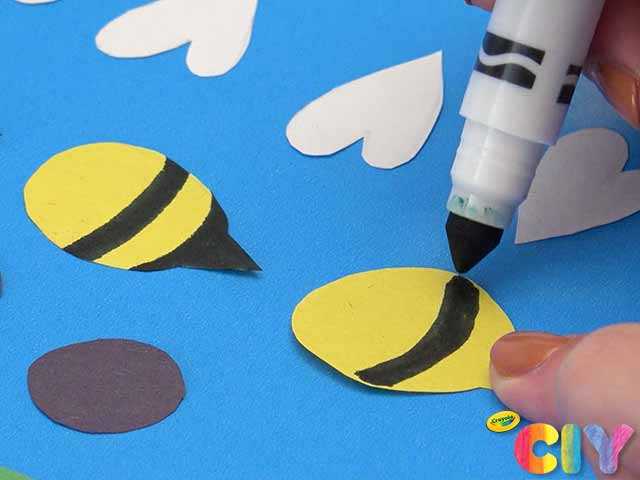
Add stripes to bee bodies with markers.
7
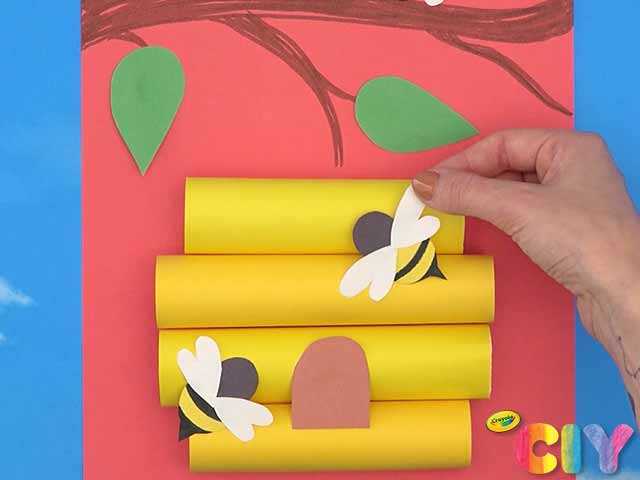
Glue beehive entrance, leaves, and bees to cardstock.
8
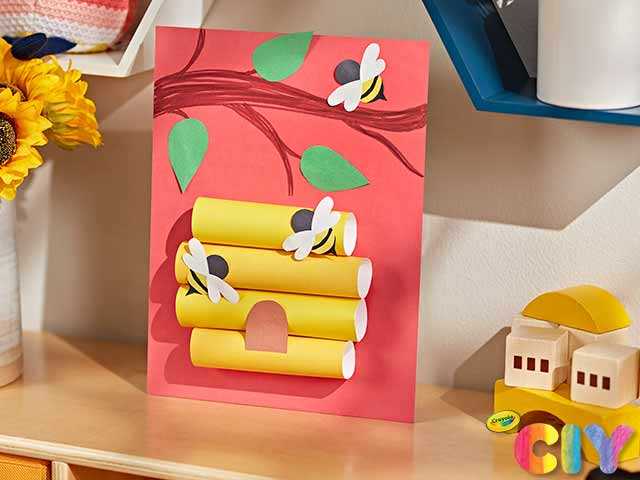
Display this un-bee-lievable piece of art!