Supplies:
- Crayola Construction Paper
- Crayola Scissors
- Crayola Glitter Glue
- Crayola Paint Brush
- Crayola No-Run School Glue
- Crayola Markers
- Crayola Model Magic
- Cardboard Box or Shoebox
- Wooden Dowel
- Mixing Bowls
- Baking Soda
- Craft Sticks
- Water
- Pencil
- Tulle
- Measuring Cups
- Measuring Spoons
- Lotion
- Contact Lens Solution
CIY Staff Tips:
- If slime is still too sticky after adding 3 tsp contact lens solution, add extra contact lens solution in small increments until the slime mixture easily slides out of the bowl. If needed, add a small amount of contact lens solution to your hands and rub them together before removing the slime from the bowl.
- Adult supervision required. This project is not appropriate for children under the age of 3 years. Warning: If large quantities of contact lens solution are accidentally ingested (greater than a tablespoon), get medical attention immediately.
- When combining water and Model Magic, there may be excess water in the bowl, which can be added to the overall mix.
- To keep slime from drying out, keep it in a resealable plastic bag or airtight container.
Steps:
1
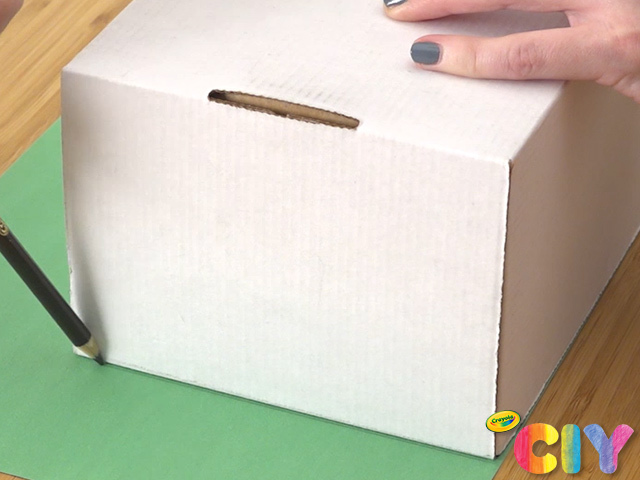
Place box on construction paper. Trace outline of 1 side, cut out & save excess paper.
2
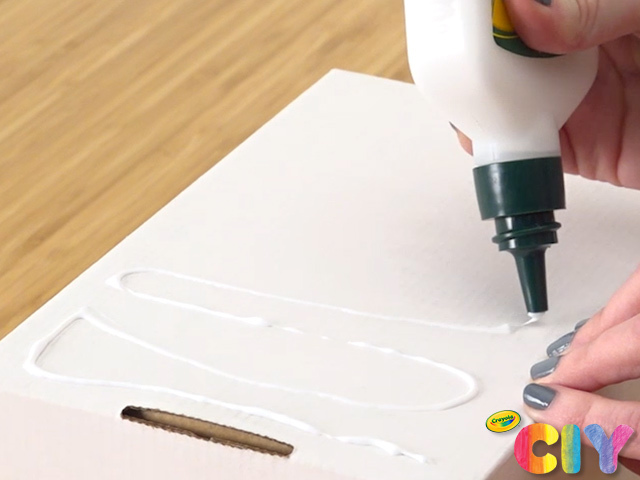
Glue paper to box.
3
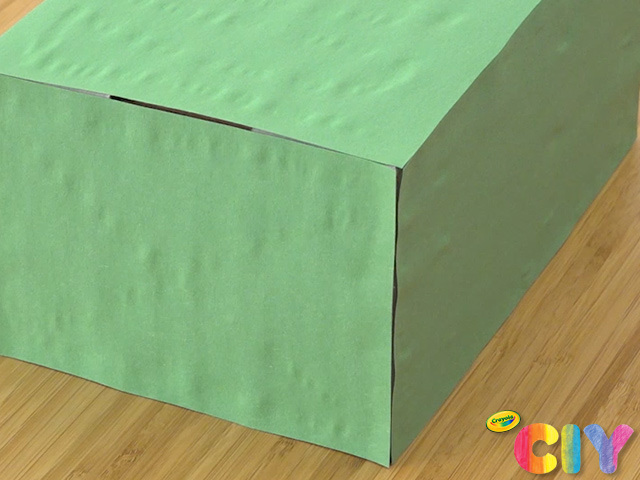
Repeat steps 1–2 for remaining sides of box.
4
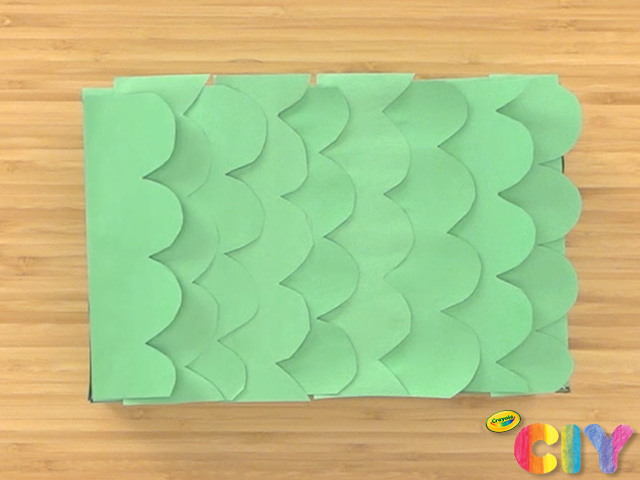
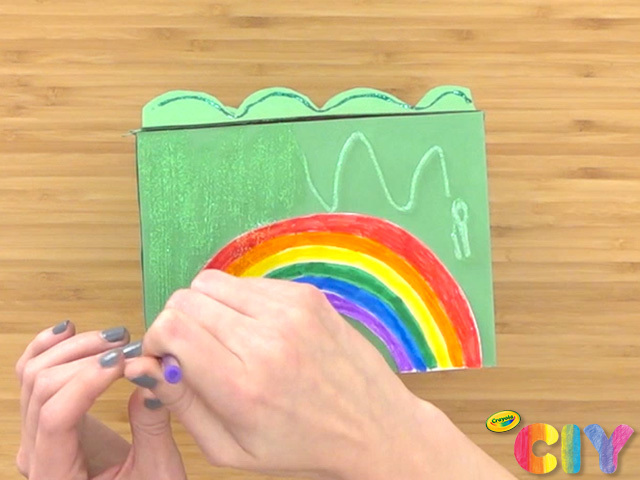
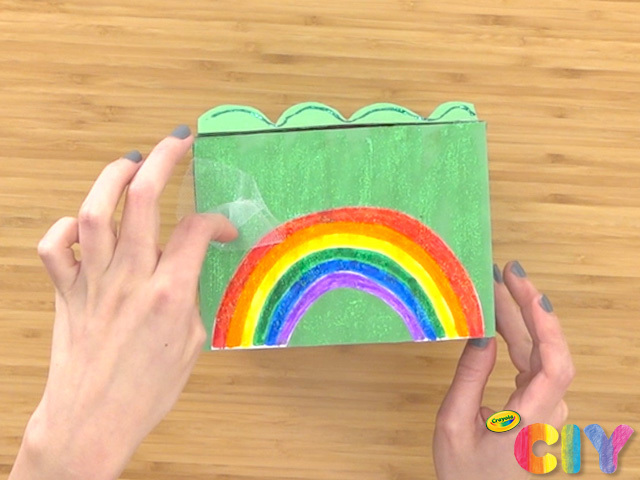
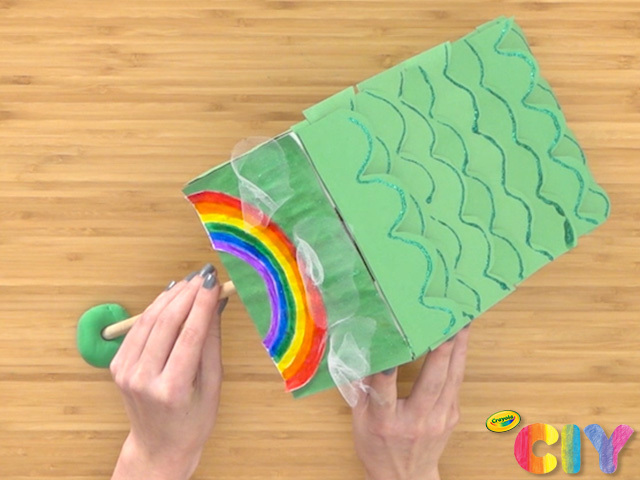
Use excess paper to sketch and cut out shingles. Glue to top of box.
5
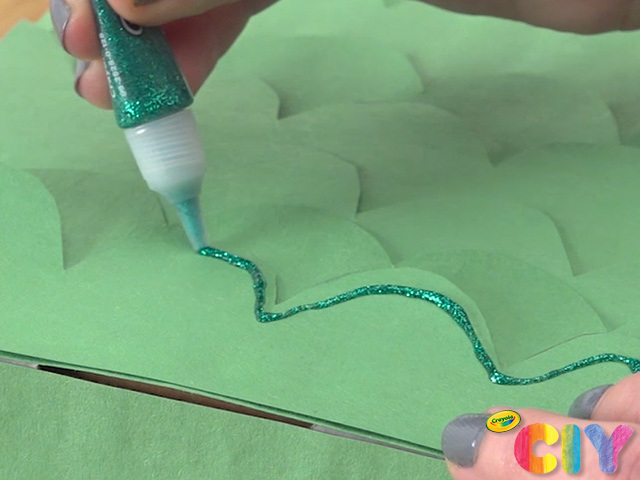
Add sparkly accents with glitter glue.
6
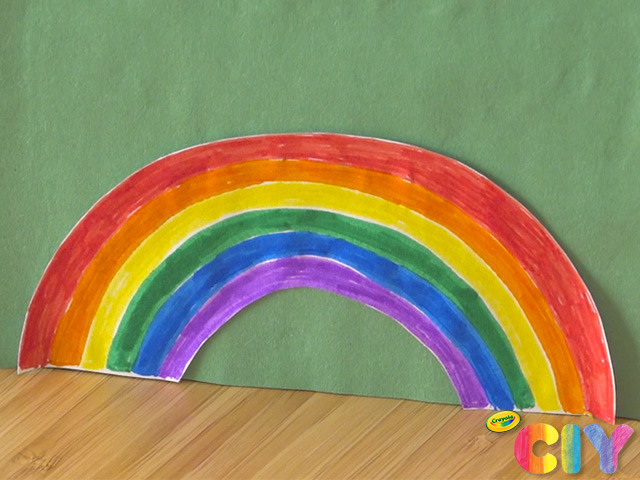
Draw rainbow with markers on construction paper. Cut out and glue to front of box.
7
Add more glitter glue to front of box.
8
Cut and glue pieces of tulle to front of box as clouds. Let all glue steps dry 3–4 hours.
9
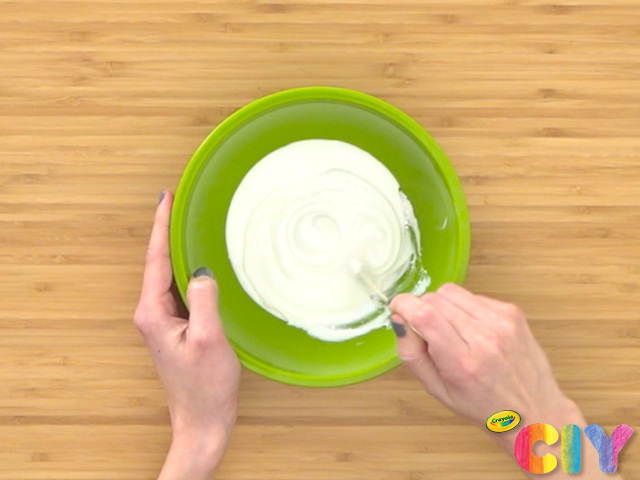
Pour 3/4 cup glue, 1/8 tsp baking soda, and 1 Tbsp lotion into a bowl, stirring well with a craft stick until completely mixed.
10
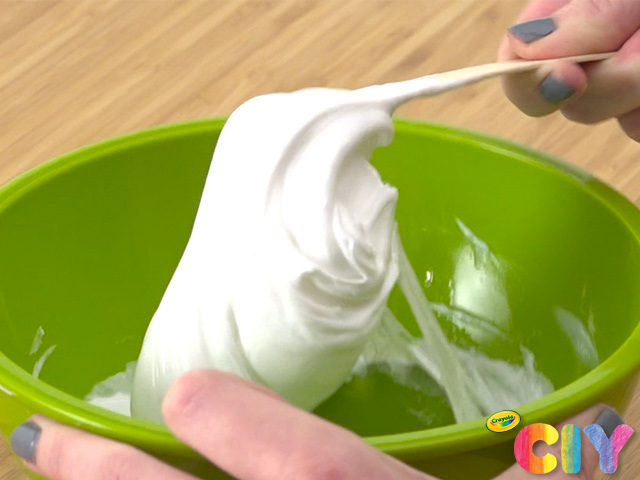
Add contact lens solution in 1/2 tsp increments. Mix contact lens solution in each time it’s added, up until 3 tsp have been added or until the slime mixture is easily coming off the bowl.
11
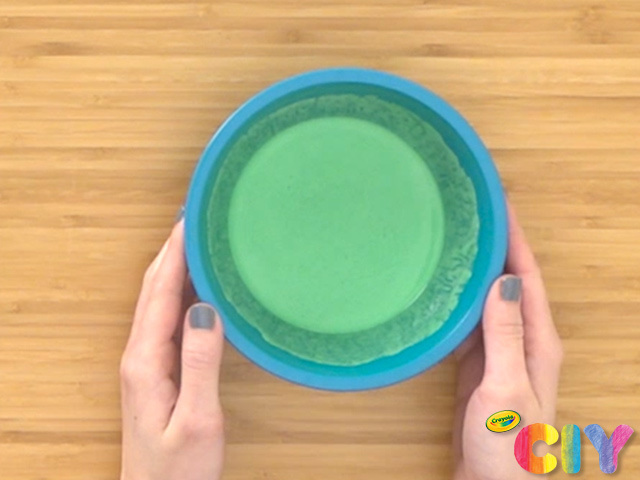
In another bowl, add 3/4 cup Model Magic and 1/8 cup water. Stir until Model Magic has started to dissolve and mixes well with water.
12

Combine both mixtures by stirring or kneading together until smooth and well-mixed. Place in jar.
13
Form a ball of Model Magic around end of wooden dowel to create a stand. Balance box on dowel.
14
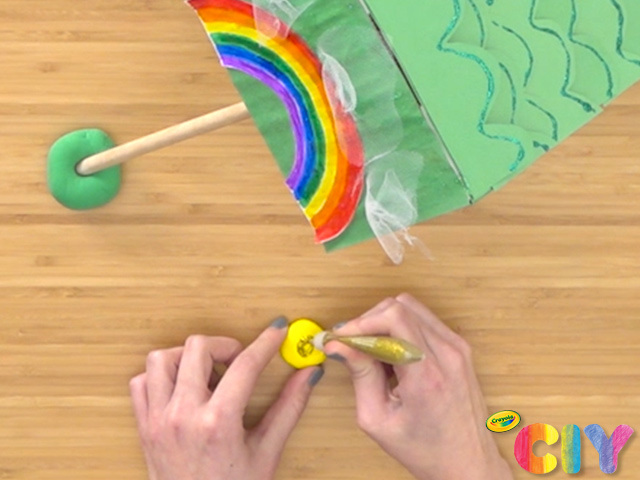
Shape coins with Model Magic and accent with glitter glue. Dry 3–4 hours.
15
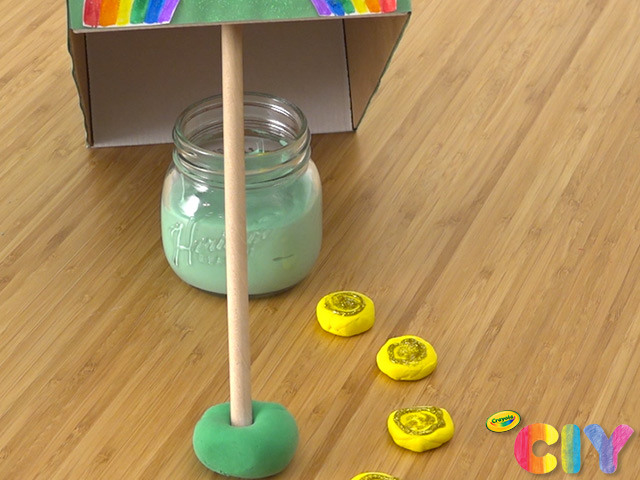
Place coins leading up to slime jar to lure the leprechaun into the trap!
Occasion:
St. Patrick's Day
Age:
6+,
8+,
Tween+