
Supplies:
- Crayola Take Note Permanent Markers
- Crayola Take Note Dry Erase Markers
- Crayola Scissors
- Picture Frames
- Cardstock
- Ruler
CIY Staff Tips:
- Be careful of any sharp edges on the picture frames. Adult assistance required.
- Experiment with different sized frames for a DIY gallery wall effect.
- Create frames that work for your organization style!
- Store your Dry Erase Markers using another Crayola CIY favourite: Tin Can Pencil Holder. (link out to project page)
- Dry Erase Markers wipe clean with a paper towel, letting you create over and over.
Steps:
1

Have an adult remove glass and backing from picture frame.
2
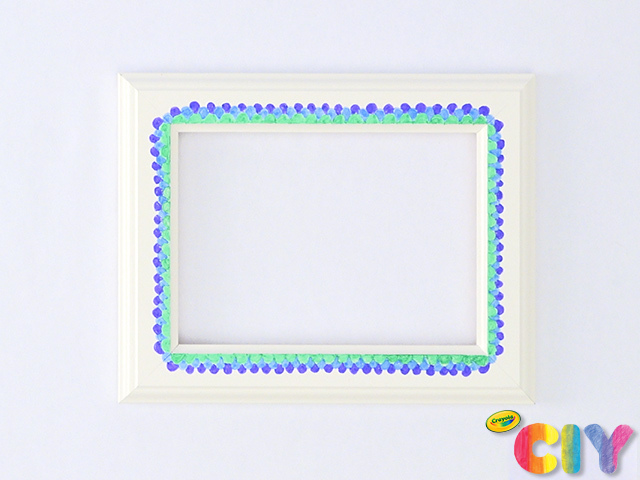
Draw directly on frame with permanent markers.
3
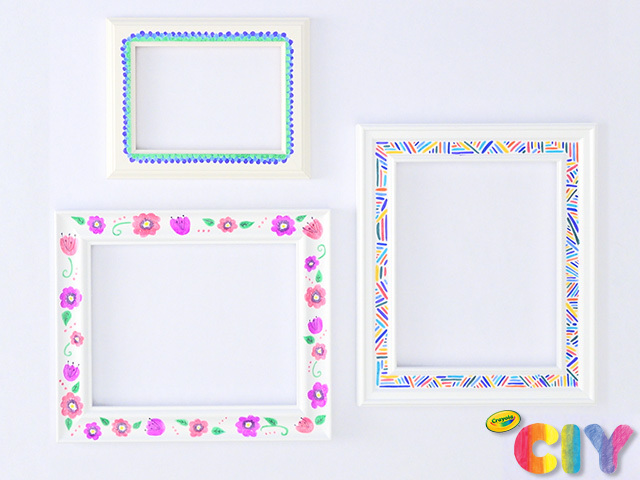
Repeat steps 1–2 for any additional frames.
4
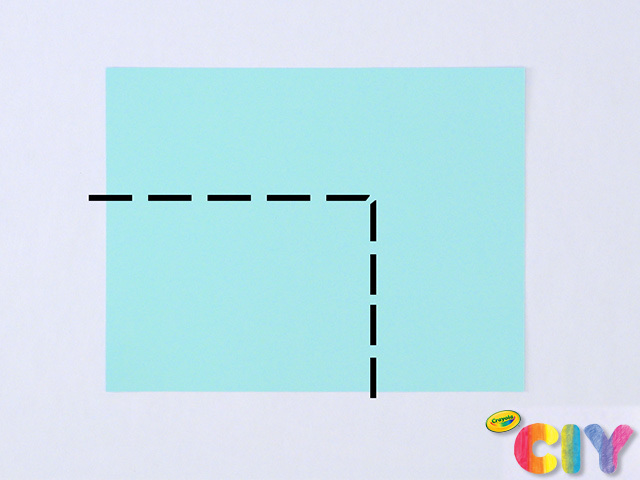
Trim pieces of cardstock to fit frames.
5
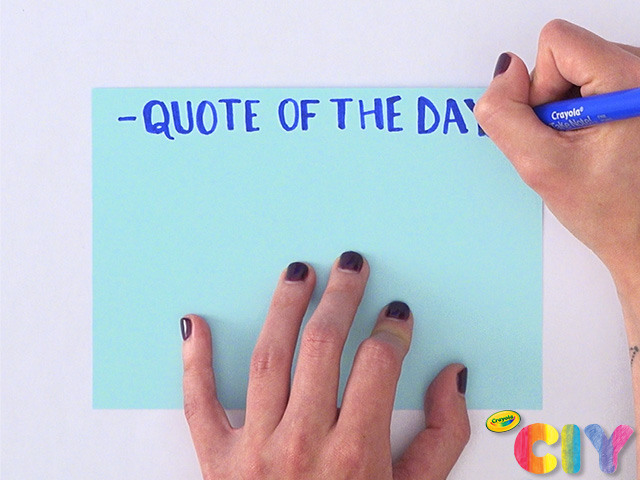
To create an inspirational quote frame: Use permanent marker and write “Quote of the Day” at the top of the cardstock.
6
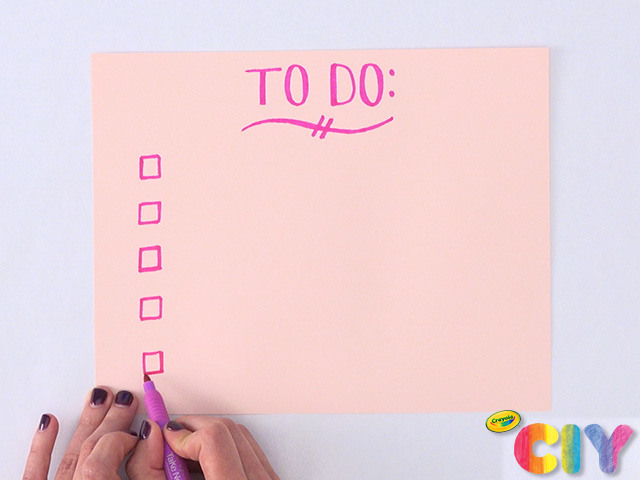
To create a checklist frame: Use permanent marker and write “To Do” at the top of the cardstock. Add check boxes down the left side margin.
7
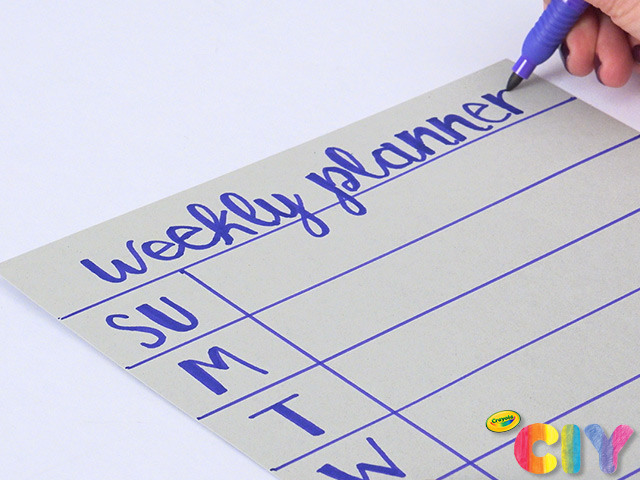
To create a weekly planner: Evenly space 8 rows down the length of the cardstock. Use permanent marker and write “Weekly Planner” in the top row. Create a column within the rows beneath to denote the day of the week.
8
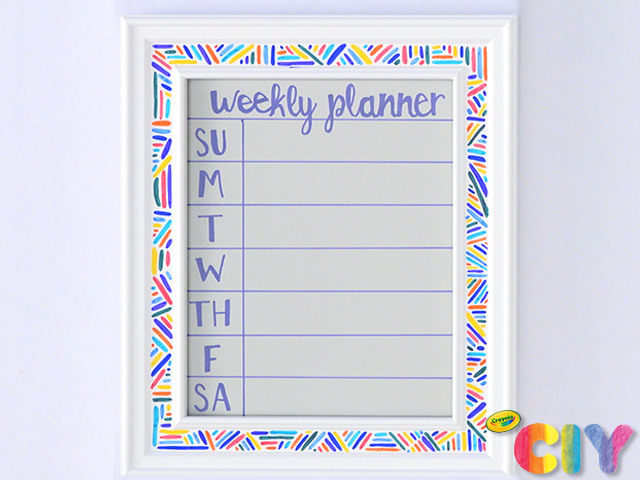
Replace glass, place cardstock in frame, and replace backing.
9
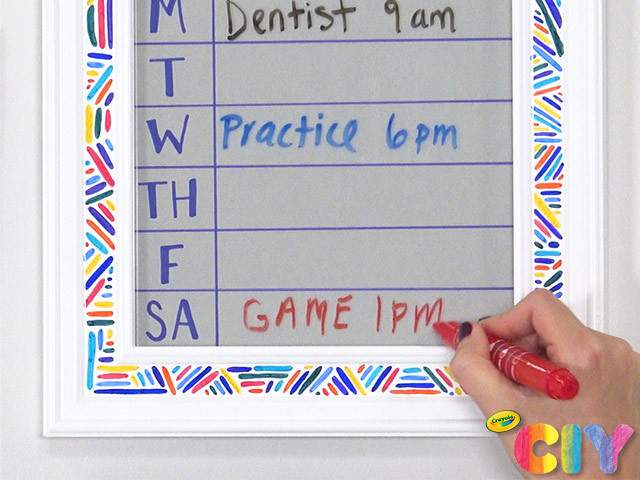
Use dry erase markers to write on frames.
10
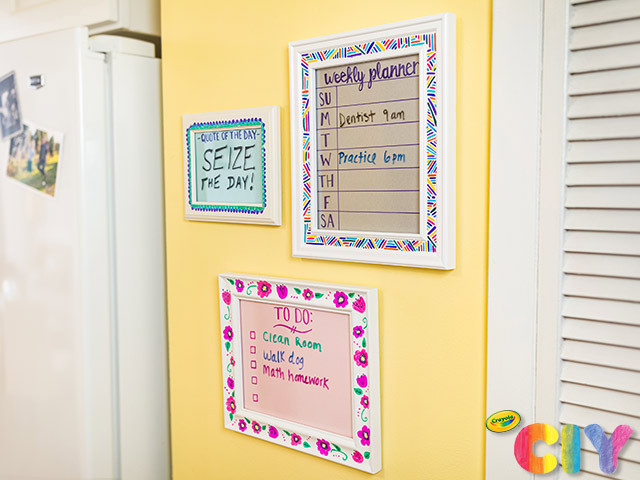
Display frames together on a wall to keep your command centre organized!
Occasion:
Summer,
Rainy Day Crafts
Age:
8+,
Tween+,
Adult