Supplies:
- Crayola Fabric Markers
- Crayola Scissors
- Iron-On Fabric Patches
- Iron
- Ironing Board
- Backpack, Clothing or Accessories
CIY Staff Tips:
- Kids will need an adult when ironing. Adult assistance required.
- Iron-on patch brands may vary. Refer to individual packaging for further instructions.
- Customize jeans, canvas sneakers, pencil bags, and more with DIY patches.
Steps:
1
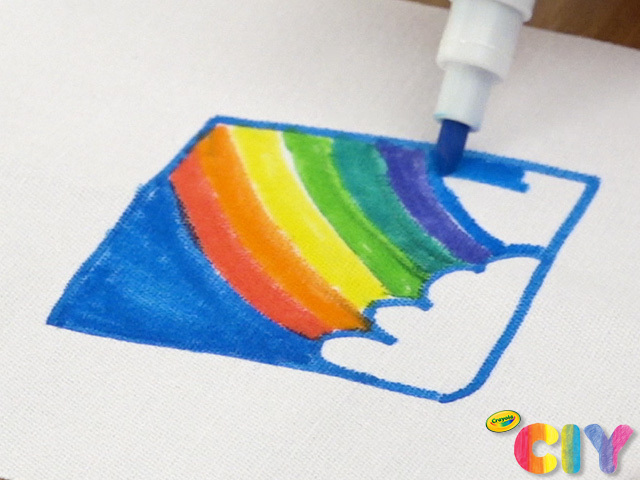
On a patch, draw and colour a vibrant design using fabric markers and permanent markers.
2
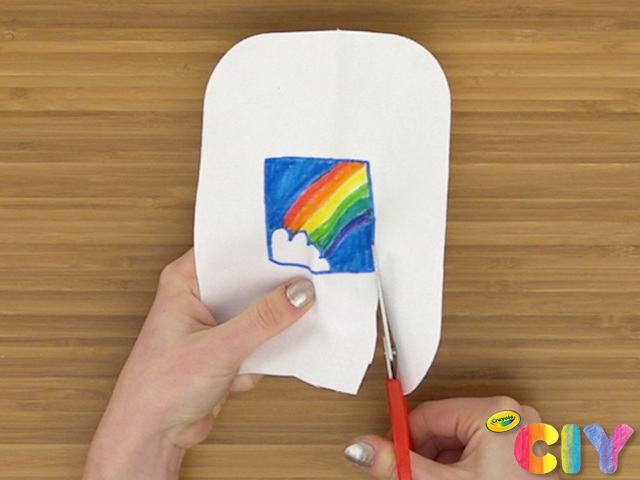
Cut out the patch design.
3
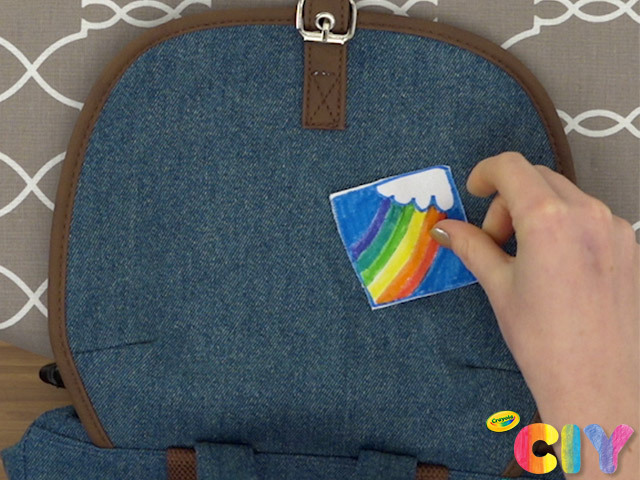
On an ironing board, place your accessory and position patch overtop.
4
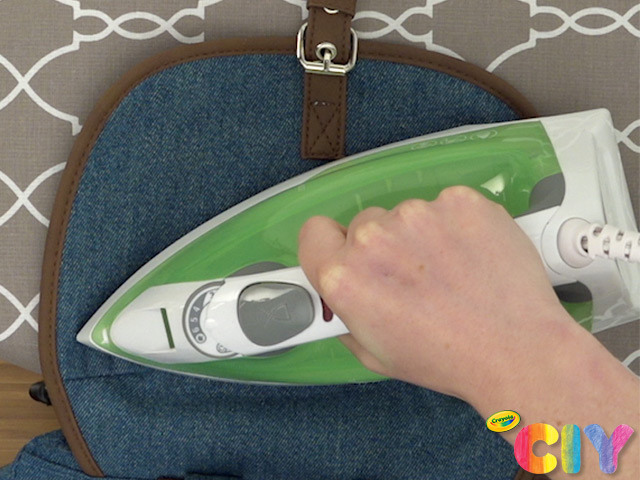
Have an adult iron on the patch to set the colour and adhere.
5
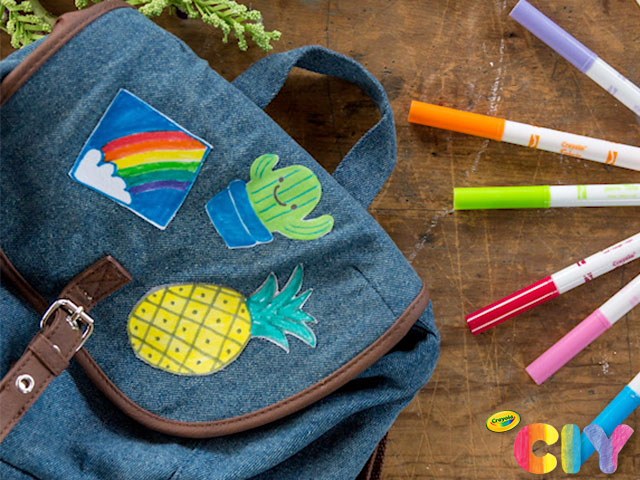
Follow the steps to make additional patches for the same accessory or other gear. Wear here, there, and everywhere!
Occasion:
Summer,
Back to School,
Rainy Day Crafts
Age:
6+,
8+,
Tween+