Supplies:
- Crayola Acrylic Paint
- Crayola Paint Brush
- Crayola Take Note Permanent Markers
- Crayola Construction Paper
- Crayola Scissors
- Crayola No-Run Washable School Glue
- Crayola Model Magic
- Flower Pot
- Pom-Pom
- Toothpicks
CIY Staff Tips:
- This project uses toothpicks. Adult assistance required.
- For more DIY Easter decorations and craft ideas, see our entire collection of Easter crafts.
Steps:
1
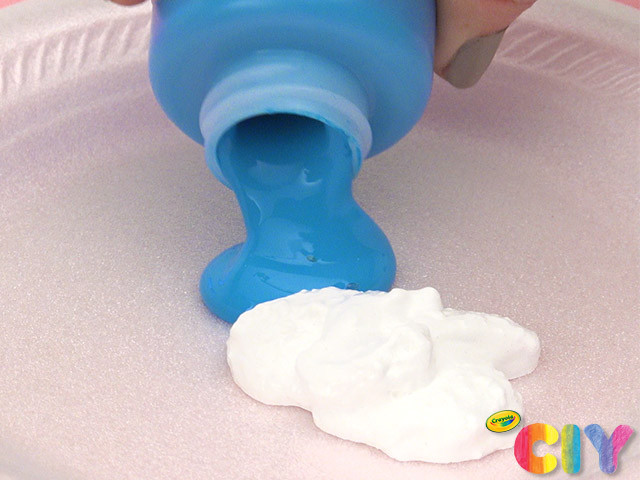
Pour paint colour of your choice and white paint onto disposable plate.
2
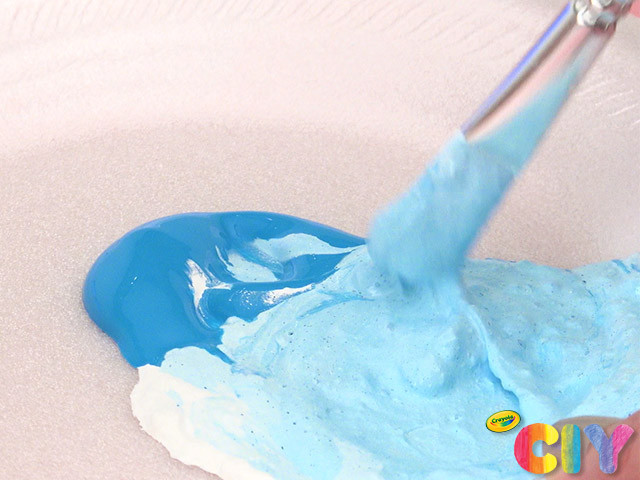
Mix paint together with paint brush to create pastel shade.
3
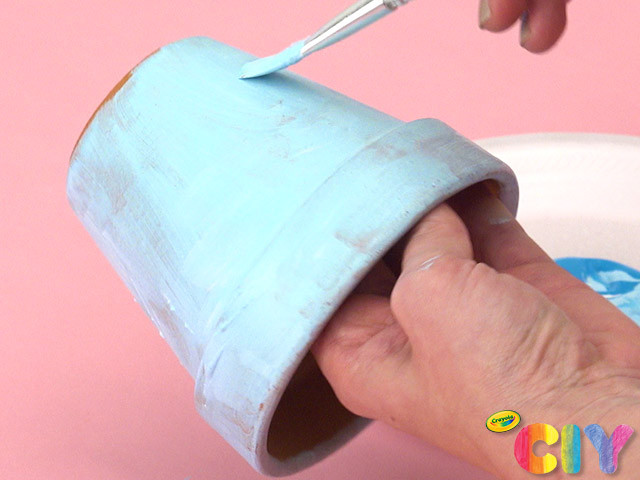
Cover flower pot with paint. Dry 1–2 hours. Add second coat. Dry 1–2 hours.
4
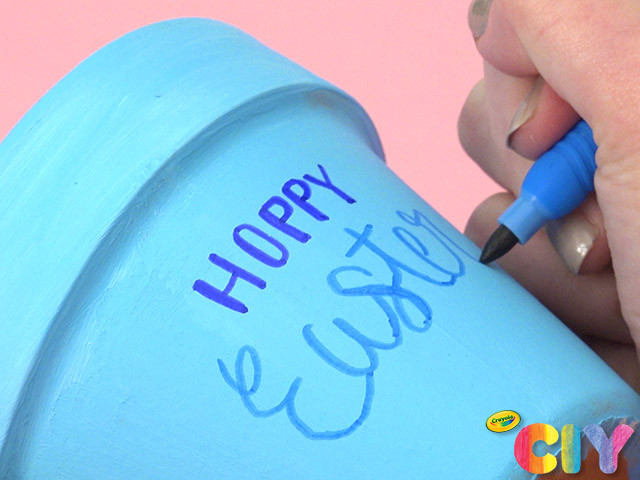
Write fun Easter message with markers.
5

Cut out a patch of construction paper grass. Glue to inside of flower pot.
6
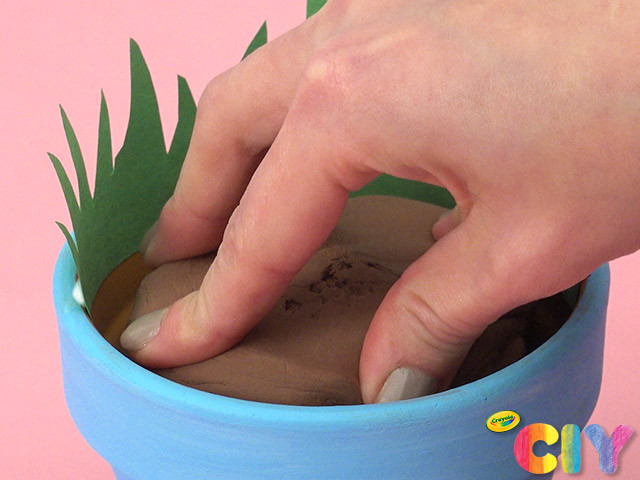
Place a large piece of Model Magic in flower pot – almost filling the pot – to create dirt.
7
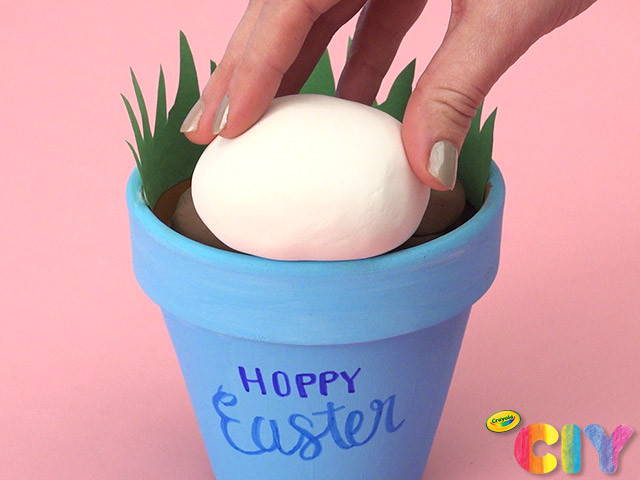
Shape a piece of white Model Magic into an oval/egg shape to create bunny’s bottom.
8
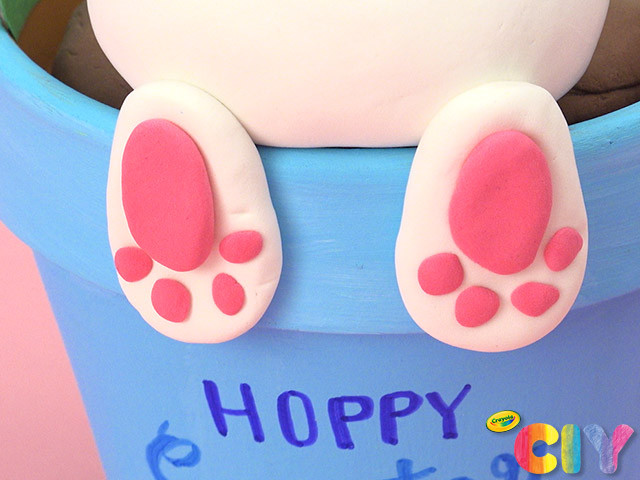
Add Model Magic feet and toes to bunny’s bottom.
9

Glue a pom-pom to Model Magic to create bunny’s tail.
10
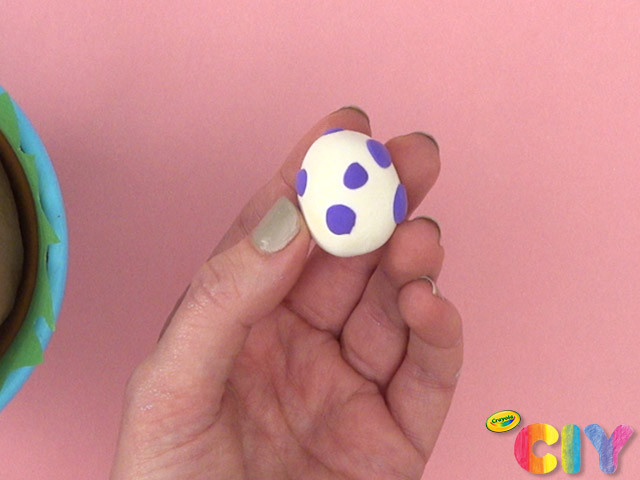
Shape a small, colourful Easter egg out of Model Magic.
11
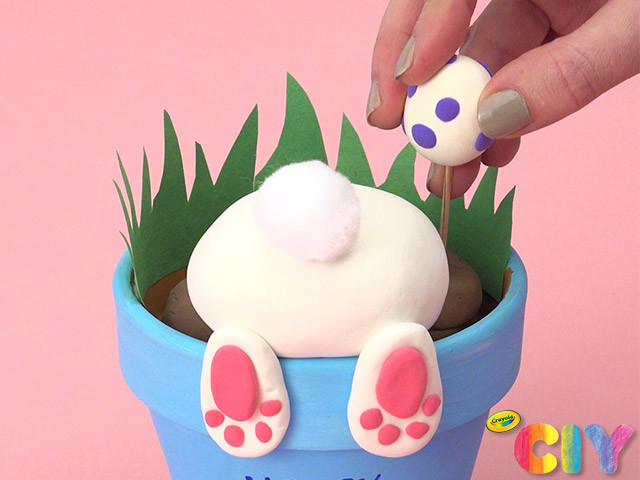
Place one end of a toothpick in the bottom of the egg and the other end of the toothpick into the Model Magic dirt to secure.
12
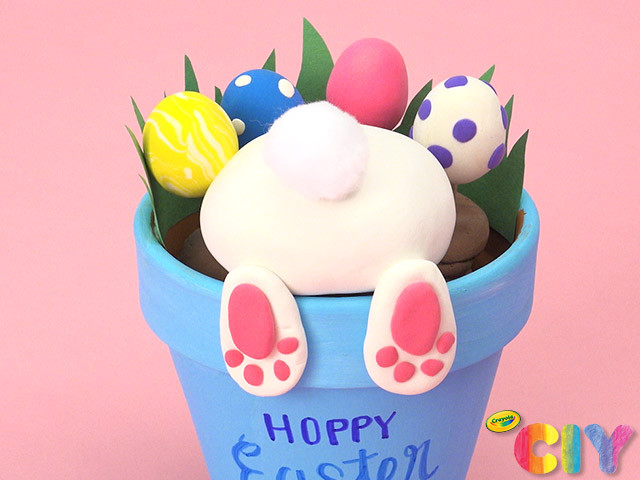
Repeat steps 10–11 to surround your bunny with an egg-cellent scene!
Occasion:
Easter,
Spring,
Special Occasions
Age:
6+,
8+,
Tween+,
Adult