Supplies:
- Crayola Air Dry Clay
- Crayola Washable Paint
- Crayola Acrylic Paint
- Crayola Paint Brushes
- Wax Paper
- Cookie Cutter
- Water
- Craft Sticks
- Rolling Pin
- Disposable Cups
- Measuring Spoons
- Disposable Plate
CIY Staff Tips:
- Paint and water mixtures should be smooth but not too watery, just loose enough to pour easily from the cup.
- Because the bottom of the dish is decorated with washable paint, we recommend not placing the dish near water. If you’d prefer a more permanent option, use acrylic paint on the bottom of the dish.
Steps:
1
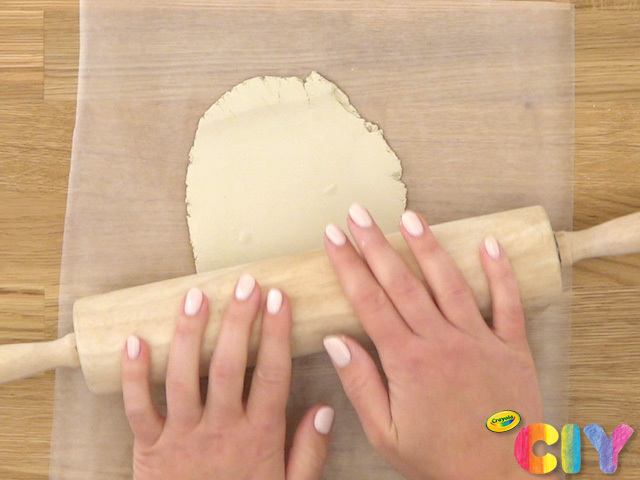
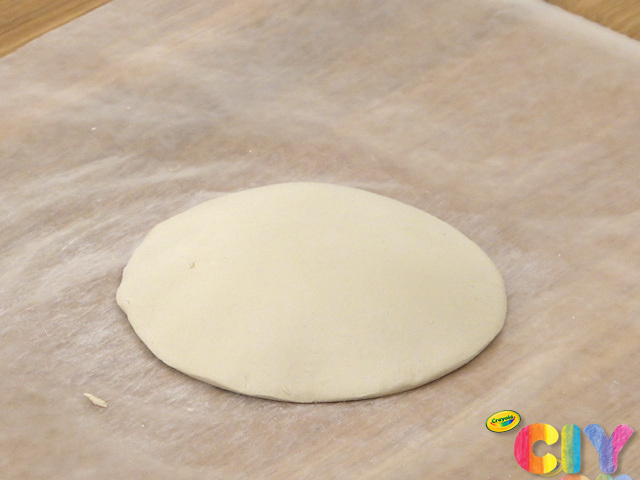
On a piece of wax paper, roll out a 1/2” thick, medium-size air dry clay ball.
2
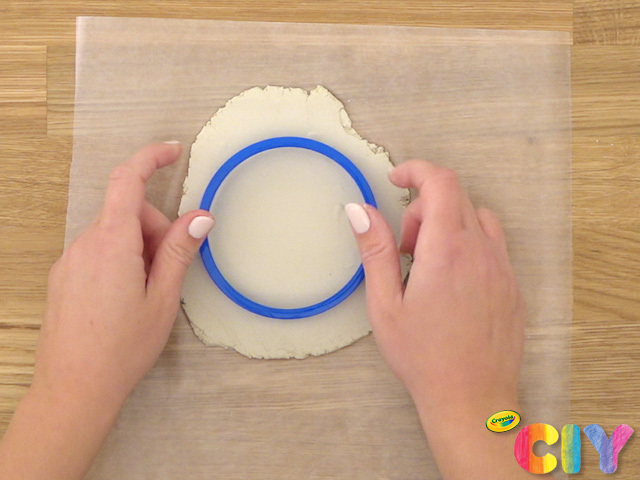
Use cookie cutter on clay to create the dish shape.
3
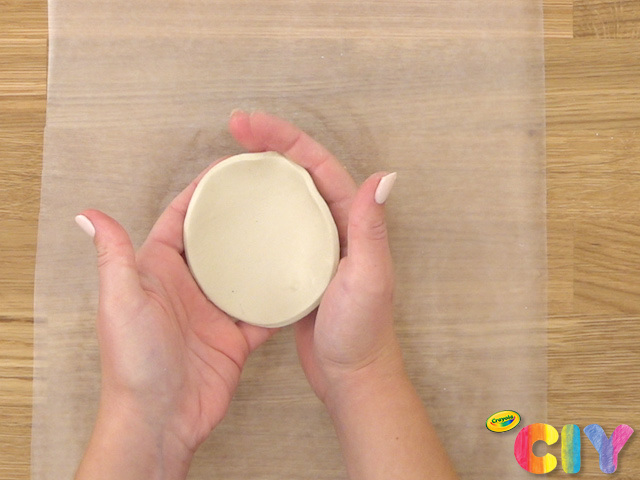
Use your hands to curve the edges slightly upward to complete the dish shape.
4
Turn upside-down onto wax paper. Dry overnight.
5
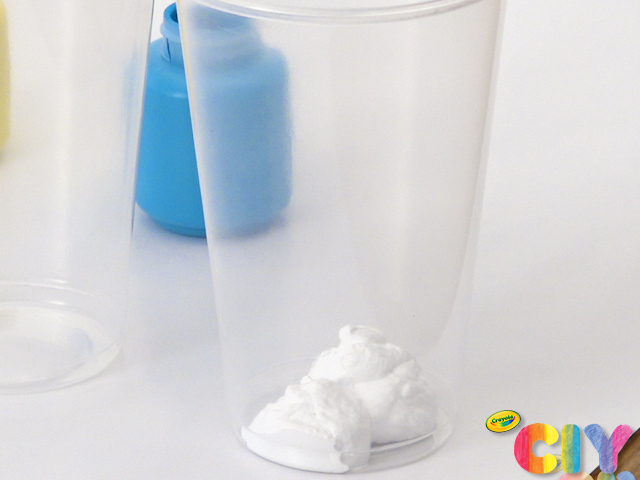
Pour 2–3 acrylic paint colors into disposable cups, 1 color per cup.
6
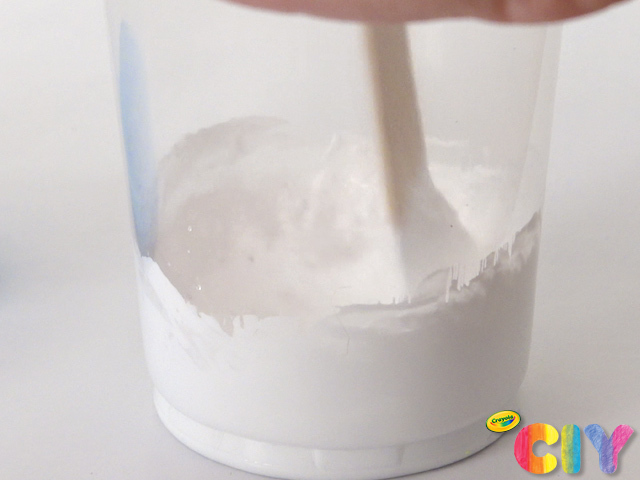
Add 1 Tbsp water to the acrylic paint, then mix with craft stick until fully combined.
7
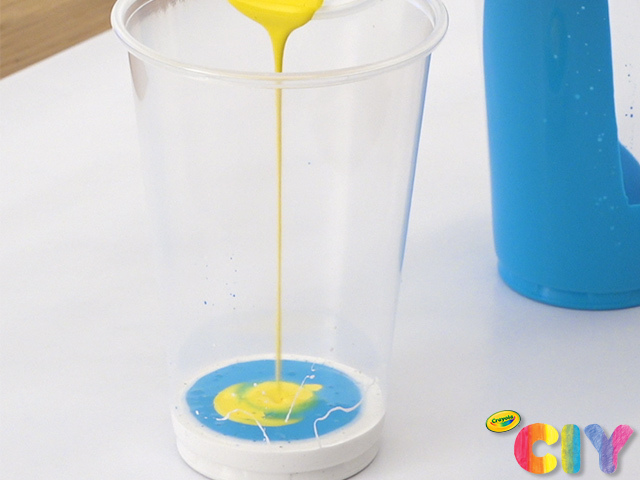
In a separate cup, pour layers of color on top of one another. Alternate colors until you have used all of the acrylic paint.
8
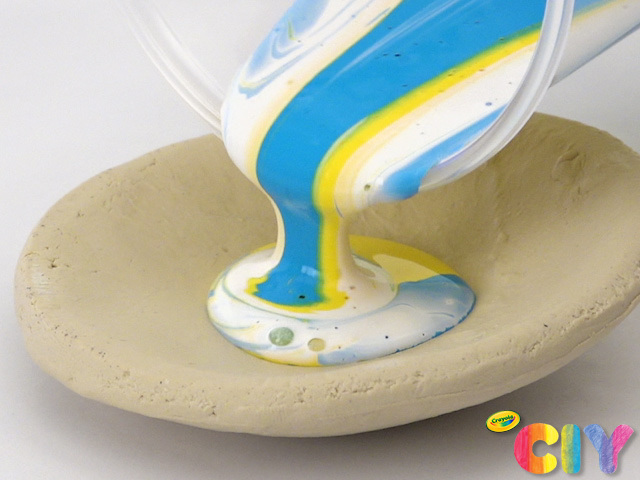
Pour some of acrylic paint mixture into dish.
9
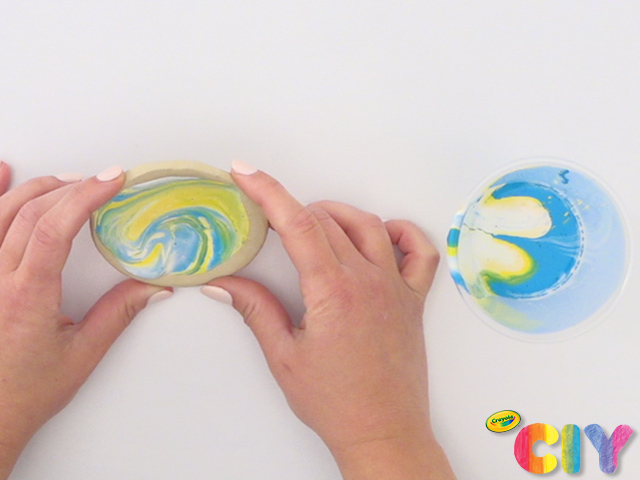
Pick up dish and gently rotate in a circular motion until paint covers the entire dish. Pour any excess paint back into the cup. Dry 1–2 hours.
10

Flip dish upside-down and add 1–2 coats of washable paint with paint brush. Dry 1–2 hours.
11
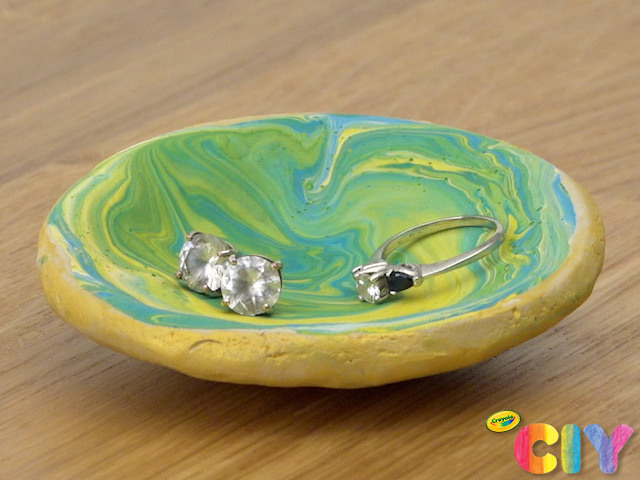
Place rings, earrings, or trinkets into the dish to display!
Occasion:
Grandparents' Day,
Rainy Day Crafts,
Mother's Day,
Handmade Gifts
Age:
8+,
Tween+,
Adult