Supplies:
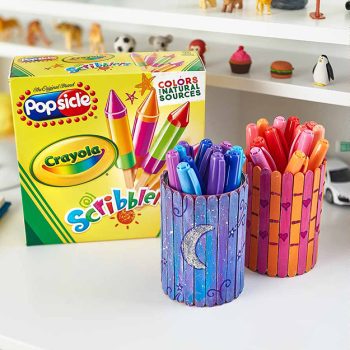
- Crayola Scribblers Popsicles
- Crayola Washable Paint
- Crayola Paint Brush
- Crayon Sharpener
- Crayola Crayons
- Crayola No-Run Washable School Glue
- Crayola Scissors
- Wax Paper
- Painter’s Tape
- Hair Dryer
- Clear Tape
- Battery-operated Tea Light
CIY Staff Tips:
- This craft uses a hair dryer. Adult assistance required.
- A pencil sharpener will work if you don’t have a crayon sharpener at home.
Steps:
1
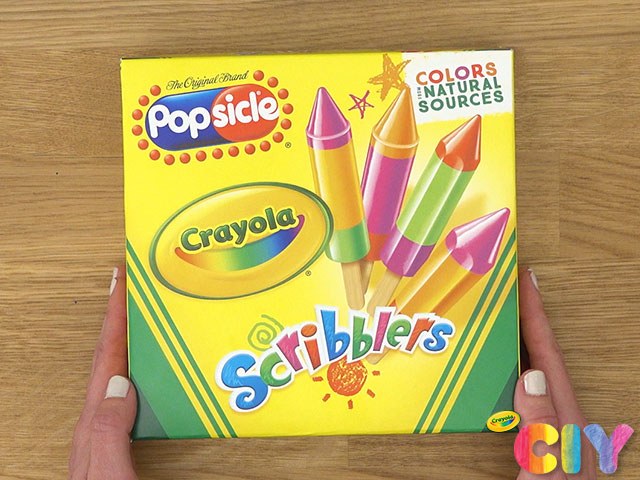
Save Popsicle sticks after enjoying a Crayola Scribblers treat.
2
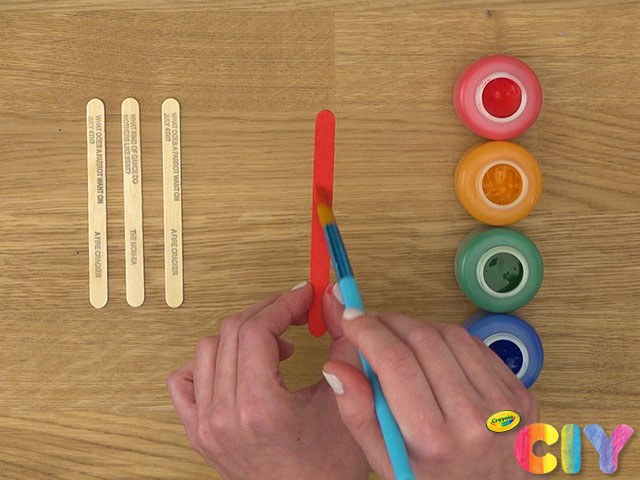
Paint front and back of 4 Popsicle sticks. Dry 1–2 hours.
3
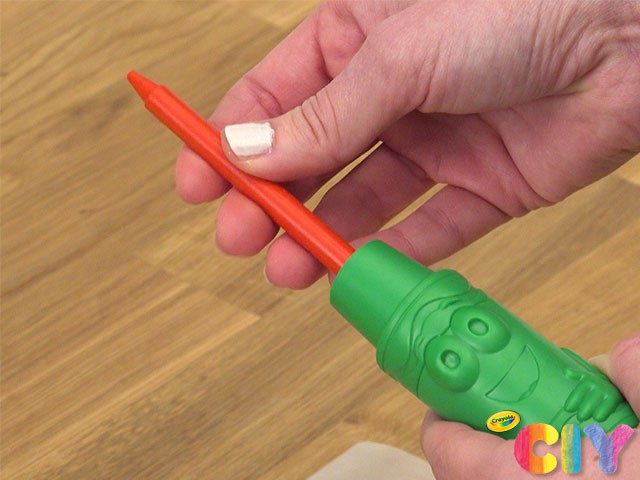
Unwrap 2–3 crayons, then use crayon sharpener to create shavings.
4
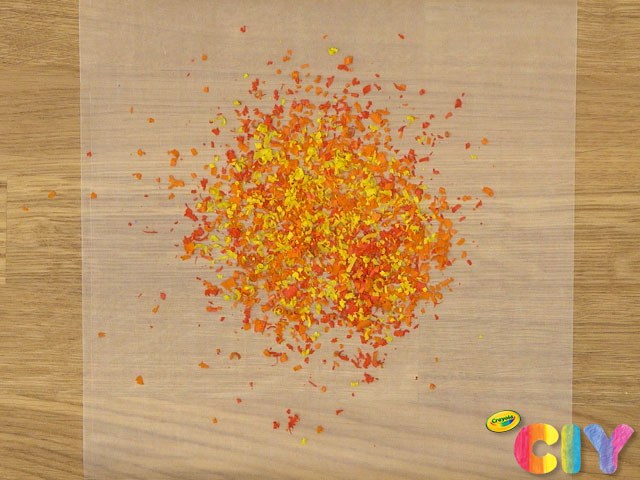
Lay small piece of wax paper on a protected surface. Evenly sprinkle shavings onto wax paper.
5
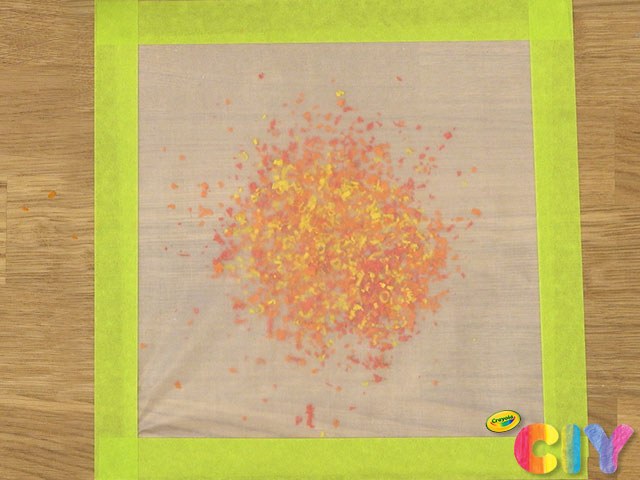
Place slightly larger piece of wax paper overtop and seal edges with painter’s tape.
6
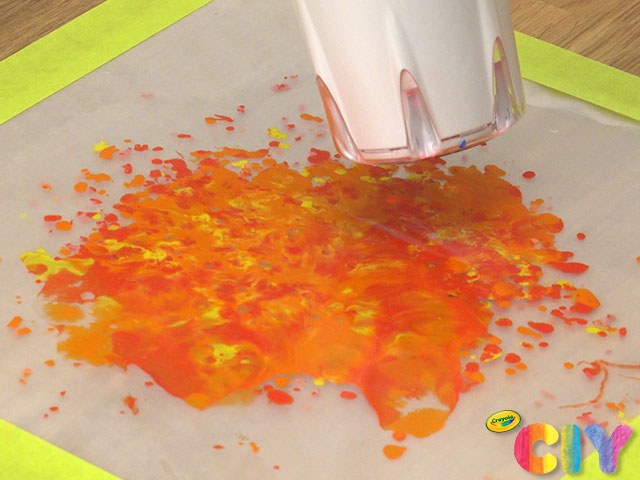
With the help of an adult, use hairdryer to melt shavings. Let cool 15 minutes.
7
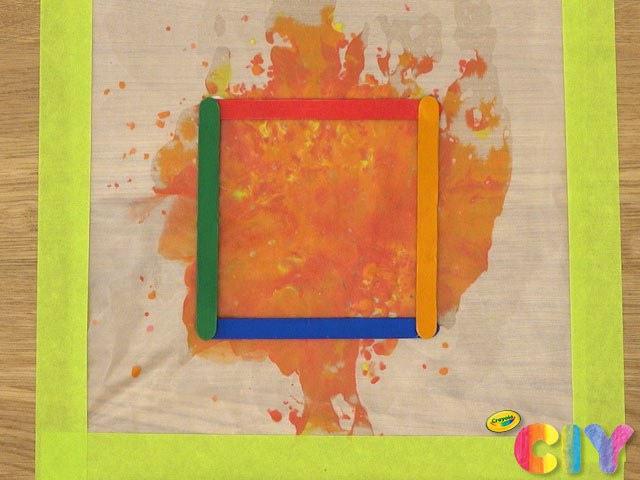
Glue Popsicle sticks to wax paper in a square layout.
8
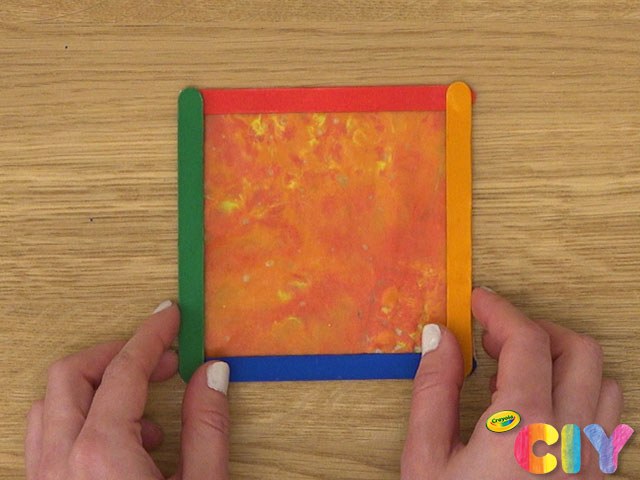
Trim excess wax paper to fit within square.
9
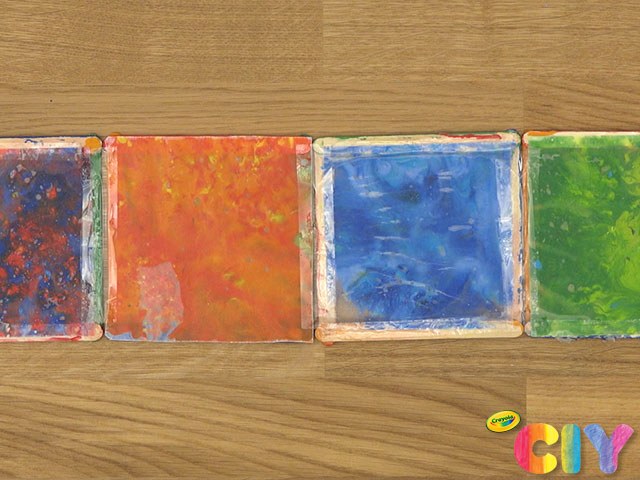
Repeat steps 2–7 for 3 additional sides of candle holder.
10
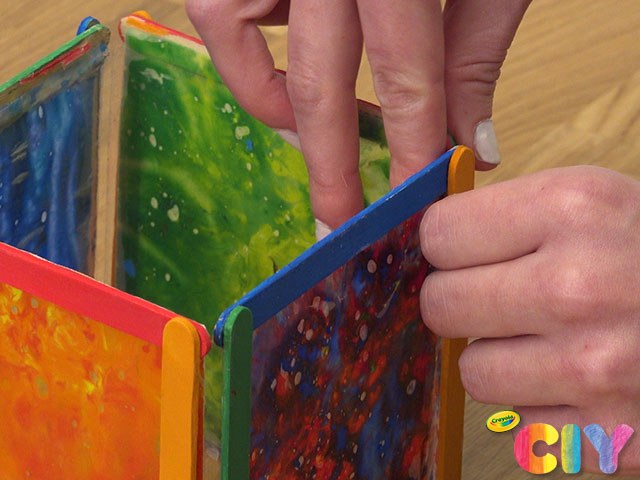
Attach sides of candle holder together with clear tape while lying flat. Stand candle holder up and attach final corner with clear tape.
11

Place battery-operated tea light into candle holder and watch the light shine through!
Occasion:
Rainy Day Crafts,
Décor & Accessories,
Back to School
Age:
6+,
8+,
Tween+